Cette version peut contenir des modifications incorrectes. Passez au dernier aperçu vérifié.
Ce dont vous avez besoin
-
Cette étape n’est pas traduite. Aidez à la traduire
-
Remove the four rubber caps from the back by using the Phillips #00 screwdriver.
-
-
Cette étape n’est pas traduite. Aidez à la traduire
-
Remove the four screws holding the cover in place by using the Phillips #00 screwdriver.
-
-
-
Cette étape n’est pas traduite. Aidez à la traduire
-
Remove the back cover from the device by separating the back cover along its seam.
-
-
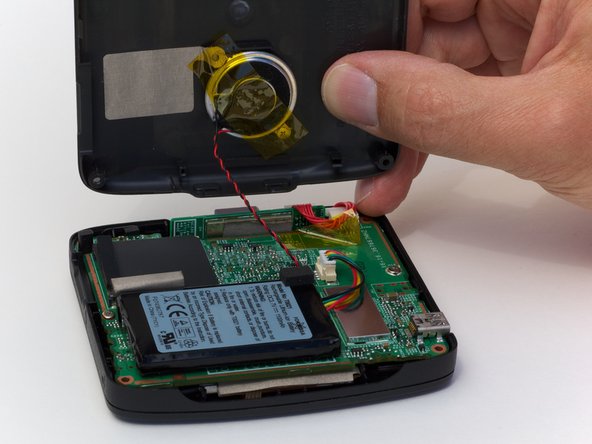
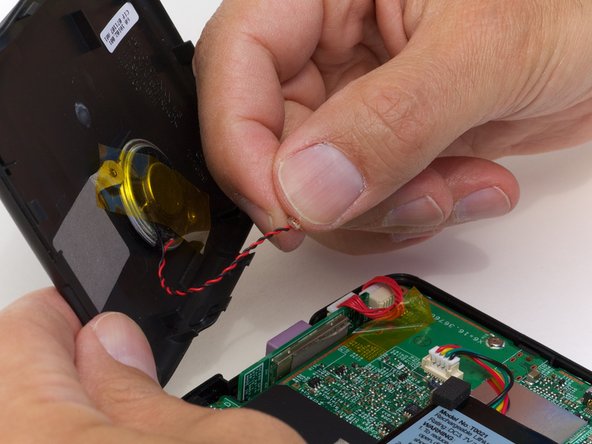
Cette étape n’est pas traduite. Aidez à la traduire
-
Pull the speaker cord, horizontally, by its base, away from the motherboard.
-
-
Cette étape n’est pas traduite. Aidez à la traduire
-
Remove the two screws on that are located on opposite sides of the board.
-
-
Cette étape n’est pas traduite. Aidez à la traduire
-
Lift up the circuit board and disconnect the GPS wire, pulling horizontally from its connector port.
-


Annulation : je n'ai pas terminé ce tutoriel.
Une autre personne a terminé cette réparation.
