Introduction
The power switch is an essential part of using the Marshall Kilburn Bluetooth Speaker, and rarely fails. However, if it does it is fairly simple to replace. This guide allows you to gain access to the power switch in case the device does not respond to flipping the switch. The power switch is capable of breaking if dropped or mishandled, so handle with care.
Ce dont vous avez besoin
-
-
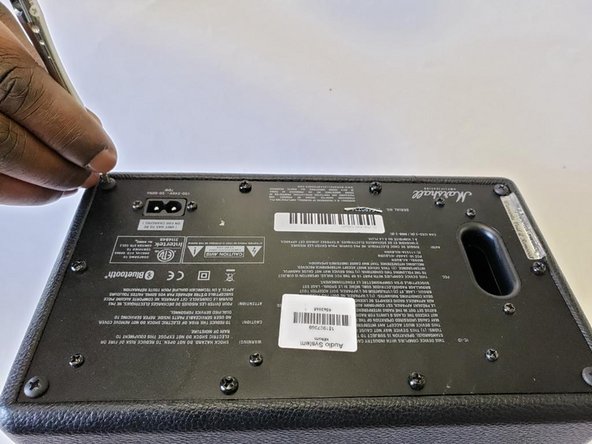
Place the unit face down as shown in the picture, exposing the battery cover.
-
Remove the two 4.0mm long screws holding the cover on using a T10 driver.
-
-
-
-
Place speaker as shown in image and remove the four corner 45.5mm back cover screws with a Phillips #2 driver.
-
Using a Phillips #2 driver, remove the six remaining 21.5mm outer back cover screws.
-
-
-
Remove the back cover by using the vent hole as a grip.
-
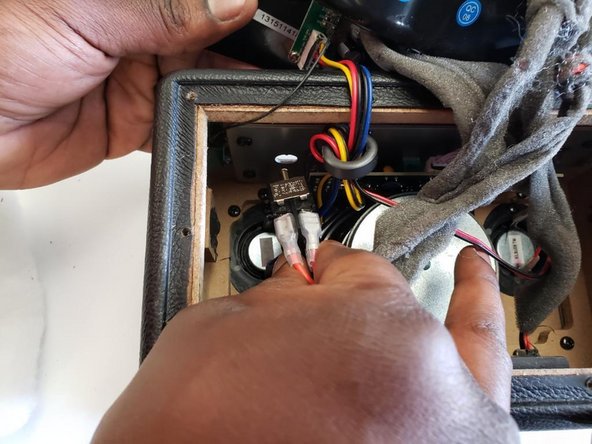
Gently pull out the back cover and let it hang on the side of the speaker that has the knobs and power switch.
-
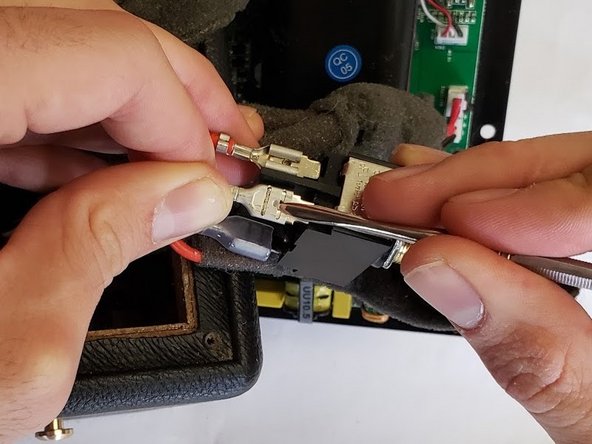
Unplug the main power lead from the control board; this allows the back to be opened more, allowing easy access to the power switch.
-


To reassemble your device, follow these instructions in reverse order.
To reassemble your device, follow these instructions in reverse order.
Annulation : je n'ai pas terminé ce tutoriel.
Une autre personne a terminé cette réparation.

Équipe

Oregon Institute of Technology, Team S1-G3, Lancaster Winter 2019 Membre de l'équipe Oregon Institute of Technology, Team S1-G3, Lancaster Winter 2019
OIT-LANCASTER-W19S1G3
4 membres
10 tutoriels rédigés
2 commentaires
And where to purchase a new switch???
Does the old switch have any writing on it?
Andrew S -