Aller au contenu principal

Ce tutoriel a des changements plus récents. Passer à la dernière version non vérifiée.

Marshall MS-2 Micro Amp Circuit Board Disassembly

Ce dont vous avez besoin

  1. Marshall MS-2 Micro Amp Circuit Board Disassembly, Disassembling Marshall MS-2 Micro Amp Case Disassembly: étape 1, image 1 de 1
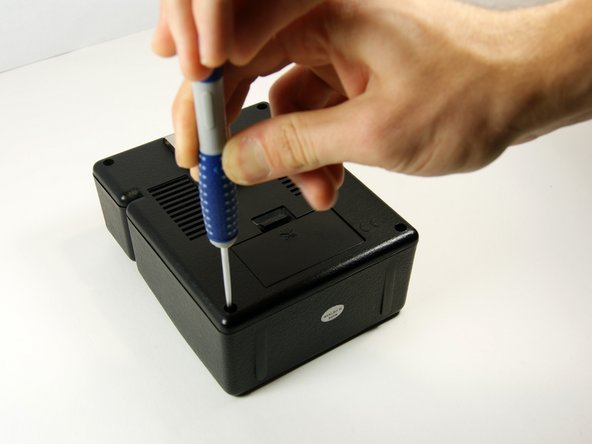
    • First be sure to turn the power switch to the off position.

    • Do this by turning the leftmost knob counter-clockwise as until the line points to "off."

  2. Marshall MS-2 Micro Amp Circuit Board Disassembly: étape 2, image 1 de 3 Marshall MS-2 Micro Amp Circuit Board Disassembly: étape 2, image 2 de 3 Marshall MS-2 Micro Amp Circuit Board Disassembly: étape 2, image 3 de 3
    • Now remove the battery.

    • On the back of the device locate the battery cover.

    • Remove it by pushing down on the clip.

    • Then pull the piece of fabric until the battery comes out.

  3. Marshall MS-2 Micro Amp Circuit Board Disassembly: étape 3, image 1 de 2 Marshall MS-2 Micro Amp Circuit Board Disassembly: étape 3, image 2 de 2
    • Use the long, skinny phillips head screwdriver to remove the 4 7/16" screws on the back of the device in the four corners.

    • Once unscrewed, do not try to take each screw out. Move to next step once all screwed have been unscrewed.

  4. Marshall MS-2 Micro Amp Circuit Board Disassembly: étape 4, image 1 de 1
    • Now pull the back panel off and place it down as shown. Pull the panel straight up so you do not lose the screws.

  5. Marshall MS-2 Micro Amp Circuit Board Disassembly, Circuit Board: étape 5, image 1 de 3 Marshall MS-2 Micro Amp Circuit Board Disassembly, Circuit Board: étape 5, image 2 de 3 Marshall MS-2 Micro Amp Circuit Board Disassembly, Circuit Board: étape 5, image 3 de 3
    • Remove the volume, tone and power knobs by pulling them straight away from the front of the device. If they do not come off easily use the wedge tool to pry them up.

  6. Marshall MS-2 Micro Amp Circuit Board Disassembly: étape 6, image 1 de 2 Marshall MS-2 Micro Amp Circuit Board Disassembly: étape 6, image 2 de 2
    • Use a 10mm socket to remove the nuts from the volume and tone potentiometers.

    • Use a 11mm socket on the power switch nuts.

    • Use a 9/16" socket to remove the nut from the input jack.

    • Take care when you remove the nuts to not lose the washers.

  7. Marshall MS-2 Micro Amp Circuit Board Disassembly: étape 7, image 1 de 3 Marshall MS-2 Micro Amp Circuit Board Disassembly: étape 7, image 2 de 3 Marshall MS-2 Micro Amp Circuit Board Disassembly: étape 7, image 3 de 3
    • Now you must remove the LED from the circuit board.

    • To do this you will need to use a soldering iron to detach to two pins of the LED from the board. They are the two pins in the lowest leftmost corner of the board.

    • Be careful to not touch any of the wires with the soldering iron. It might be helpful to remove those with the iron first to get them out of the way.

    • If you haven't soldered before check out this guide.

    • Once detached, pull the board straight up to remove.

Conclusion

To reassemble your device, follow these instructions in reverse order.

4 autres ont terminé cette réparation.

MacKinley

Membre depuis le 10/22/13

811 Réputation

5 tutoriels rédigés

Équipe

University of Maryland, Team 1-1, Shastany Fall 2013 Membre de l'équipe University of Maryland, Team 1-1, Shastany Fall 2013

UMD-SHASTANY-F13S1G1

3 membres

5 tutoriels rédigés

0 commentaires

Ajouter un commentaire

Nombre de vues :

Dernières 24 heures : 2

7 derniers jours : 7

30 derniers jours : 25

Total : 4,988