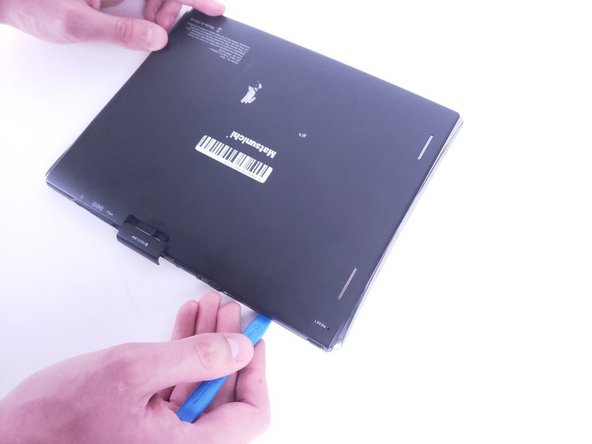
Aller au contenu principal

Matsunichi M97 9 inch Camera Replacement

Ce dont vous avez besoin

  1. Matsunichi M97 9 inch Camera Replacement, Battery: étape 1, image 1 de 1
    • Open the micro SD cover located on the back of the device.

  2. Matsunichi M97 9 inch Camera Replacement: étape 2, image 1 de 1
    • Using the Phillips #00 screwdriver, remove the two 4mm screws next to the micro SD port.

  3. Matsunichi M97 9 inch Camera Replacement: étape 3, image 1 de 3 Matsunichi M97 9 inch Camera Replacement: étape 3, image 2 de 3 Matsunichi M97 9 inch Camera Replacement: étape 3, image 3 de 3
    • Use the iFixit opening tool to pry off the back cover of the device.

    • The volume buttons and the lock switch will come loose when the back comes off.

  4. Matsunichi M97 9 inch Camera Replacement: étape 4, image 1 de 2 Matsunichi M97 9 inch Camera Replacement: étape 4, image 2 de 2
    • Use a pair of tweezers to disconnect the battery from the motherboard.

  5. Matsunichi M97 9 inch Camera Replacement: étape 5, image 1 de 2 Matsunichi M97 9 inch Camera Replacement: étape 5, image 2 de 2
    • Carefully unstick the battery from the frame using the spudger.

    • Do not bend or puncture the battery during removal.

  6. Matsunichi M97 9 inch Camera Replacement, Motherboard: étape 6, image 1 de 2 Matsunichi M97 9 inch Camera Replacement, Motherboard: étape 6, image 2 de 2
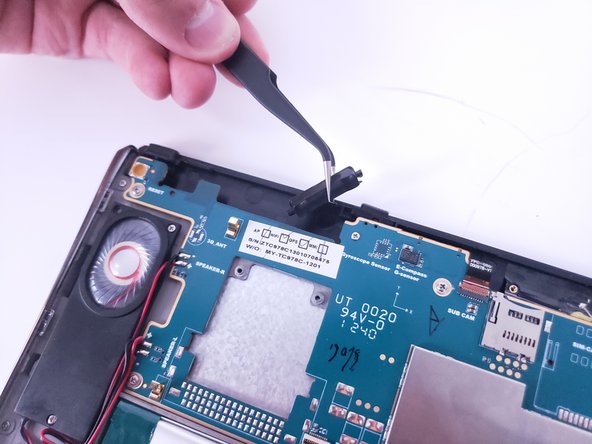
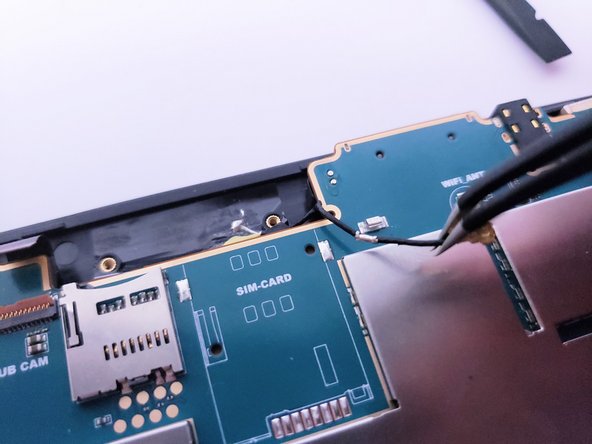
    • Remove the six 2mm screws that hold the motherboard onto the case using the Phillips #00 screwdriver.

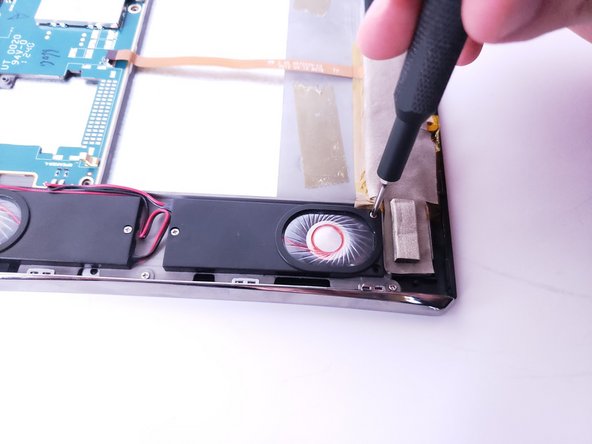
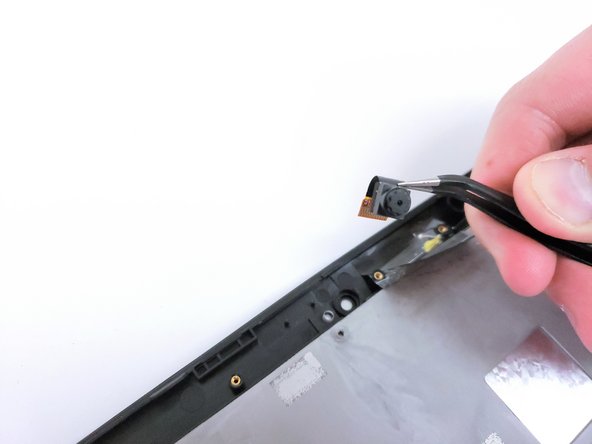
    • Use the same screwdriver to remove the single 4mm screw.

  7. Matsunichi M97 9 inch Camera Replacement: étape 7, image 1 de 2 Matsunichi M97 9 inch Camera Replacement: étape 7, image 2 de 2
    • Gently pull the display ribbon cable to unplug it from the motherboard.

  8. Matsunichi M97 9 inch Camera Replacement: étape 8, image 1 de 1
    • Use a spudger or an iFixit opening tool to lift the locking mechanism holding the camera ribbon cable.

  9. Matsunichi M97 9 inch Camera Replacement: étape 9, image 1 de 2 Matsunichi M97 9 inch Camera Replacement: étape 9, image 2 de 2
    • Lift up on the wifi antenna cable to unsnap it from the motherboard.

    • Then unhook the cable from the holding bracket.

  10. Matsunichi M97 9 inch Camera Replacement: étape 10, image 1 de 2 Matsunichi M97 9 inch Camera Replacement: étape 10, image 2 de 2
    • Use the spudger or iFixit opening tool to lift up on the locking mechanism for the digitizer ribbon cable.

    • Pull the cable from its connection.

  11. Matsunichi M97 9 inch Camera Replacement: étape 11, image 1 de 2 Matsunichi M97 9 inch Camera Replacement: étape 11, image 2 de 2
    • Use the Phillips #00 screwdriver to remove the four 4mm screws that hold the speakers in place.

  12. Matsunichi M97 9 inch Camera Replacement: étape 12, image 1 de 1
    • Pull the vibration motor out of its housing.

  13. Matsunichi M97 9 inch Camera Replacement: étape 13, image 1 de 2 Matsunichi M97 9 inch Camera Replacement: étape 13, image 2 de 2
    • Lift the motherboard off the frame.

  14. Matsunichi M97 9 inch Camera Replacement, Camera: étape 14, image 1 de 2 Matsunichi M97 9 inch Camera Replacement, Camera: étape 14, image 2 de 2
    • Remove the camera from the device.

Conclusion

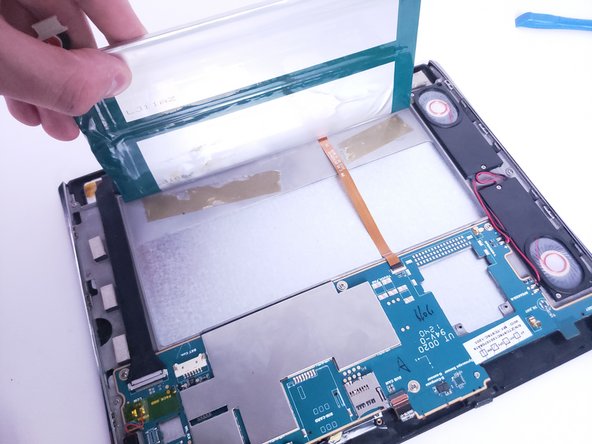
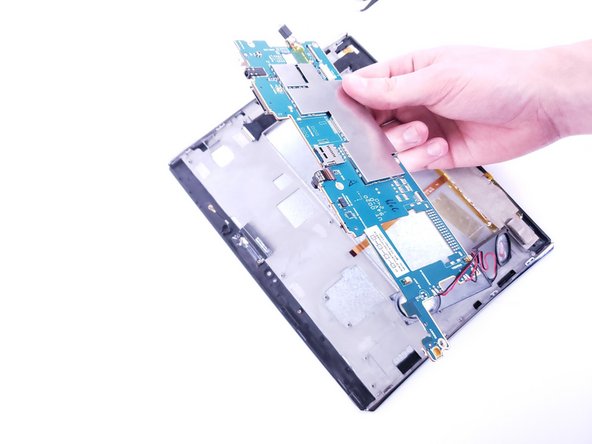
To reassemble your device, follow these instructions in reverse order.

Violet Ruff

Membre depuis le 01/16/20

96 Réputation

1 tutoriel rédigé

0 commentaires

Ajouter un commentaire

Nombre de vues :

Dernières 24 heures : 0

7 derniers jours : 0

30 derniers jours : 0

Total : 41