Aller au contenu principal

Melitta Caffeo Barista T opening

Ce dont vous avez besoin

  1. Melitta Caffeo Barista T opening, Preparation: étape 1, image 1 de 1
    • Never forget: Remove the cable from the powerplug

    • Remove all the parts

  2. Melitta Caffeo Barista T opening, Remove the backside: étape 2, image 1 de 2 Melitta Caffeo Barista T opening, Remove the backside: étape 2, image 2 de 2
    • The backside is fixed with seven Torx T10 screws. Unscrew them

    • Get the Backside of. It should be a bit stuck.

  3. Melitta Caffeo Barista T opening, Remove the powder compartment lid: étape 3, image 1 de 3 Melitta Caffeo Barista T opening, Remove the powder compartment lid: étape 3, image 2 de 3 Melitta Caffeo Barista T opening, Remove the powder compartment lid: étape 3, image 3 de 3
    • Pull the powder compartment up.

    • Pull one of the sides of the Powder compartment out of the hinge and loosen the lid.

    • Remove the powder compartment

  4. Melitta Caffeo Barista T opening, Loosen the upper housing part: étape 4, image 1 de 3 Melitta Caffeo Barista T opening, Loosen the upper housing part: étape 4, image 2 de 3 Melitta Caffeo Barista T opening, Loosen the upper housing part: étape 4, image 3 de 3
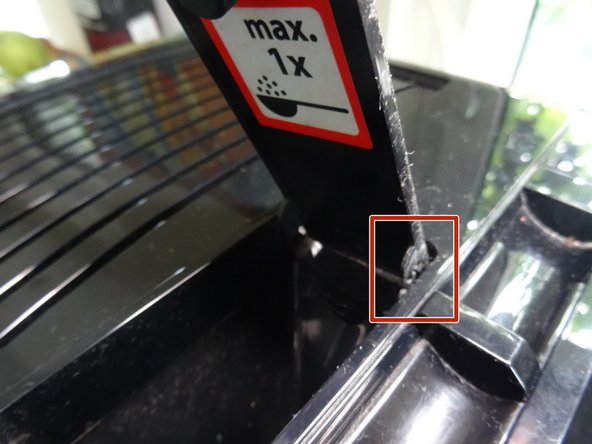
    • In the powder compartment, you should see a rubber cover. Loosen the rubber cover with the appropriate tools.

    • There should also be a Torx T10 screw. Unscrew it

  5. Melitta Caffeo Barista T opening, loosening the Upper housing part: étape 5, image 1 de 2 Melitta Caffeo Barista T opening, loosening the Upper housing part: étape 5, image 2 de 2
    • The upper cover with the brewing unit is held up from three clamps. These can be reached through a slit.

    • Press these clams with a flat scredriver in and pull the upper cover up, until the clamps loosen.

  6. Melitta Caffeo Barista T opening, Removal of the upper case: étape 6, image 1 de 3 Melitta Caffeo Barista T opening, Removal of the upper case: étape 6, image 2 de 3 Melitta Caffeo Barista T opening, Removal of the upper case: étape 6, image 3 de 3
    • On the side that has a a watertank you can find 2 other clamps

    • Press these clamps with a flat scredriver in and pull the cover up until they loosen

    • Lift the upper cover and the backside up, hook it on the front edge and remove them

  7. Melitta Caffeo Barista T opening, Removal of the side panel: étape 7, image 1 de 2 Melitta Caffeo Barista T opening, Removal of the side panel: étape 7, image 2 de 2
    • Push the right and the left side panel back, then pull the lower edge out and pull the side panel out.

    • This could be a bit stuck

    • On the side panel with the watertank, there should be a supply hose attached to a cable that connects the water-level sensore. loosen them

    • Hint: the side panel doesn't have to be removed completely for each repair.

Conclusion

Work through the steps in reverse order, to rebuild your machine.

Merci à ces traducteurs :

de en

100%

Ces traducteurs nous aident réparer le monde ! Vous voulez contribuer ?
Commencez à traduire ›

VauWeh

Membre depuis le 10/19/15

212 879 Réputation

265 tutoriels rédigés

Équipe

Repair is War on Entropy Membre de l'équipe Repair is War on Entropy

Community

27 membres

1 209 tutoriels rédigés

0 commentaires

Ajouter un commentaire

Nombre de vues :

Dernières 24 heures : 5

7 derniers jours : 39

30 derniers jours : 126

Total : 1,358