Introduction
If your infrared car key is no longer working as it should, your first attempt to solve this might have been the replacement of the battery. However in some cases, even after that, you’ll experience flashing of the LEDs and the key only working sporadically.
Ce dont vous avez besoin
-
-
Make sure you have all necessary tools at hand and pre-heat your soldering station.
-
Remove the rear cover of the key and take out the battery. The best way to disassemble the key is to carefully press or lever the front apart with a screwdriver.
-
Once you've extracted the board, clamp it in the vice and identify the four solder joints that hold the button on the board.
-
-
-
Either you've already noticed by now that the button has completely detached from the board, or you will now see that the solder joints are cold, meaning they're only merely holding the button.
-
Your job will now consist of re-soldering all 4 joints correctly, so that the button is firmly attached to the board again.
-
-
-
-
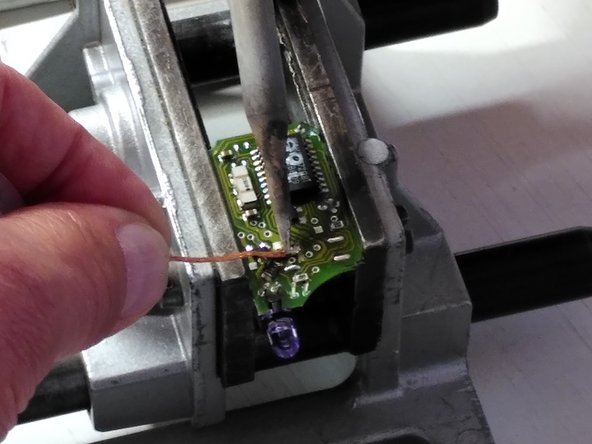
Before you do that, however, you'll need to remove all remains of the old solder joints.
-
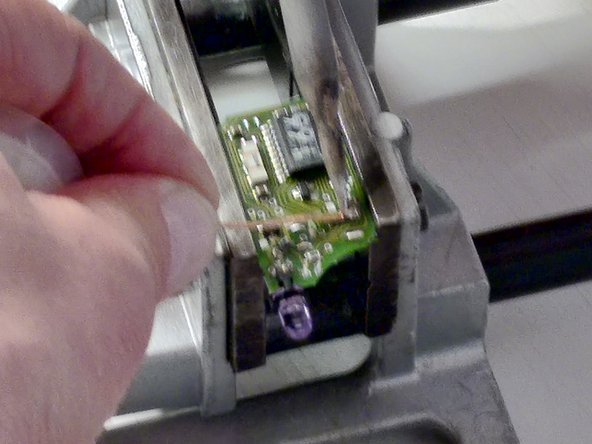
Apply heat to the joint. Once the solder liquifies, clean the spot with the desoldering braid.
-
Make sure to do that on all four joints.
-
-
-
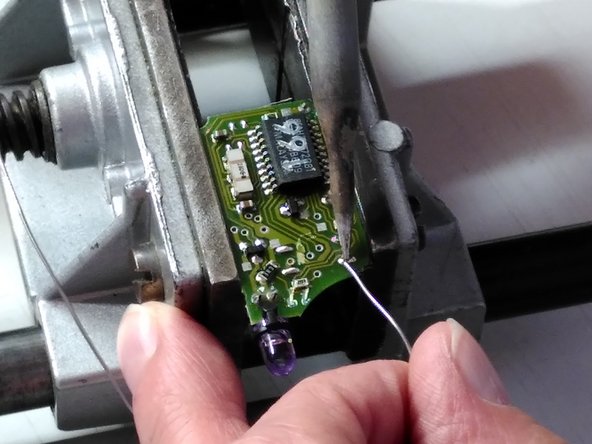
Now, you can start to re-apply new solder to the four spots that should hold your button in place.
-
-
-
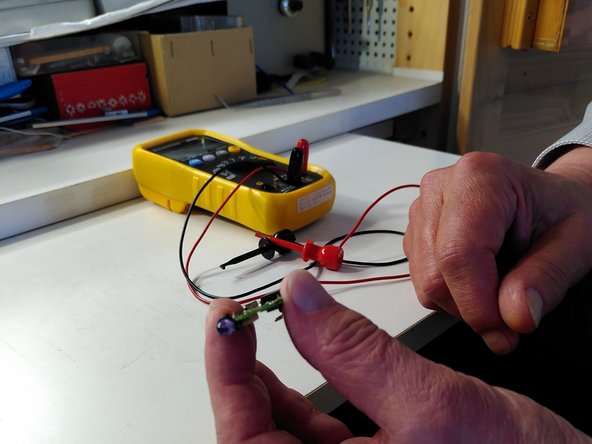
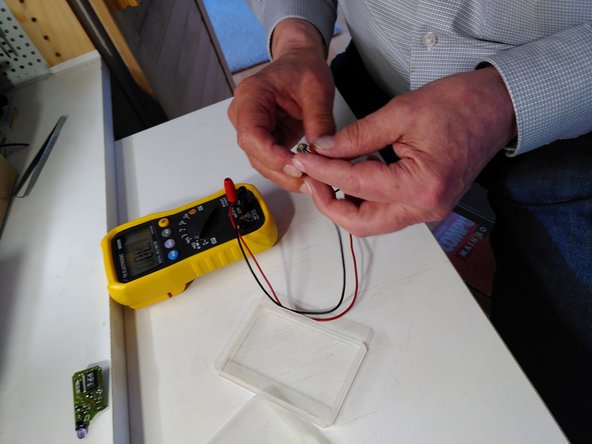
Once you've re-soldered all four joints, take the board out of the vice and check the function with a multimeter.
-
While you won't be able to see the infrared light with your bare eyes, a smartphone camera should do the trick.
-
-
-
This is how your board looks like when you're finished.
-
Now, carefully reassemble the key.
-
In some cases, you may have to glue the housing together.
-


Good luck with your repair!
Good luck with your repair!

