Aller au contenu principal

Sony ECM-MS907 Microphone Disassembly

Ce dont vous avez besoin

  1. Sony ECM-MS907 Microphone Disassembly, Microphone: étape 1, image 1 de 1
    • Using the Phillips #00 screwdriver, remove the screw securing diaphragm to the base of the microphone.

  2. Sony ECM-MS907 Microphone Disassembly: étape 2, image 1 de 2 Sony ECM-MS907 Microphone Disassembly: étape 2, image 2 de 2
    • Separate the microphone into two pieces to reveal the internal shield cover.

  3. Sony ECM-MS907 Microphone Disassembly: étape 3, image 1 de 1
    • Unscrew the base of the microphone in a clockwise motion and separate the bottom and top of the microphone.

  4. Sony ECM-MS907 Microphone Disassembly: étape 4, image 1 de 1
    • Using a Phillips #2 screwdriver, remove the screw directly above the battery.

  5. Sony ECM-MS907 Microphone Disassembly: étape 5, image 1 de 1
    • Use a Phillips #0 screwdriver to remove the black screw near the bottom of the microphone.

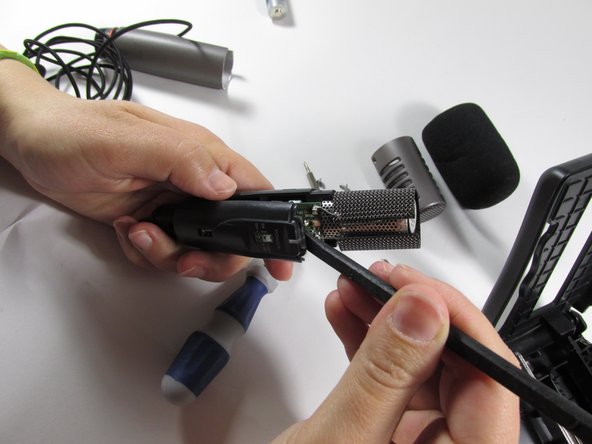
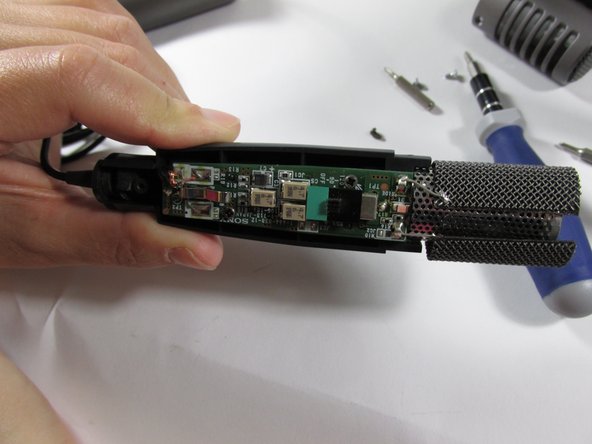
  6. Sony ECM-MS907 Microphone Disassembly: étape 6, image 1 de 3 Sony ECM-MS907 Microphone Disassembly: étape 6, image 2 de 3 Sony ECM-MS907 Microphone Disassembly: étape 6, image 3 de 3
    • Use the heavy duty spudger to detach the grip area from the microphone.

Conclusion

To reassemble your device, follow these instructions in reverse order.

Pièces jointes

Kefaya

Membre depuis le 01/23/14

364 Réputation

3 tutoriels rédigés

Équipe

New Mexico State, Team 1-2, Sheppard Spring 2014 Membre de l'équipe New Mexico State, Team 1-2, Sheppard Spring 2014

NMSU-SHEPPARD-S14S1G2

3 membres

6 tutoriels rédigés

0 commentaires

Ajouter un commentaire

Nombre de vues :

Dernières 24 heures : 0

7 derniers jours : 1

30 derniers jours : 17

Total : 5,525