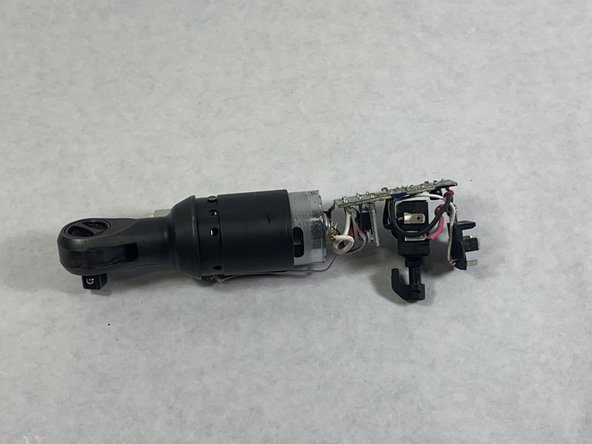
Aller au contenu principal

Milwaukee M12 2457-20 Disassembly

Ce dont vous avez besoin
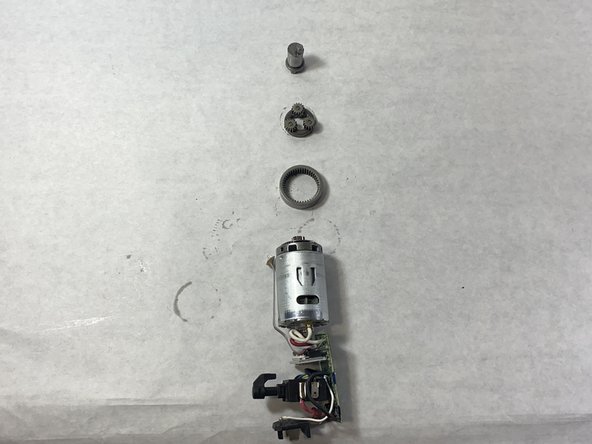
  1. Milwaukee M12 2457-20 Disassembly, Housing: étape 1, image 1 de 2 Milwaukee M12 2457-20 Disassembly, Housing: étape 1, image 2 de 2
    • Unscrew the four M3 x 10 T-10 screws located on the neck.

  2. Milwaukee M12 2457-20 Disassembly: étape 2, image 1 de 2 Milwaukee M12 2457-20 Disassembly: étape 2, image 2 de 2
    • Remove the spring pin from the switch paddle and take off the switch paddle.

  3. Milwaukee M12 2457-20 Disassembly: étape 3, image 1 de 1
    • Unscrew the four M2.6 x 14 ST T-8 screws located on the body.

    • Unscrew the M2.6 x 10 ST T-8 screw located underneath the switch paddle.

  4. Milwaukee M12 2457-20 Disassembly: étape 4, image 1 de 2 Milwaukee M12 2457-20 Disassembly: étape 4, image 2 de 2
    • Separate the two housing parts of the tool.

    • Remove the 3/8" yoke assembly and the motor assembly from the tool housing.

  5. Milwaukee M12 2457-20 Disassembly: étape 5, image 1 de 2 Milwaukee M12 2457-20 Disassembly: étape 5, image 2 de 2
    • Remove the drive pin connecting the 3/8" yoke assembly and the motor assembly.

    • Remove the crankshaft, planet gears, carrier assembly, and ring gear from the motor assembly.

    • Be aware that these parts are lubricated with grease.

  6. Milwaukee M12 2457-20 Disassembly: étape 6, image 1 de 1
    • You have now successfully dismantled the device.

Conclusion

To reassemble your device, follow these instructions in reverse order.

Peter Lizotte

Membre depuis le 10/25/19

183 Réputation

1 tutoriel rédigé

Équipe

UMass Dartmouth, Team S1-G6, O'Connell Fall 2019 Membre de l'équipe UMass Dartmouth, Team S1-G6, O'Connell Fall 2019

UMASSD-O'CONNELL-F19S1G6

3 membres

1 tutoriel rédigé

0 commentaires

Ajouter un commentaire

Nombre de vues :

Dernières 24 heures : 2

7 derniers jours : 19

30 derniers jours : 19

Total : 76