Introduction
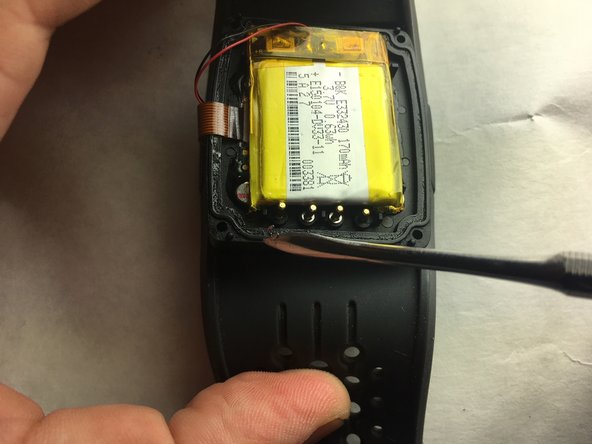
If your Mio ALPHA 2 heat rate monitor watch is not charging properly, it is possible that the charging pins need to be replaced. This guide will teach you how to remove the charging pins. You will need small tools to remove the cover on the back of the device. These tools will also need to be used to remove the charging pins. There are many small parts, so it is important to be in an environment where they will not be lost.
Ce dont vous avez besoin


Équipe

IUPUI, Team S22-G3, Bayer Fall 2017 Membre de l'équipe IUPUI, Team S22-G3, Bayer Fall 2017
IUPUI-BAYER-F17S22G3
4 membres
2 tutoriels rédigés
Un commentaire
How are you "replacing" a part with no parts required.... would be super cool to have the part number or any information on those pins.