Aller au contenu principal

Moto X Pure Edition Back Panel Removal

Tutoriel Archivé
Ce tutoriel est conservé uniquement à des fins de suivis historiques. Utilisez la version actuelle du tutoriel pour effectuer votre réparation.
Conditions préalables uniquement
Ce tutoriel est uniquement destiné à être utilisé comme prérequis d'autres tutoriels. Il ne se suffit pas à lui-même.

Ce dont vous avez besoin

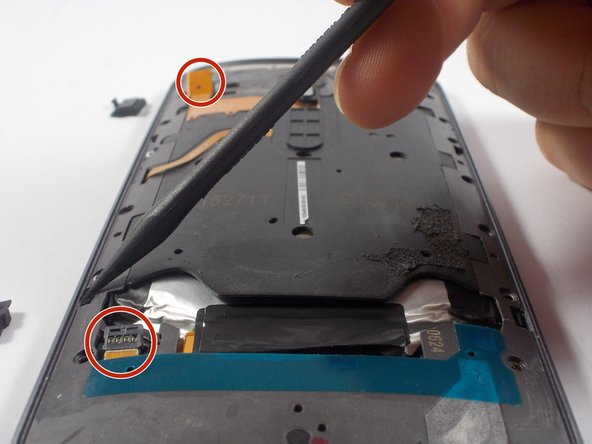
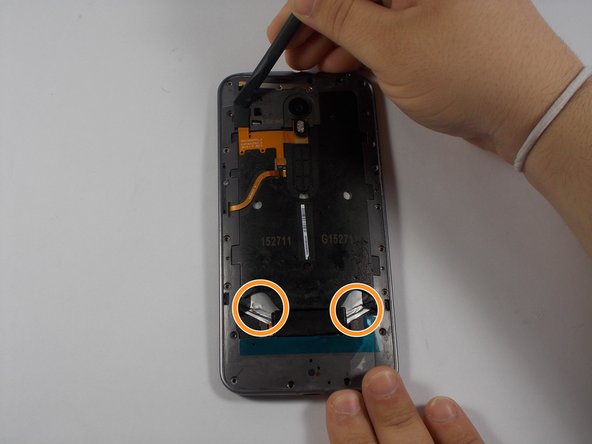
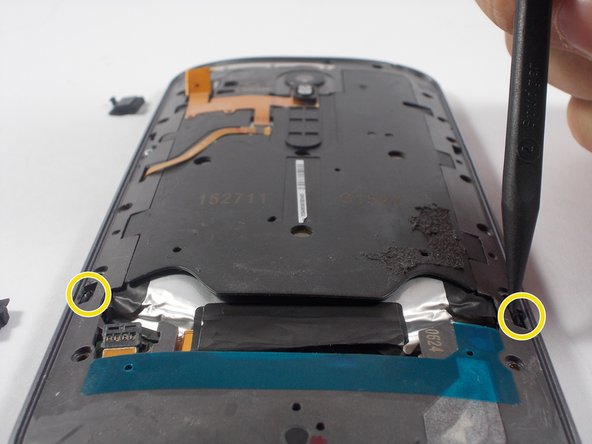
  1. Moto X Pure Edition Back Panel Removal, Back Panel: étape 1, image 1 de 3 Moto X Pure Edition Back Panel Removal, Back Panel: étape 1, image 2 de 3 Moto X Pure Edition Back Panel Removal, Back Panel: étape 1, image 3 de 3
    • Disconnect the two battery connections.

    • Remove the two parallel black tabs by pulling on them.

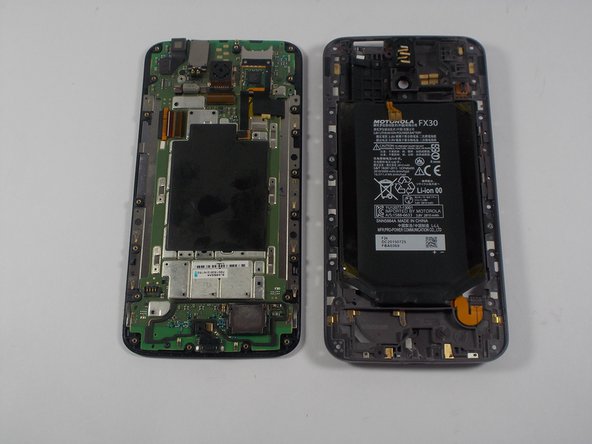
  2. Moto X Pure Edition Back Panel Removal: étape 2, image 1 de 3 Moto X Pure Edition Back Panel Removal: étape 2, image 2 de 3 Moto X Pure Edition Back Panel Removal: étape 2, image 3 de 3
    • All screw lengths are 2.5mm

    • Using the T3 screw driver, remove all 20 T3 screws.

    • Do NOT remove the silver screw circled in orange.

    • This holds in the Power/Volume buttons and is not necessary to remove. There are 2 very tiny springs behind the volume buttons that are easy to lose if you remove this screw.

    • Using the nylon spudger, remove the two clips holding the panel in place.

Conclusion

To reassemble your device, follow these instructions in reverse order.

2 autres ont terminé cette réparation.

Lucas Dos Santos

Membre depuis le 03/06/16

1 053 Réputation

5 tutoriels rédigés

Équipe

UMass Dartmouth, Team 5-2, Landers Spring 2016 Membre de l'équipe UMass Dartmouth, Team 5-2, Landers Spring 2016

UMASSD-LANDERS-S16S5G2

3 membres

15 tutoriels rédigés

0 commentaires

Ajouter un commentaire

Nombre de vues :

Dernières 24 heures : 0

7 derniers jours : 0

30 derniers jours : 0

Total : 148