Introduction
This guide covers the replacement of the Motorola Droid RAZR M speaker. Before you can start replacing the speaker you must complete the front assembly prerequisite guide.
In this guide the whole metal plating will be replaced, the speaker is a part of it. First lift the golden wire away from the metal plating. There is a little adhesive under the speaker located at the top of the metal plating. This will require a small amount of force to remove. There is also two small pins located to either side of the speaker, the silver plating will have to be lifted out and away from them.
Ce dont vous avez besoin
-
-
Open the small latch on the left side of the device by lifting gently with your finger, exposing the SIM card and microSD card slots.
-
If either of these cards are present, remove them to prevent damaging them while taking apart the phone. Our device does not have either.
-
Close the latch once the two cards are removed.
-
-
-
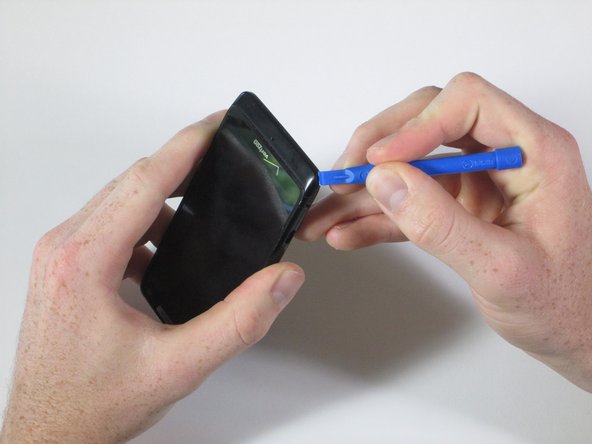
Run the plastic opening tool under the bottom edge of the phone to detach the small plastic cover below the Verizon logo.
-
It will take some force to remove this piece. Work around the bottom corners to unlatch the two hooks holding the piece in place.
-
Once the plastic cover is detached, pull the piece away with your fingers.
-
-
-
-
Like a clamshell, slowly open the device from the top. Open the remainder of the device slowly while being mindful of the flat orange wire that connects the motherboard to the front assembly.
-
Undo the snap connection in the lower left corner by inserting the plastic opening tool under the end of the orange wire connected to the motherboard. Lift gently.
-
Once the snap connection is undone, pull apart the front assembly from the rest of the phone.
-
-
-
With the front assembly in hand, gently lift back the flat orange wire from the silver backing. The speaker is attached to the silver plate.
-
-
-
On either side of the speaker are two small metal spines securing the speaker to the display, which is marker by the red squares.
-
There is also a small amount of adhesive under the speaker at the top of the silver plating.
-
Carefully lift the silver plating out of the metal spines and away from the display.
-


To reassemble your device, follow these instructions in reverse order.
To reassemble your device, follow these instructions in reverse order.
Annulation : je n'ai pas terminé ce tutoriel.
Une autre personne a terminé cette réparation.
Équipe

Cal Poly, Team 15-1, Amido Spring 2015 Membre de l'équipe Cal Poly, Team 15-1, Amido Spring 2015
CPSU-AMIDO-S15S15G1
4 membres
14 tutoriels rédigés