Aller au contenu principal

Motorola Razr V3m Keypad Cover Replacement

Ce dont vous avez besoin

  1. Motorola Razr V3m Keypad Cover Replacement, Battery: étape 1, image 1 de 2 Motorola Razr V3m Keypad Cover Replacement, Battery: étape 1, image 2 de 2
    • Press the release button located on the upper edge of the battery cover. At the same time, lift the battery cover away from the phone.

  2. Motorola Razr V3m Keypad Cover Replacement: étape 2, image 1 de 2 Motorola Razr V3m Keypad Cover Replacement: étape 2, image 2 de 2
    • Push the top edge of the battery and lift away from the phone.

  3. Motorola Razr V3m Keypad Cover Replacement, SIM Card: étape 3, image 1 de 2 Motorola Razr V3m Keypad Cover Replacement, SIM Card: étape 3, image 2 de 2
    • Gently pull the SIM Card toward the top of the phone with your finger.

  4. Motorola Razr V3m Keypad Cover Replacement, Keypad Cover: étape 4, image 1 de 2 Motorola Razr V3m Keypad Cover Replacement, Keypad Cover: étape 4, image 2 de 2
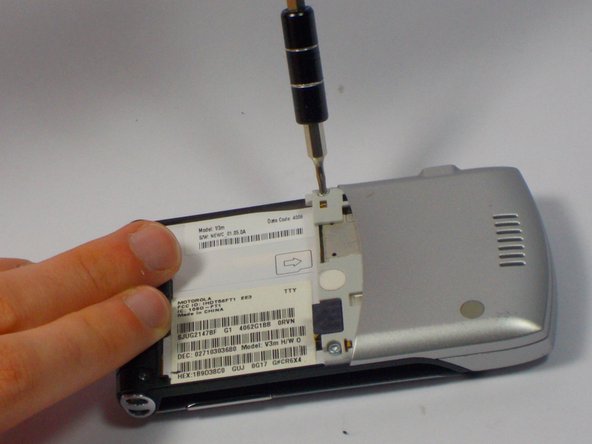
    • Remove the two screws from the back panel with a T6 screwdriver.

  5. Motorola Razr V3m Keypad Cover Replacement: étape 5, image 1 de 1
    • Carefully use a metal spudger to pry back panel open.

    • The back panel is attached to the phone with a copper ribbon that acts as a hinge.

    • Carefully open out the back panel to the side of the phone corresponding with the hinge.

    • Do not pull back away from phone. It may damage the copper ribbon.

  6. Motorola Razr V3m Keypad Cover Replacement: étape 6, image 1 de 2 Motorola Razr V3m Keypad Cover Replacement: étape 6, image 2 de 2
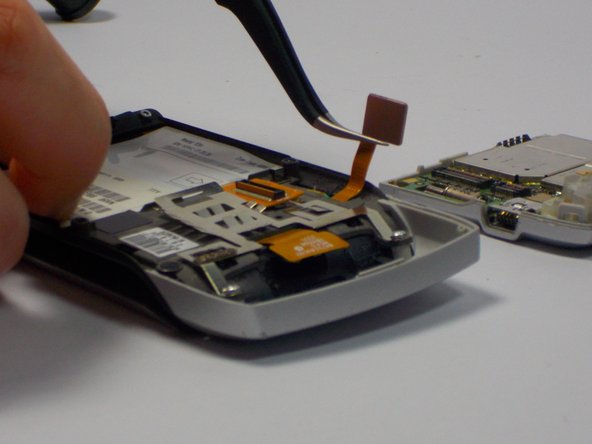
    • Use tweezers to disconnect the copper ribbon from the inside of the back panel.

  7. Motorola Razr V3m Keypad Cover Replacement: étape 7, image 1 de 2 Motorola Razr V3m Keypad Cover Replacement: étape 7, image 2 de 2
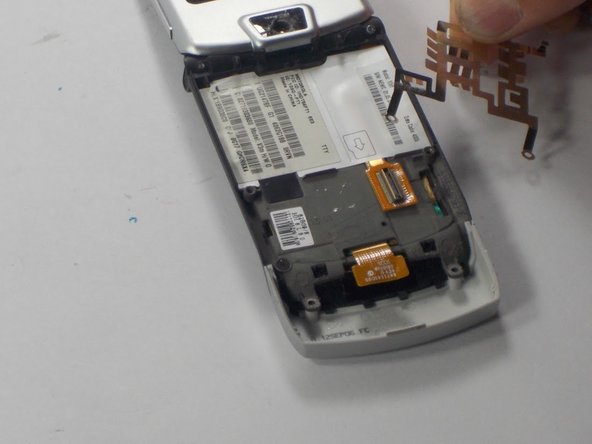
    • Use a T6 Torx bit screwdriver to remove the two screws holding the cover down.

    • The metal shield will come off with the screws; don't forget to reattach it before replacing the screws.

  8. Motorola Razr V3m Keypad Cover Replacement: étape 8, image 1 de 2 Motorola Razr V3m Keypad Cover Replacement: étape 8, image 2 de 2
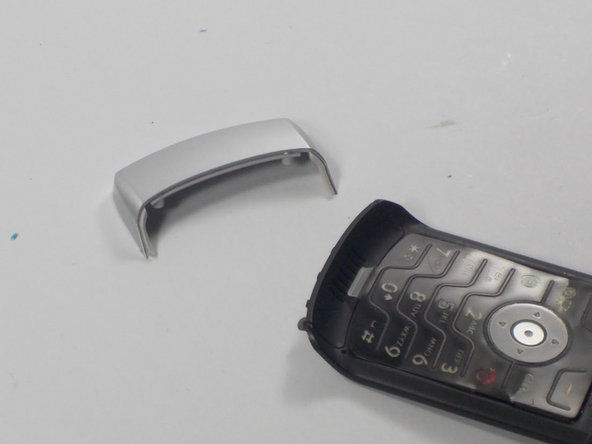
    • Remove the keypad cover, located below the keypad on the front of the phone.

  9. Motorola Razr V3m Keypad Cover Replacement: étape 9, image 1 de 2 Motorola Razr V3m Keypad Cover Replacement: étape 9, image 2 de 2
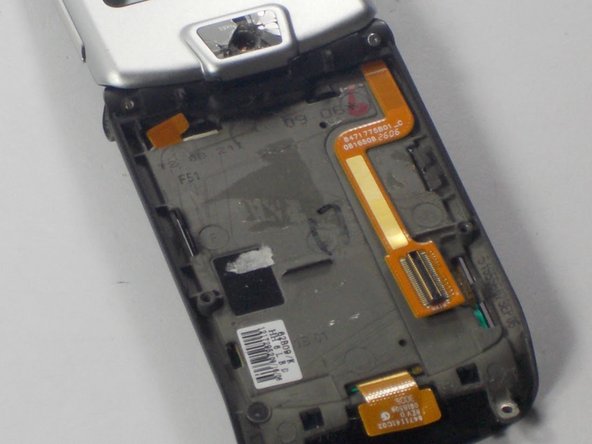
    • Remove the sticker on the back of the phone.

  10. Motorola Razr V3m Keypad Cover Replacement: étape 10, image 1 de 3 Motorola Razr V3m Keypad Cover Replacement: étape 10, image 2 de 3 Motorola Razr V3m Keypad Cover Replacement: étape 10, image 3 de 3
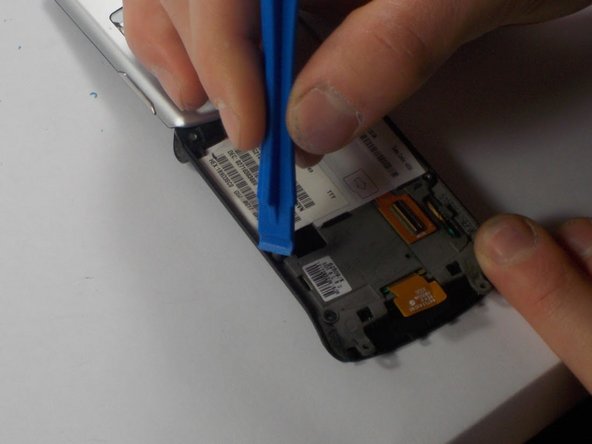
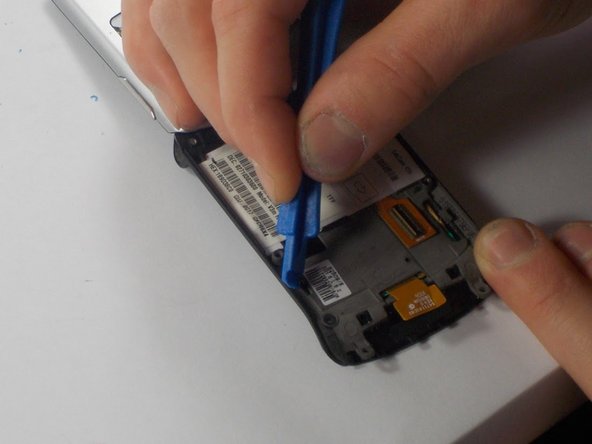
    • Using a plastic opening tool, push the four metal tabs along the edge of the phone in towards the keypad.

  11. Motorola Razr V3m Keypad Cover Replacement: étape 11, image 1 de 3 Motorola Razr V3m Keypad Cover Replacement: étape 11, image 2 de 3 Motorola Razr V3m Keypad Cover Replacement: étape 11, image 3 de 3
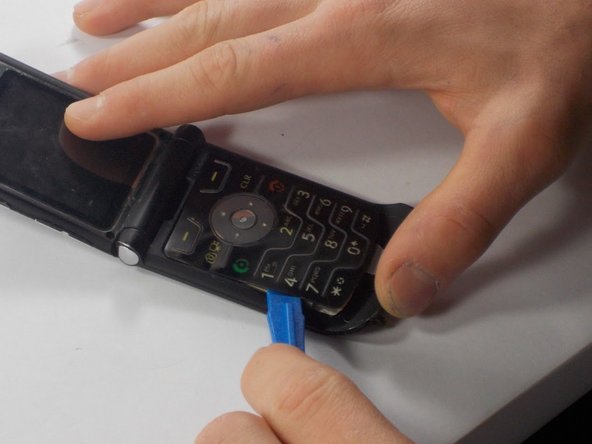
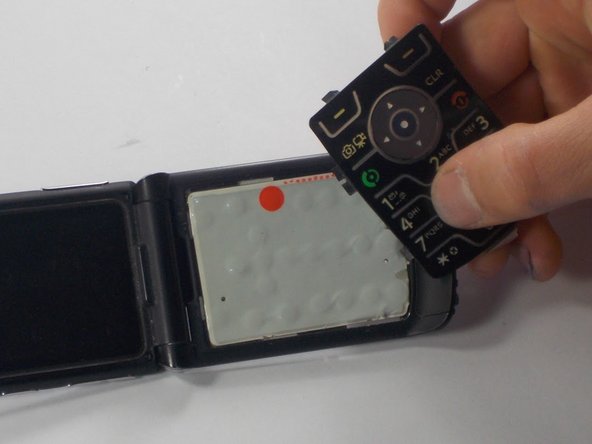
    • Using the plastic opening tool, pry the edges of the keypad until it is loose. Then, pull it off.

    • It is easiest to work your way from left to right when loosening the case.

Conclusion

To reassemble your device, follow these instructions in reverse order.

Une autre personne a terminé cette réparation.

Jonathan Gendron

Membre depuis le 10/28/15

122 Réputation

1 tutoriel rédigé

Équipe

UMass Dartmouth, Team 3-2, Shastany Fall 2015 Membre de l'équipe UMass Dartmouth, Team 3-2, Shastany Fall 2015

UMASSD-SHASTANY-F15S3G2

4 membres

7 tutoriels rédigés

0 commentaires

Ajouter un commentaire

Nombre de vues :

Dernières 24 heures : 1

7 derniers jours : 5

30 derniers jours : 9

Total : 1,055