Aller au contenu principal

Motorola Rival Keyboard Replacement

Ce dont vous avez besoin

  1. Motorola Rival Keyboard Replacement, Keyboard: étape 1, image 1 de 3 Motorola Rival Keyboard Replacement, Keyboard: étape 1, image 2 de 3 Motorola Rival Keyboard Replacement, Keyboard: étape 1, image 3 de 3
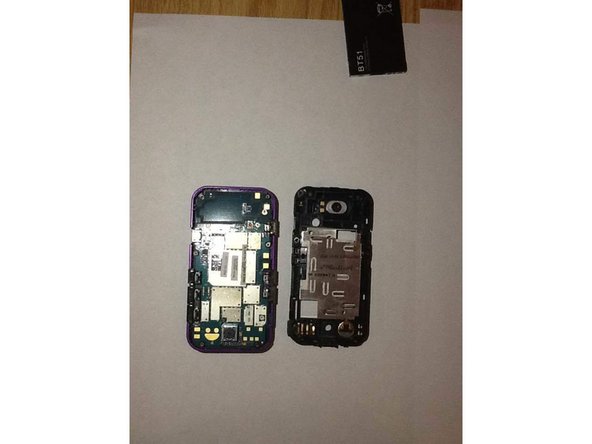
    • Locate the lever to release the cover of the device.

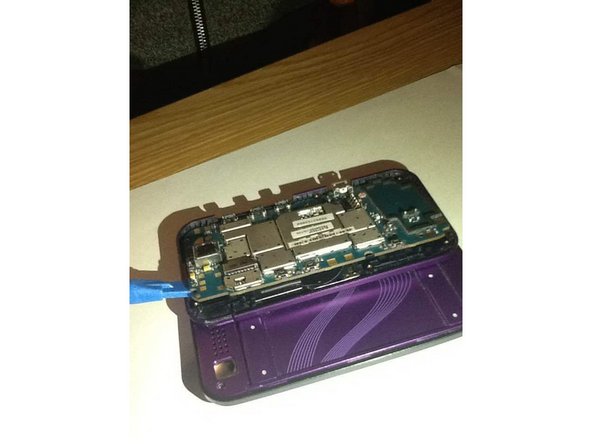
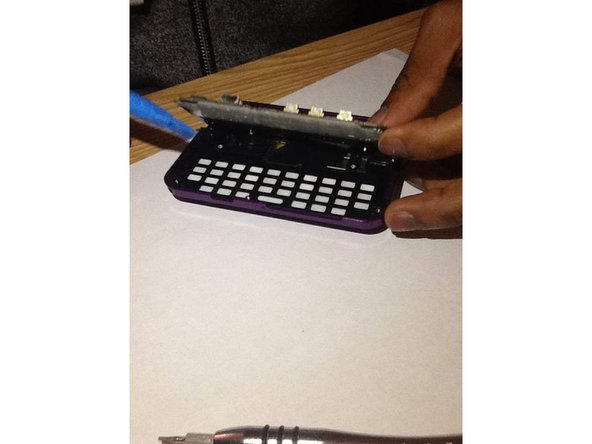
    • Push down on lever and pull the cover away from the device.

  2. Motorola Rival Keyboard Replacement: étape 2, image 1 de 2 Motorola Rival Keyboard Replacement: étape 2, image 2 de 2
    • Locate the battery on the back of the phone.

    • Remove the battery from the phone.

  3. Motorola Rival Keyboard Replacement: étape 3, image 1 de 2 Motorola Rival Keyboard Replacement: étape 3, image 2 de 2
    • Take out the 6 screws on the corners of the phone in order to get inside of the phone.

  4. Motorola Rival Keyboard Replacement: étape 4, image 1 de 2 Motorola Rival Keyboard Replacement: étape 4, image 2 de 2
    • Using the pry tool gently remove the back piece of the phone from the front piece.

  5. Motorola Rival Keyboard Replacement: étape 5, image 1 de 1
    • Using the pry tool remove the camera button from the phone.

  6. Motorola Rival Keyboard Replacement: étape 6, image 1 de 1
    • Using the pry tool, remove the lock/mute button.

  7. Motorola Rival Keyboard Replacement: étape 7, image 1 de 1
    • Using the pry, remove the volume buttons.

  8. Motorola Rival Keyboard Replacement: étape 8, image 1 de 2 Motorola Rival Keyboard Replacement: étape 8, image 2 de 2
    • Using a screw driver, locate and remove the screws that connect the keyboard to the mother board.

  9. Motorola Rival Keyboard Replacement: étape 9, image 1 de 3 Motorola Rival Keyboard Replacement: étape 9, image 2 de 3 Motorola Rival Keyboard Replacement: étape 9, image 3 de 3
    • With the pry tool, gently lift the mother board out of the frame.

    • Be sure to be gentle when lifting it up.

  10. Motorola Rival Keyboard Replacement: étape 10, image 1 de 1
    • Remove the keyboard from the frame.

    • Replace with new keyboard

Conclusion

To reassemble your device, follow these instructions in reverse order.

Sekani Paul

Membre depuis le 11/04/15

231 Réputation

2 tutoriels rédigés

Équipe

UMass Dartmouth, Team 1-8, Bhusal Fall 2015 Membre de l'équipe UMass Dartmouth, Team 1-8, Bhusal Fall 2015

UMASSD-BHUSAL-F15S1G8

2 membres

2 tutoriels rédigés

0 commentaires

Ajouter un commentaire

Nombre de vues :

Dernières 24 heures : 0

7 derniers jours : 0

30 derniers jours : 1

Total : 212