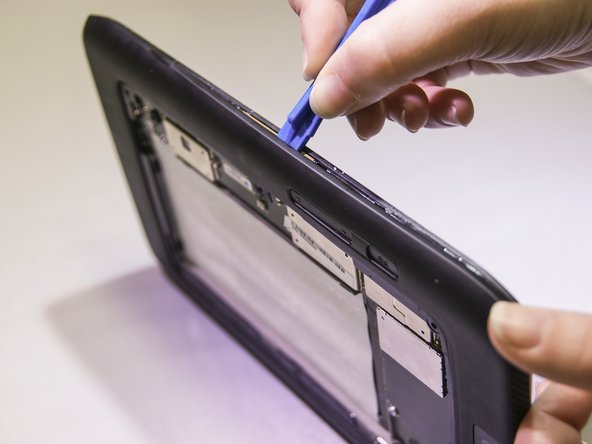
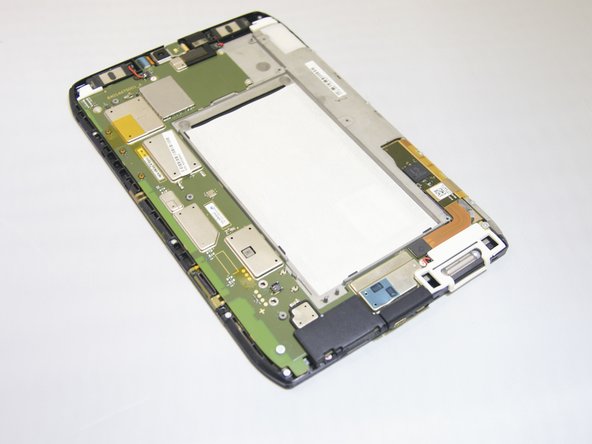
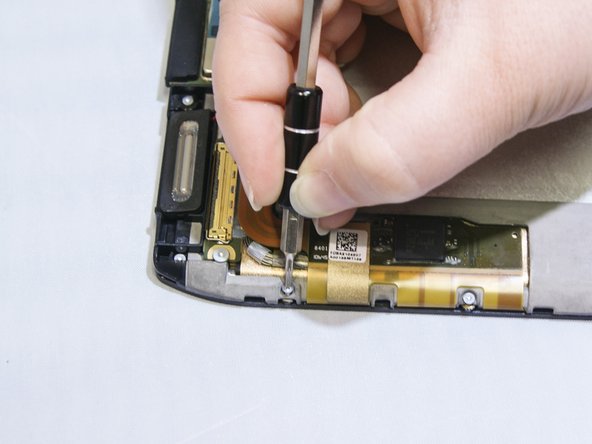
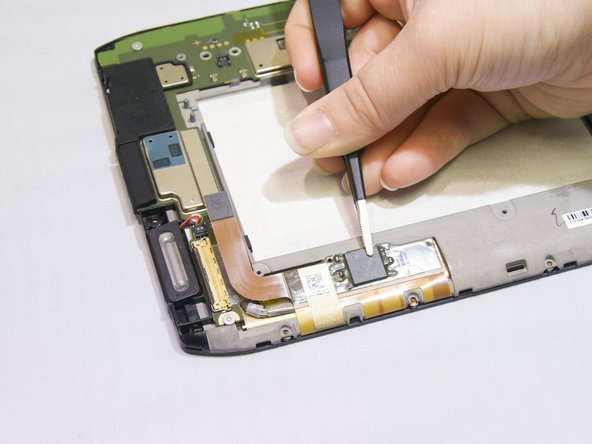
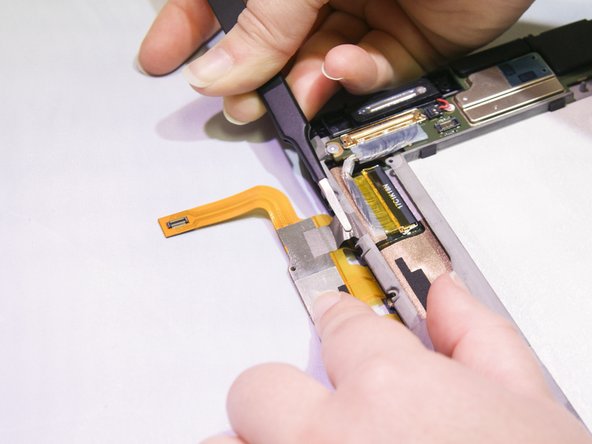
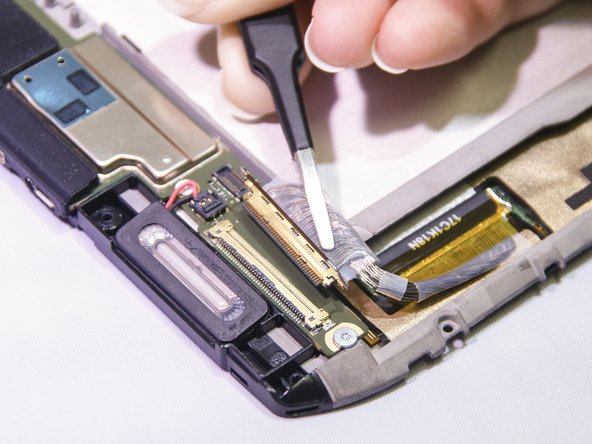
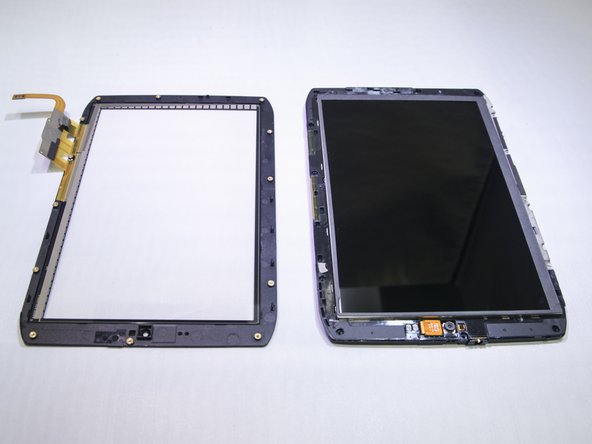
Aller au contenu principal

Motorola XOOM 2 Media Edition Touch Screen Replacement

Ce dont vous avez besoin

  1. Motorola XOOM 2 Media Edition Touch Screen Replacement, Motorola XOOM 2 Media Edition Disassembly: étape 1, image 1 de 2 Motorola XOOM 2 Media Edition Touch Screen Replacement, Motorola XOOM 2 Media Edition Disassembly: étape 1, image 2 de 2
    • Power off the device before beginning disassembly.

    • Remove six 2.7mm Torx #3 screws.

  2. Motorola XOOM 2 Media Edition Touch Screen Replacement: étape 2, image 1 de 2 Motorola XOOM 2 Media Edition Touch Screen Replacement: étape 2, image 2 de 2
    • There is adhesive attached to the underside of the back panel. Gradually lift the panel to avoid bending it out of shape.

    • Pry off the back panel using a plastic opening tool.

    • Using a plastic opening tool, slide the tool gently around the back cover to lift the cover off.

  3. Motorola XOOM 2 Media Edition Touch Screen Replacement: étape 3, image 1 de 3 Motorola XOOM 2 Media Edition Touch Screen Replacement: étape 3, image 2 de 3 Motorola XOOM 2 Media Edition Touch Screen Replacement: étape 3, image 3 de 3
    • Pry off the black cover gradually using a plastic opening tool.

  4. Motorola XOOM 2 Media Edition Touch Screen Replacement, Touch Screen: étape 4, image 1 de 2 Motorola XOOM 2 Media Edition Touch Screen Replacement, Touch Screen: étape 4, image 2 de 2
    • Remove thirteen 2.55mm Torx #4 screws with Torx T4 screwdriver.

  5. Motorola XOOM 2 Media Edition Touch Screen Replacement: étape 5, image 1 de 1
    • Use tweezers to pull up the white rubber cover.

  6. Motorola XOOM 2 Media Edition Touch Screen Replacement: étape 6, image 1 de 3 Motorola XOOM 2 Media Edition Touch Screen Replacement: étape 6, image 2 de 3 Motorola XOOM 2 Media Edition Touch Screen Replacement: étape 6, image 3 de 3
    • Use the tweezers to pull up the small chip from its receiver.

    • Use the tweezers to pull up the larger chip from its receiver.

    • There is adhesive attached to the back of the larger chip on the touchscreen controller strip.

    • Use the tweezers to pull up one end of the small piece of tape that is holding the touchscreen controller.

  7. Motorola XOOM 2 Media Edition Touch Screen Replacement: étape 7, image 1 de 2 Motorola XOOM 2 Media Edition Touch Screen Replacement: étape 7, image 2 de 2
    • Use the tweezers to pull up and release the thin handle that is attached to the LCD connector.

    • Use the tweezers to pull out the LCD connector from its receptor.

  8. Motorola XOOM 2 Media Edition Touch Screen Replacement: étape 8, image 1 de 2 Motorola XOOM 2 Media Edition Touch Screen Replacement: étape 8, image 2 de 2
    • Use a plastic opening tool to gradually separate the screen from the device.

Conclusion

To reassemble your device, follow these instructions in reverse order.

Une autre personne a terminé cette réparation.

Lacie Broten

Membre depuis le 09/28/16

271 Réputation

2 tutoriels rédigés

Équipe

0 commentaires

Ajouter un commentaire

Nombre de vues :

Dernières 24 heures : 0

7 derniers jours : 1

30 derniers jours : 2

Total : 635