Introduction
In this guide you will be able to replace the side wheel of the Neato Botvac Connected. This wheel will need to be replaced if it is not moving the vacuum properly. The wheel will also need to be replaced if the vacuum decides to stop moving at all. Using this guide comes after having to remove the battery as a precaution.
Ce dont vous avez besoin
-
-
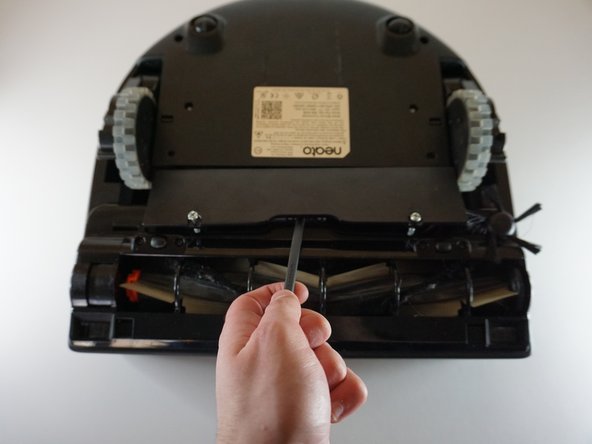
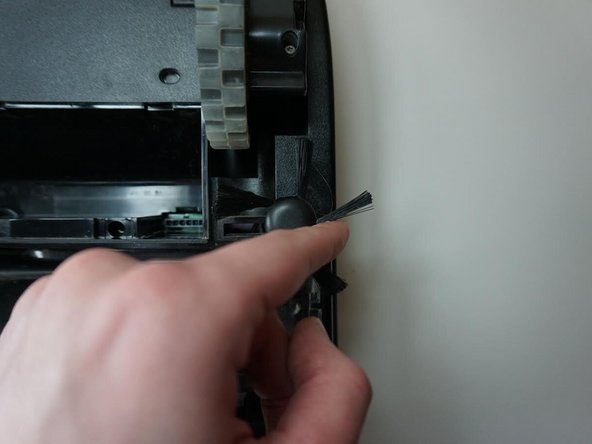
Remove the following screws with a Torx screwdriver:
-
Four 2.3 mm screws.
-
-
-
-
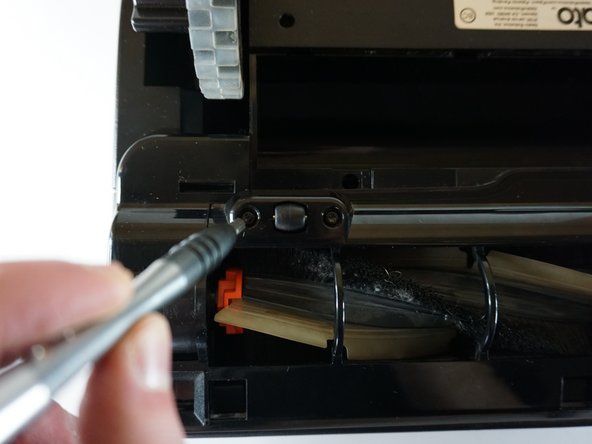
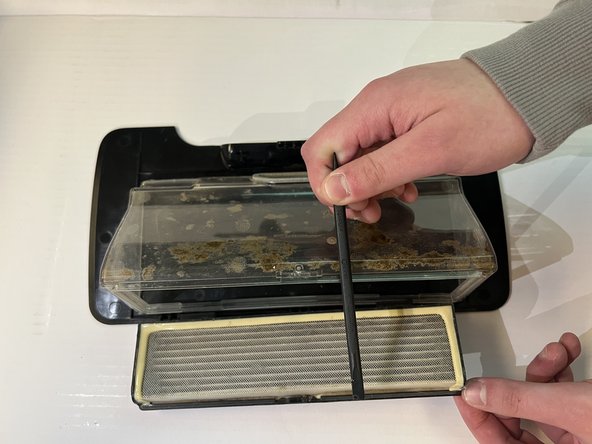
Remove the following screws with a TR10 Torx screwdriver:
-
Six 2.3 mm screws.
-


To reassemble your device, follow these instructions in reverse order.
To reassemble your device, follow these instructions in reverse order.
Annulation : je n'ai pas terminé ce tutoriel.
Une autre personne a terminé cette réparation.

Équipe

UMass Dartmouth, Team 6-3, Botvin Spring 2023 Membre de l'équipe UMass Dartmouth, Team 6-3, Botvin Spring 2023
UMASSD-BOTVIN-S23S6G3
4 membres
5 tutoriels rédigés