Aller au contenu principal
Pour réparer ensemble - Je crée un compte

NexiGo NS32 Trigger Assembly Replacement

Ce dont vous avez besoin

  1. NexiGo NS32 Trigger Assembly Replacement, Rear Case: étape 1, image 1 de 1
    • Orient the controller so that it is face down.

    Demander à FixBot
  2. NexiGo NS32 Trigger Assembly Replacement: étape 2, image 1 de 2 NexiGo NS32 Trigger Assembly Replacement: étape 2, image 2 de 2
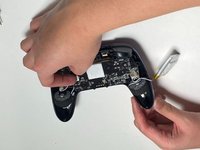
    • Remove the eight 9 mm Phillips screws that secure the rear case.

    Demander à FixBot
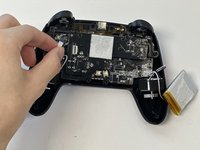
  3. NexiGo NS32 Trigger Assembly Replacement: étape 3, image 1 de 1
    • Lift the rear case up and off.

    • You may need to use an opening tool to help release the rear case, but avoid using excessive force so you don't damage the controller.

    Demander à FixBot
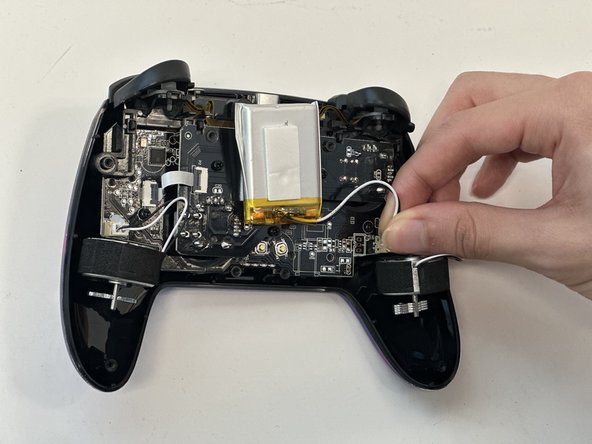
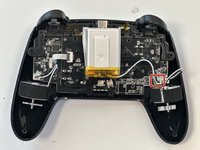
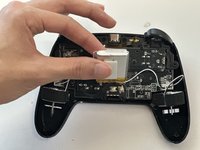
  4. NexiGo NS32 Trigger Assembly Replacement, Battery: étape 4, image 1 de 2 NexiGo NS32 Trigger Assembly Replacement, Battery: étape 4, image 2 de 2
    • Grip the white battery connector and pull it directly out of its motherboard socket.

    • This may require some force, as the connectors are secured with a bit of adhesive. If you're having trouble with disconnection, apply some high-concentration isopropyl alcohol to the adhesive to loosen it.

    • Do not pull on the wires.

    Demander à FixBot
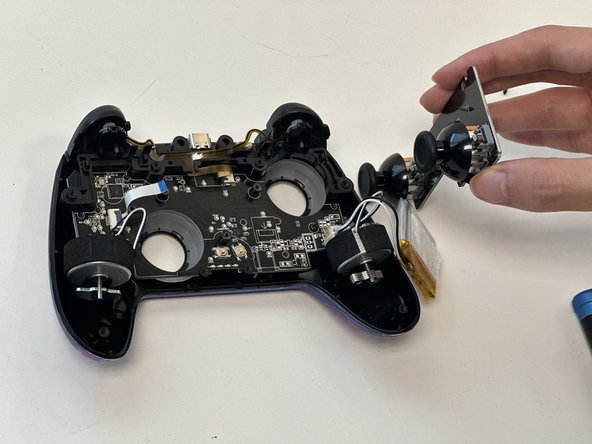
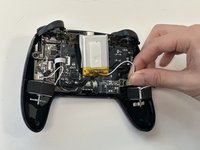
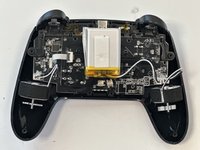
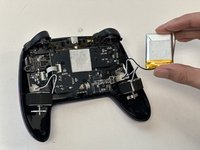
  5. NexiGo NS32 Trigger Assembly Replacement: étape 5, image 1 de 3 NexiGo NS32 Trigger Assembly Replacement: étape 5, image 2 de 3 NexiGo NS32 Trigger Assembly Replacement: étape 5, image 3 de 3
    • Lift the battery up and out.

    • Take care not to bend or puncture the battery as you remove it.

    Demander à FixBot
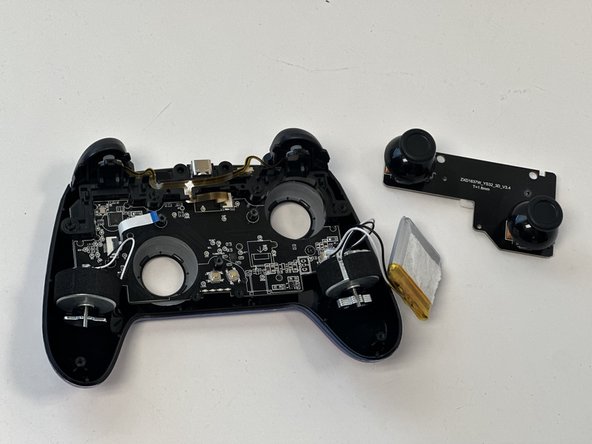
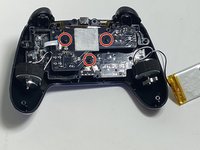
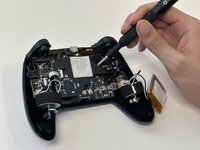
  6. NexiGo NS32 Trigger Assembly Replacement, Joystick PCB: étape 6, image 1 de 2 NexiGo NS32 Trigger Assembly Replacement, Joystick PCB: étape 6, image 2 de 2
    • Remove the three 9 mm Phillips screws that secure the joystick PCB.

    Demander à FixBot
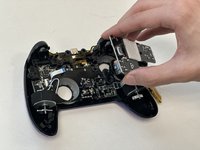
  7. NexiGo NS32 Trigger Assembly Replacement: étape 7, image 1 de 2 NexiGo NS32 Trigger Assembly Replacement: étape 7, image 2 de 2
    • Flip up the black ZIF connector locking flap on the left side of the joystick PCB.

    • Pull the ribbon cable directly out of its socket.

    Demander à FixBot
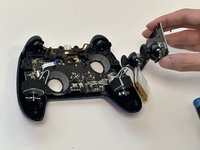
  8. NexiGo NS32 Trigger Assembly Replacement: étape 8, image 1 de 3 NexiGo NS32 Trigger Assembly Replacement: étape 8, image 2 de 3 NexiGo NS32 Trigger Assembly Replacement: étape 8, image 3 de 3
    • Lift out the joystick PCB.

    Demander à FixBot
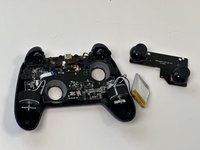
  9. NexiGo NS32 Trigger Assembly Replacement, Trigger Assembly: étape 9, image 1 de 1
    • Flip up the black ZIF locking flap that secures the trigger assembly ribbon cable.

    • Disconnect the ribbon cable.

    Demander à FixBot
  10. NexiGo NS32 Trigger Assembly Replacement: étape 10, image 1 de 2 NexiGo NS32 Trigger Assembly Replacement: étape 10, image 2 de 2
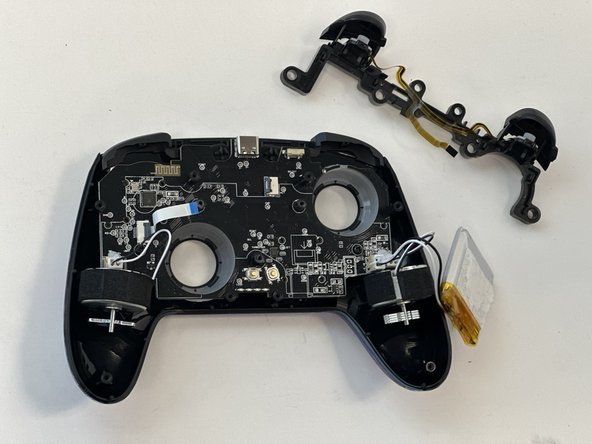
    • Gently lift out the trigger assembly.

    Demander à FixBot
Conclusion

To reassemble your device, follow these instructions in reverse order.

Gage_Atx

Membre depuis le 01/29/24

85 Réputation

1 tutoriel rédigé

Équipe

Austin Community College, Team 18-3, Watkins Spring 2024 Membre de l'équipe Austin Community College, Team 18-3, Watkins Spring 2024

AUSTINCC-WATKINS-S24S18G3

4 membres

8 tutoriels rédigés

0 commentaires de tutoriel

Ajouter un commentaire

Nombre de vues :

Dernières 24 heures : 0

7 derniers jours : 3

30 derniers jours : 29

Total : 278