Aller au contenu principal

Nexus 5 Antenna Cable Replacement

Ce dont vous avez besoin

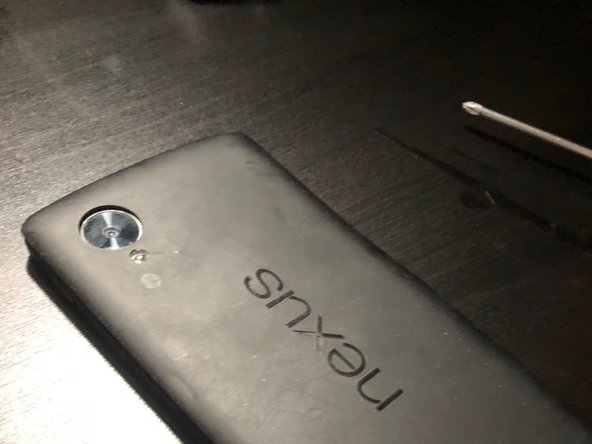
  1. Nexus 5 Antenna Cable Replacement, Remove the Battery Door: étape 1, image 1 de 1
    • The battery door of the Nexus 5 is held together with plastic clips.

    • Use the plastic spudger to separate the battery door.

  2. Nexus 5 Antenna Cable Replacement, Unscrew the Midframe and Speaker Assemby: étape 2, image 1 de 3 Nexus 5 Antenna Cable Replacement, Unscrew the Midframe and Speaker Assemby: étape 2, image 2 de 3 Nexus 5 Antenna Cable Replacement, Unscrew the Midframe and Speaker Assemby: étape 2, image 3 de 3
    • Using your #00 Philips Screwdriver, remove the six screws holding the midframe in place.

    • Remove the four screws at the bottom of the device holding the speaker assembly in place.

    • The screw on the far right may be covered in adhesive. Use your plastic spudger to remove the adhesive covering the screw.

  3. Nexus 5 Antenna Cable Replacement, Remove the Midframe and Speaker Assembly: étape 3, image 1 de 2 Nexus 5 Antenna Cable Replacement, Remove the Midframe and Speaker Assembly: étape 3, image 2 de 2
    • Remove the midframe and speaker assembly.

  4. Nexus 5 Antenna Cable Replacement, Remove and Replace the Antenna Cables: étape 4, image 1 de 3 Nexus 5 Antenna Cable Replacement, Remove and Replace the Antenna Cables: étape 4, image 2 de 3 Nexus 5 Antenna Cable Replacement, Remove and Replace the Antenna Cables: étape 4, image 3 de 3
    • The antenna cables are located on the right and left side of the battery (one is gray, the other is black).

    • Using your plastic spudger, disconnect both ends of the antenna cables.

    • Connect your new antenna cables.

    • Make sure the antenna cables are securely connected.

  5. Nexus 5 Antenna Cable Replacement, Reassemble the Device: étape 5, image 1 de 2 Nexus 5 Antenna Cable Replacement, Reassemble the Device: étape 5, image 2 de 2
    • Screw the midframe and speaker assembly back into place.

    • Push the outer edges of the battery door down until you hear the plastic clips "click."

    • Hold the power button until you feel the phone vibrate and/or see the Google logo displayed.

Ligne d'arrivée

Une autre personne a terminé cette réparation.

Tyler Caldwell

Membre depuis le 12/07/17

181 Réputation

1 tutoriel rédigé

Équipe

IUPUI, Team S1-G1, Baechle Fall 2017 Membre de l'équipe IUPUI, Team S1-G1, Baechle Fall 2017

IUPUI-BAECHLE-F17S1G1

2 membres

6 tutoriels rédigés

0 commentaires

Ajouter un commentaire

Nombre de vues :

Dernières 24 heures : 0

7 derniers jours : 2

30 derniers jours : 5

Total : 2,733