Cette version peut contenir des modifications incorrectes. Passez au dernier aperçu vérifié.
Ce dont vous avez besoin
-
Cette étape n’est pas traduite. Aidez à la traduire
-
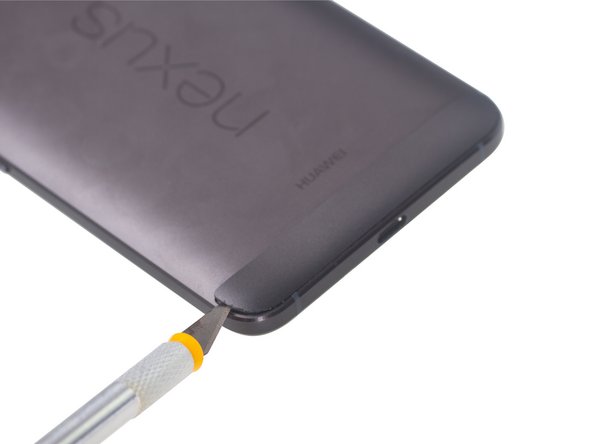
Heat up back glass panel.
-
Use hobby knife to open a gap and cut the fierce sticker underneath rear glass panel.
-
-
Cette étape n’est pas traduite. Aidez à la traduire
-
Heat up bottom plastic panel.
-
Use hobby knife to open a gap and insert guitar picks to cut adhesive underneath.
-
-
-
Cette étape n’est pas traduite. Aidez à la traduire
-
Twist off 6 Phillips screws together.
-
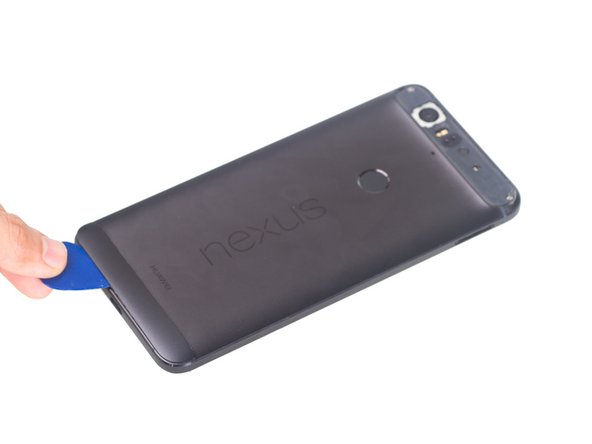
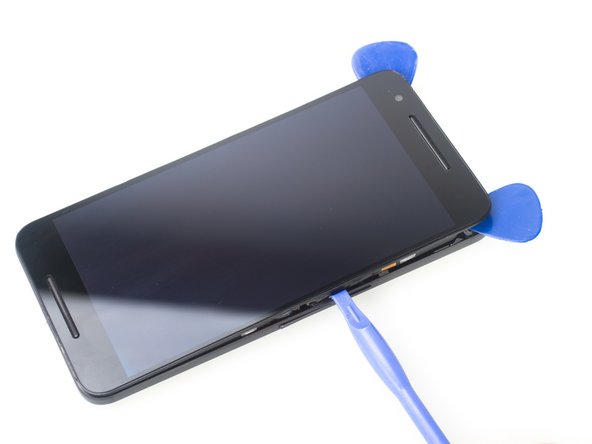
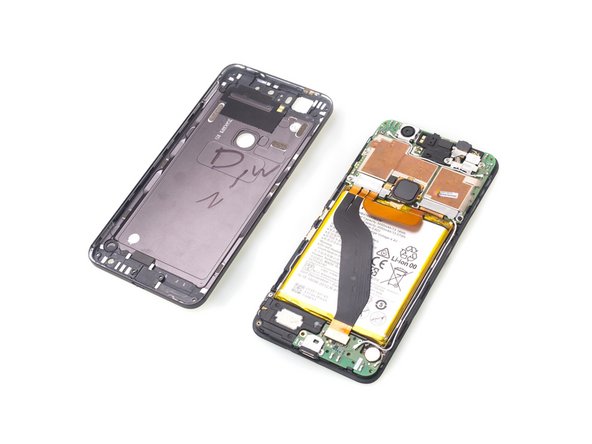
Insert guitar picks and plastic opening tool to separate front assembly from back cover.
-
-
Cette étape n’est pas traduite. Aidez à la traduire
-
Unscrew one Phillips screw.
-
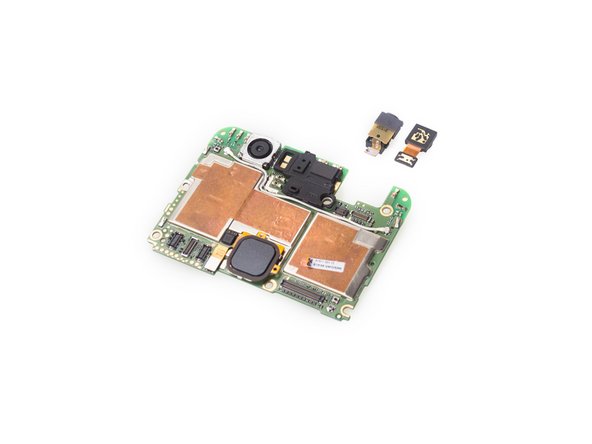
Remove metal bracket securing flex contactors.
-
Release 3 flex contactors and remove it .
-
-
Cette étape n’est pas traduite. Aidez à la traduire
-
Twist off 5 Phillips screws together and release battery contactor.
-
Remove metal bracket securing LCD contactor.
-
Release metal bracket securing front camera contactor and headphone jack contactor.
-
-
Cette étape n’est pas traduite. Aidez à la traduire
-
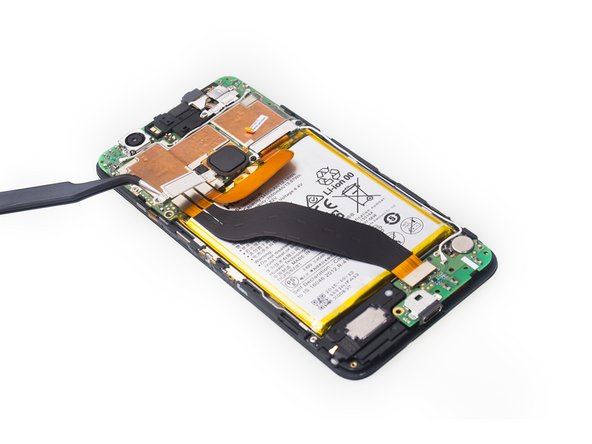
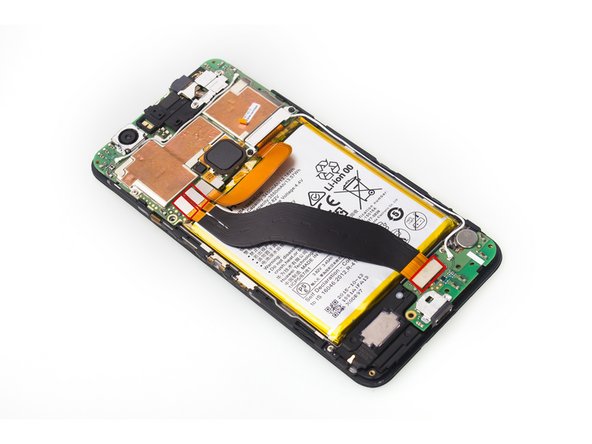
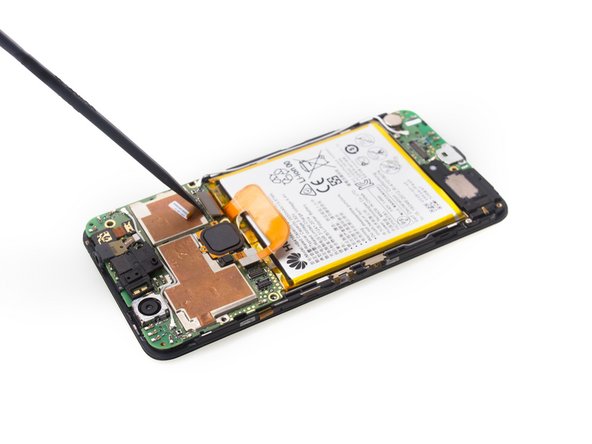
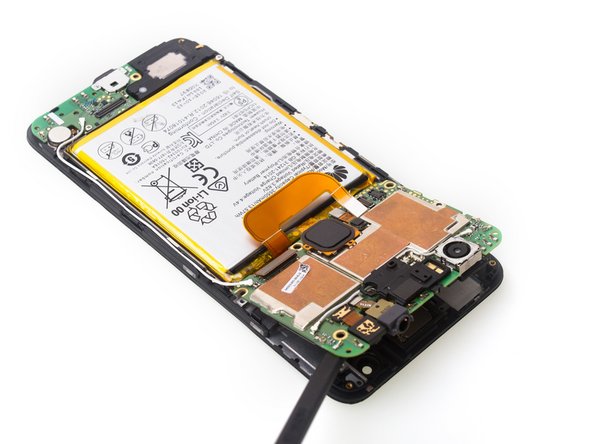
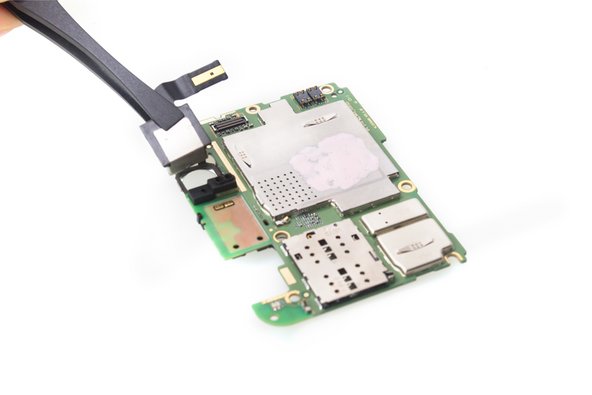
Disconnect signal cable contactor.
-
Release LCD contactor.
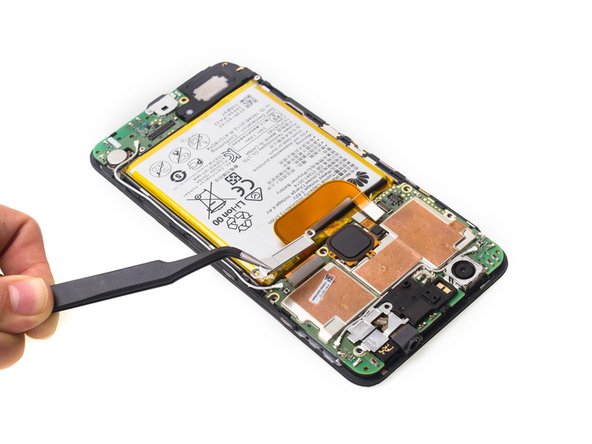
-
Pry up and remove motherboard.
-


Annulation : je n'ai pas terminé ce tutoriel.
10 autres ont terminé cette réparation.

4 commentaires
Does the headphone jack have a part number?
I can't find the replacement part anywhere online.
Headphone jack part number 9-HU-2909
I am searching all over the www for headphone jack. It's listed at two stores for $9.99. But, no stock.
Headphone jacks for every other silly phone are available all over the internet for couple of $.
Awesome guide! I used this guide to replace my rear camera because the old camera’s focus was stuck in one position (which is a common problem with 6p’s apparently). The guide was spot on, and it has good pictures showing you what to do. It only took me about 30-40 minutes to complete.
Very useful, even multiple years later. I used it to complete a full mainboard swap as I corrupted the partitions on my original board. I followed this guide and it worked perfectly. Patience is key for the glass camera lens.