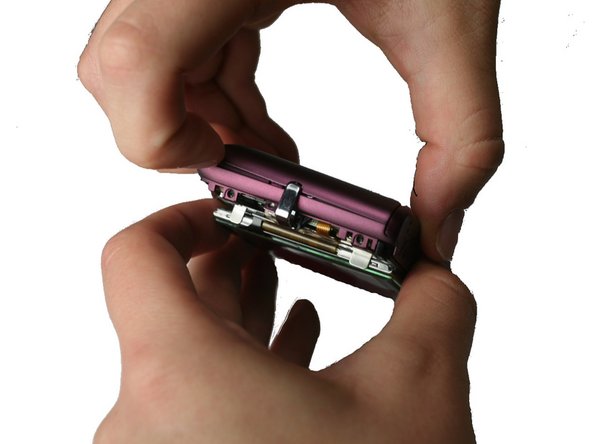
Aller au contenu principal

Nikon Coolpix S4100 Functional Button Plate Replacement

Ce dont vous avez besoin

  1. Nikon Coolpix S4100 Functional Button Plate Replacement, External Casing: étape 1, image 1 de 3 Nikon Coolpix S4100 Functional Button Plate Replacement, External Casing: étape 1, image 2 de 3 Nikon Coolpix S4100 Functional Button Plate Replacement, External Casing: étape 1, image 3 de 3
    • Using a Philips #000 head screwdriver, remove the 8 screws (3.30 mm) visible on the external part of the camera.

    • There are 2 on each side, and 4 on the bottom.

  2. Nikon Coolpix S4100 Functional Button Plate Replacement: étape 2, image 1 de 1
    • Remove the black casing on the back of the camera that runs around the LCD screen.

  3. Nikon Coolpix S4100 Functional Button Plate Replacement: étape 3, image 1 de 1
    • Using the Philips #000 head screwdriver, remove the 1.90 mm internal screw located just above the lanyard mount.

  4. Nikon Coolpix S4100 Functional Button Plate Replacement: étape 4, image 1 de 3 Nikon Coolpix S4100 Functional Button Plate Replacement: étape 4, image 2 de 3 Nikon Coolpix S4100 Functional Button Plate Replacement: étape 4, image 3 de 3
    • Pry off the front shell casing.

    • If you find this difficult, use a prying tool to help gently remove the casing.

  5. Nikon Coolpix S4100 Functional Button Plate Replacement: étape 5, image 1 de 1
    • Using the Philips #000 head screwdriver, remove the 3.30 mm screw located on the side of the camera near the lanyard mount.

  6. Nikon Coolpix S4100 Functional Button Plate Replacement: étape 6, image 1 de 2 Nikon Coolpix S4100 Functional Button Plate Replacement: étape 6, image 2 de 2
    • Using the Philips #000 head screwdriver, remove 2 additional 3.30 mm screws holding the lanyard mount in place.

  7. Nikon Coolpix S4100 Functional Button Plate Replacement: étape 7, image 1 de 3 Nikon Coolpix S4100 Functional Button Plate Replacement: étape 7, image 2 de 3 Nikon Coolpix S4100 Functional Button Plate Replacement: étape 7, image 3 de 3
    • Remove the lanyard mount and accompanying side shell casing off of the camera.

  8. Nikon Coolpix S4100 Functional Button Plate Replacement: étape 8, image 1 de 1
    • Using the Philips #000 head screwdriver, remove the 3.30 mm screw securing the top shell casing.

  9. Nikon Coolpix S4100 Functional Button Plate Replacement: étape 9, image 1 de 1
    • Using the Philips #000 head screwdriver, remove the 3.40 mm screw located on the front of the camera in the upper corner by the LED light.

  10. Nikon Coolpix S4100 Functional Button Plate Replacement: étape 10, image 1 de 1
    • Remove the remaining side shell casing.

  11. Nikon Coolpix S4100 Functional Button Plate Replacement: étape 11, image 1 de 1
    • Remove the top shell casing.

  12. Nikon Coolpix S4100 Functional Button Plate Replacement, Functional Button Plate: étape 12, image 1 de 1
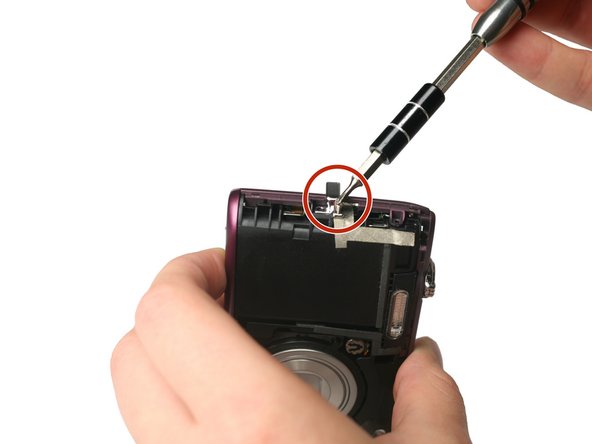
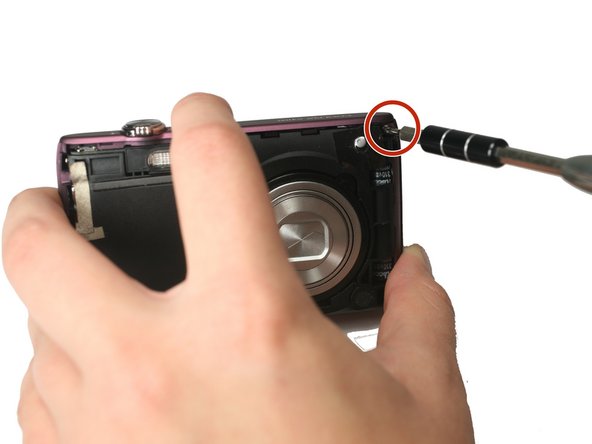
    • Using the Philips #000 head screwdriver, remove the 3.40 mm screw located near the functional buttons.

  13. Nikon Coolpix S4100 Functional Button Plate Replacement: étape 13, image 1 de 1
    Outil utilisé dans cette étape :
    Tweezers
    $4.99
    J'achète
    • Using precision tweezers, remove the ribbon cable that runs from the functional buttons plate to the under side of the motherboard.

  14. Nikon Coolpix S4100 Functional Button Plate Replacement: étape 14, image 1 de 1
    • Using precision tweezers, lift up the bottom of the functional buttons plate and remove the metal plate.

Conclusion

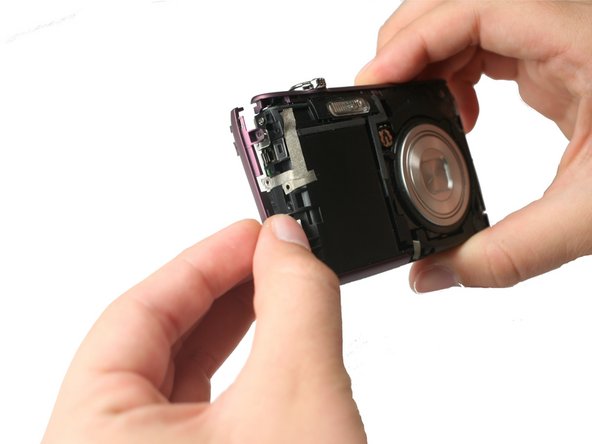
To reassemble your device, follow these instructions in reverse order.

Une autre personne a terminé cette réparation.

Matthew Willis

Membre depuis le 09/22/15

598 Réputation

4 tutoriels rédigés

Équipe

Baylor, Team 4-2, Williams Fall 2015 Membre de l'équipe Baylor, Team 4-2, Williams Fall 2015

BU-WILLIAMS-F15S4G2

4 membres

8 tutoriels rédigés

0 commentaires

Ajouter un commentaire

Nombre de vues :

Dernières 24 heures : 1

7 derniers jours : 2

30 derniers jours : 10

Total : 369