Aller au contenu principal

Nikon D5200 Screen Replacement

Ce dont vous avez besoin

  1. Nikon D5200 Screen Replacement, Screen: étape 1, image 1 de 3 Nikon D5200 Screen Replacement, Screen: étape 1, image 2 de 3 Nikon D5200 Screen Replacement, Screen: étape 1, image 3 de 3
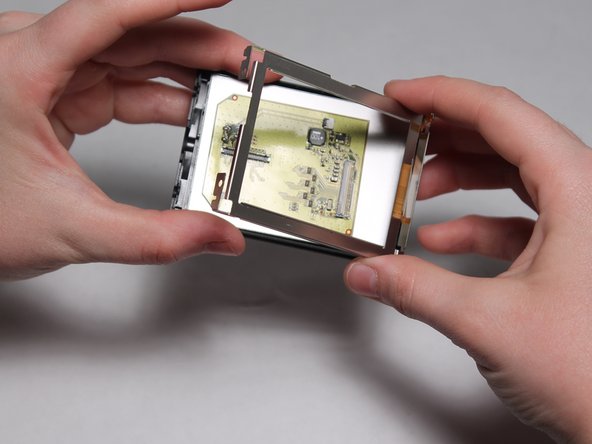
    • Fully open the LCD panel so that its screws are easily accessible.

    • Remove the two 2.5 mm screws from the outside edge of the screen casing, and the two 3.5 mm screws from the inside edge.

  2. Nikon D5200 Screen Replacement: étape 2, image 1 de 3 Nikon D5200 Screen Replacement: étape 2, image 2 de 3 Nikon D5200 Screen Replacement: étape 2, image 3 de 3
    • Pry open the plastic casing using the opening tool or by hand.

  3. Nikon D5200 Screen Replacement: étape 3, image 1 de 3 Nikon D5200 Screen Replacement: étape 3, image 2 de 3 Nikon D5200 Screen Replacement: étape 3, image 3 de 3
    • Use the plastic opening tool to pop up the latch holding the ribbon cable on the right side of the circuit board, and remove it.

    • Use the plastic opening tool to pry the ribbon cable on the left side of the circuit board up and off of its socket.

  4. Nikon D5200 Screen Replacement: étape 4, image 1 de 2 Nikon D5200 Screen Replacement: étape 4, image 2 de 2
    • Using tweezers, unplug the smaller cable.

  5. Nikon D5200 Screen Replacement: étape 5, image 1 de 2 Nikon D5200 Screen Replacement: étape 5, image 2 de 2
    • Desolder the three small wires on the left side of the circuit board.

    • Soldering irons become very hot when in use. Take all necessary precautions to avoid injury.

  6. Nikon D5200 Screen Replacement: étape 6, image 1 de 3 Nikon D5200 Screen Replacement: étape 6, image 2 de 3 Nikon D5200 Screen Replacement: étape 6, image 3 de 3
    • Using a spudger, remove the display from its casing.

Conclusion

To reassemble your device, follow these instructions in reverse order.

15 autres ont terminé cette réparation.

Alexander Corn

Membre depuis le 08/26/15

1 282 Réputation

5 tutoriels rédigés

Équipe

USF Tampa, Team 3-1, Eyestone Fall 2015 Membre de l'équipe USF Tampa, Team 3-1, Eyestone Fall 2015

USFT-EYESTONE-F15S3G1

4 membres

5 tutoriels rédigés

8 commentaires

Do I need to de-solder if I'm just replacing the window glass?

isaac - Réponse

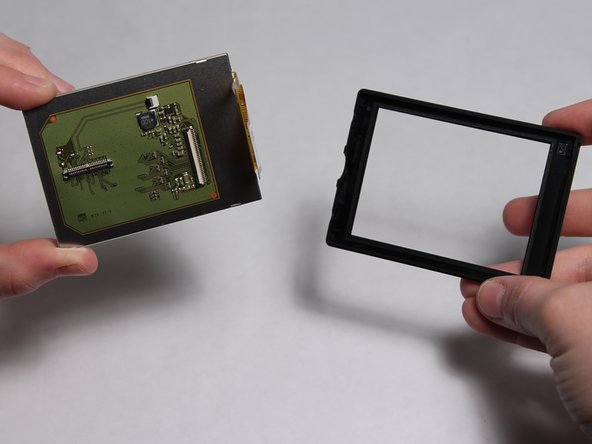
To isaac: no. The exterior glass is separate from the LCD.

Joseph Morris - Réponse

Do you recommend the replacent for LCD sold on Ebay?

g_atki - Réponse

Where did you find the replacement screen? The one I ordered that says it's for the d5200 is not the same as the one in it or in your pictures.

Heather Miller - Réponse

How do you disconnect the multi-plug that is shown connected in image 4 and disconnected in image five? Does it unclip or slide out?

Amanda Bruyninckx - Réponse

Ajouter un commentaire

Nombre de vues :

Dernières 24 heures : 4

7 derniers jours : 17

30 derniers jours : 56

Total : 11,772