Introduction
The 3DS NFC Adapter is an external device that gives older 3DS family models the ability to use Amiibos. This guide goes over the dismantling of a Nintendo 3DS NFC Adapter. Model number: CTRAFGWA.
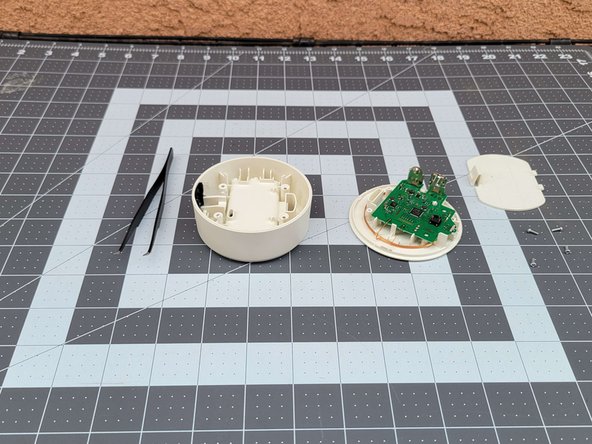
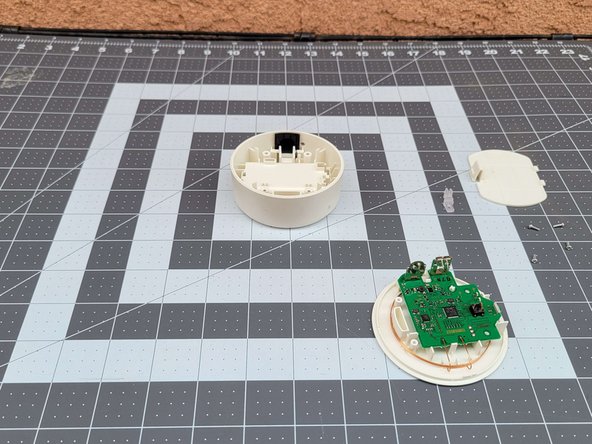
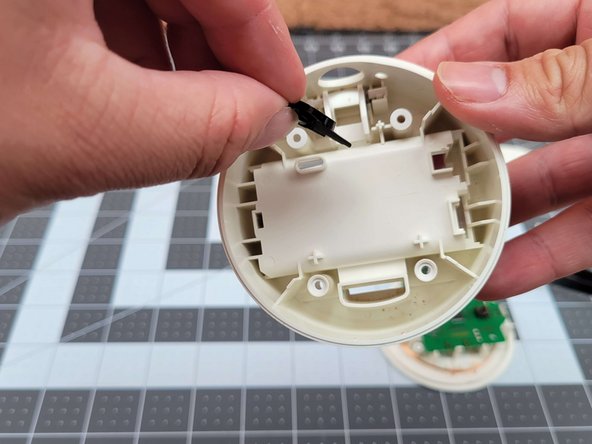
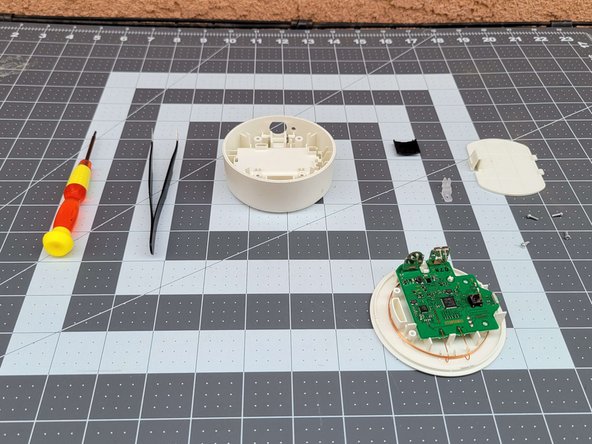
The NFC Adapter is a very simple device to take apart. The adapter contains a button, infrared slide, light-up plastic piece, and motherboard.
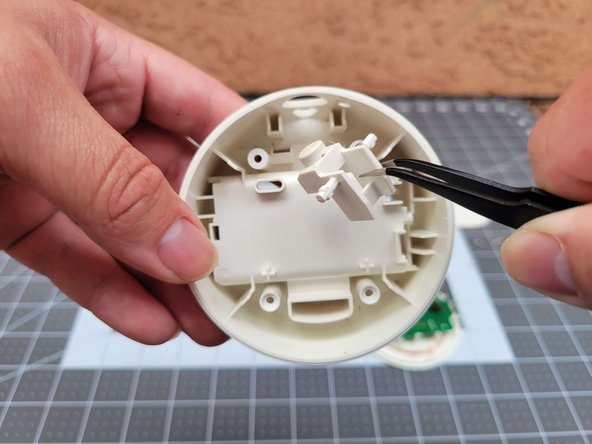
Steps 8 involve removing the motherboard, so take caution to prevent damage.
Ce dont vous avez besoin
-
-
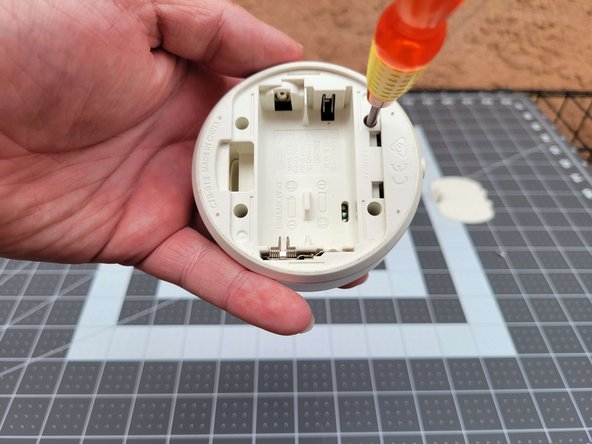
Flip the adapter so the bottom side faces up.
-
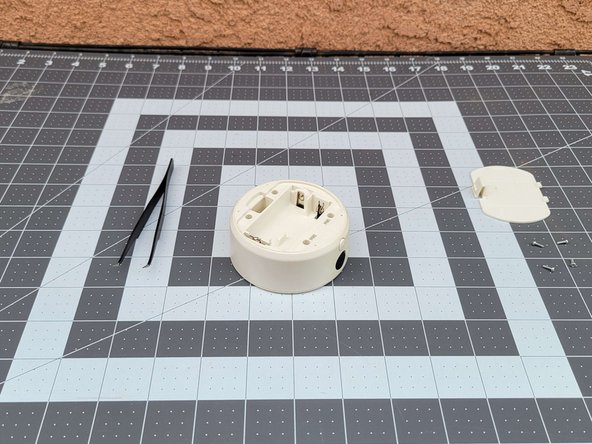
Remove the cover by pressing the plastic flap and lifting it up with one finger.
-
-


Annulation : je n'ai pas terminé ce tutoriel.
Une autre personne a terminé cette réparation.

Équipe

CSU Los Angeles, Team 87-87, Briggs Spring 2023 Membre de l'équipe CSU Los Angeles, Team 87-87, Briggs Spring 2023
CSULA-BRIGGS-S23S87G87
1 membre
2 tutoriels rédigés