Introduction
In order to reach the touchscreen of the Nintendo 3DS XL you will need to first remove the motherboard and accompanying parts. This guide will help you replace your touchscreen in no time!
Ce dont vous avez besoin
-
-
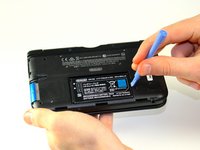
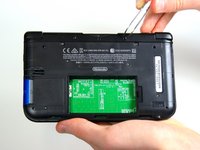
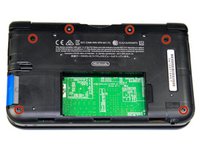
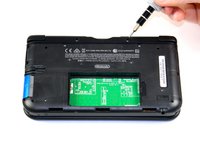
Loosen the two #00 Phillips 4.2 mm-length screws located at the top of the back cover.
-
-
-
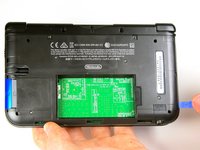
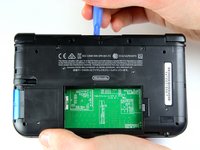
Hold the device so that the cover is facing up.
-
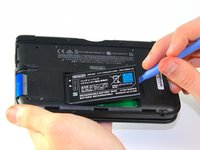
Using a plastic opening tool, pry off the cover starting at the top right corner.
-
Hold the edge of the cover to ensure it does not reattach.
-
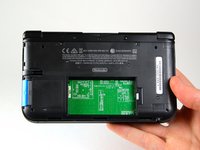
Look for the small section below the stylus compartment. Pry off the cover at that point if it is still attached.
-
Take off the cover of the device and set it aside.
-
-
Outil utilisé dans cette étape :Tweezers$4.99
-
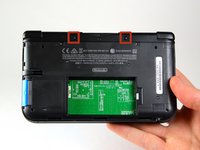
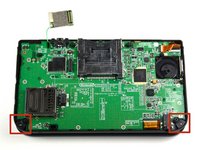
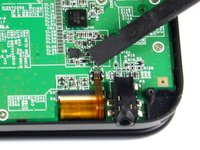
Using tweezers pull out the rubber bumpers that are located at the top of the device on either side of the game cartridge compartment.
-
-
-
-
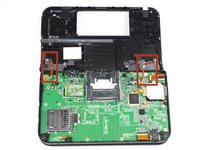
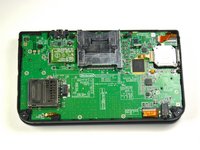
Position the device such that the game cartridge slot is located at the top.
-
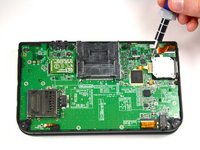
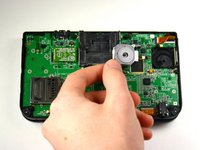
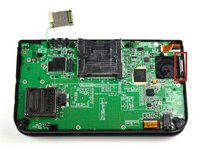
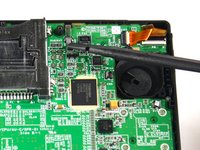
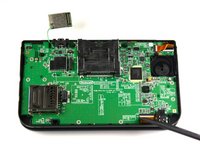
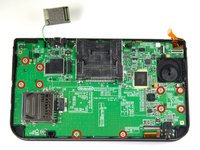
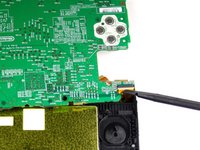
Locate the IR board located on the upper right side of the motherboard.
-
Remove the IR board with a plastic opening tool by inserting the tool below the IR board and gently prying up.
-
-
-
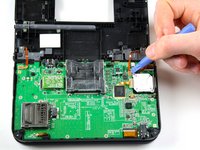
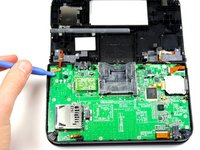
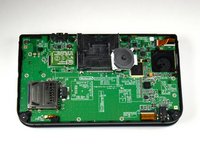
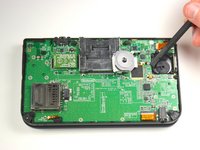
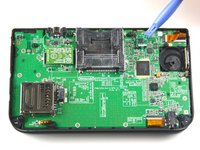
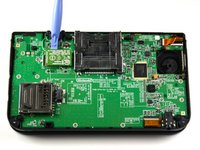
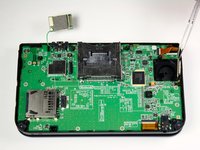
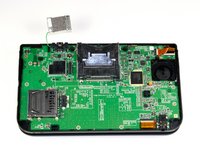
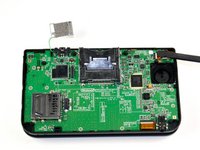
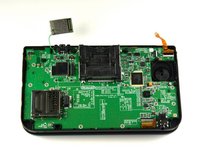
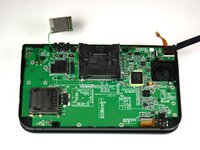
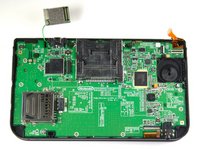
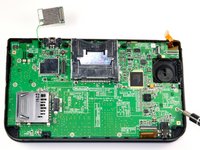
Using a plastic opening tool, pry off the Wi-Fi board.
-
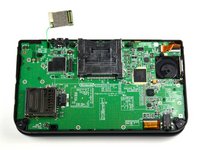
The Wi-Fi board will still be connected by a wire and it is not necessary to completely remove it for this step. Simply place it out of the way for this step.
-
-
-
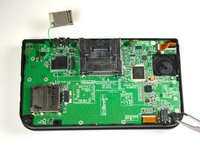
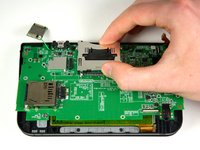
Open the device's hinge.
-
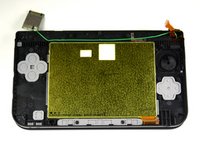
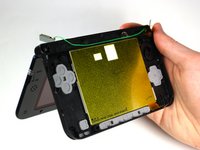
Gently press upward on the touchscreen until it separates from the casing.
-
-
-
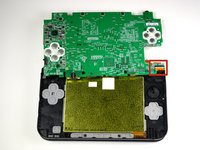
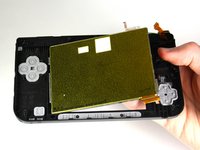
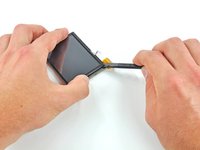
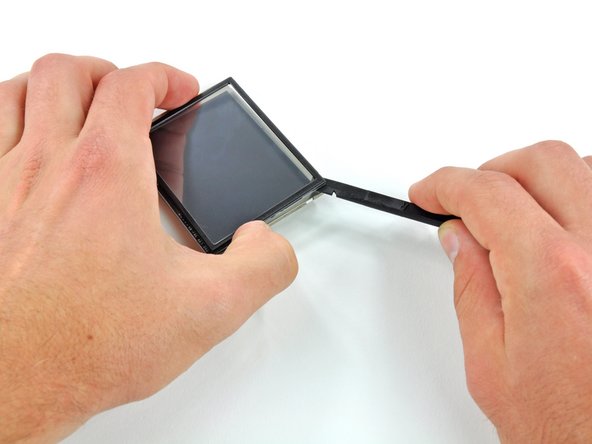
Starting at the bottom right corner, insert the flat end of a spudger between the touch digitizer and LCD frame and gently pry the touchscreen off the LCD.
-
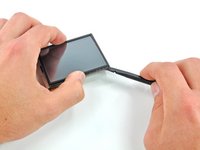
Insert the spudger into the top right corner between the two pieces and pry the touch digitizer off the LCD frame.
-


To reassemble your device, follow these instructions in reverse order.
To reassemble your device, follow these instructions in reverse order.
Annulation : je n'ai pas terminé ce tutoriel.
65 autres ont terminé cette réparation.
Équipe

Cal Poly, Team 9-13, Regan Spring 2014 Membre de l'équipe Cal Poly, Team 9-13, Regan Spring 2014
CPSU-REGAN-S14S9G13
5 membres
44 tutoriels rédigés
24 commentaires
what if you need to replace the screen on the top housing? what is it called.
Is the bottom LCD screen of the Nintendo 3ds xl, the same as the one in the NEW Nintendo 3ds xl?
Looking for what part to buy.
Bit old, but did you figure out the answer which to buy?
White -
Very detailed and easy to use step by step thanks. However, after reassembly after I switch the power button on it starts and then a flash and it trips out? Obviously a fault somewhere but not sure where to start.? Any thoughts appreciated.
That's to do with a part this tutorial skips: you need to put some insulation between the new screen and the motherboard. That's what that orange film is on the back of the screen in the photos. When replacing, you can easily (carefully) remove that film and stick it onto the back of the new screen, no problem. Or you can put some other sort of adhesive to create some insulation between the screen and motherboard. Hope this helps.