Aller au contenu principal

Nintendo NES Advantage B Button Replacement

Ce dont vous avez besoin

  1. Nintendo NES Advantage B Button Replacement, Back Panel: étape 1, image 1 de 1
    • Remove the four sticky pads from the bottom of the device.

    • If the pads are stuck, use a spudger to remove them.

  2. Nintendo NES Advantage B Button Replacement: étape 2, image 1 de 2 Nintendo NES Advantage B Button Replacement: étape 2, image 2 de 2
    • Remove the six 8 mm screws from the bottom of the device with a Phillips #0 screwdriver.

    • Use your hands to pull the back panel away from the controller.

  3. Nintendo NES Advantage B Button Replacement, Circuit Board: étape 3, image 1 de 2 Nintendo NES Advantage B Button Replacement, Circuit Board: étape 3, image 2 de 2
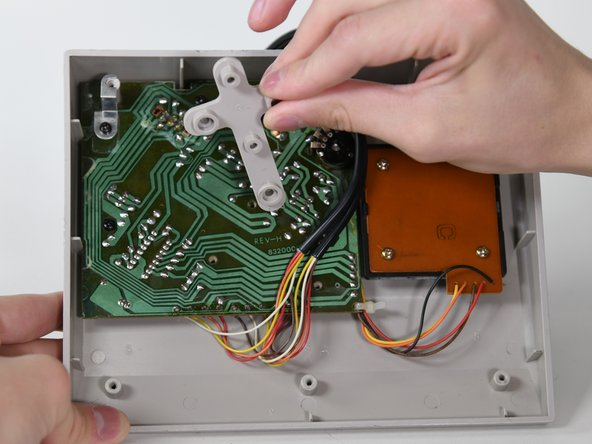
    • Remove the three 14 mm screws from the gray cross with a Phillips #0 screwdriver.

    • Lift the gray component away from the device.

  4. Nintendo NES Advantage B Button Replacement: étape 4, image 1 de 1
    • Lift up the black wire and move it to the side.

  5. Nintendo NES Advantage B Button Replacement: étape 5, image 1 de 3 Nintendo NES Advantage B Button Replacement: étape 5, image 2 de 3 Nintendo NES Advantage B Button Replacement: étape 5, image 3 de 3
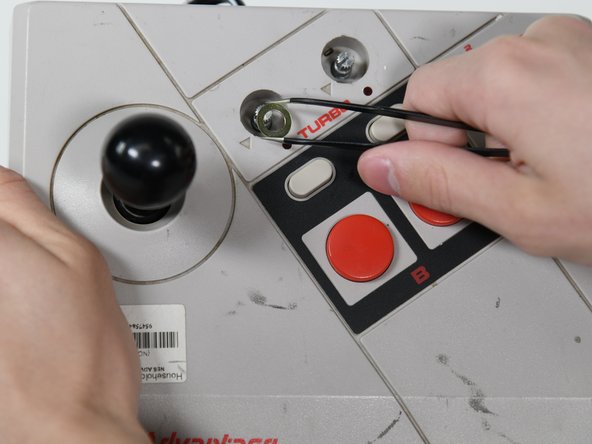
    • Remove the two silver knobs on the front of the device.

    • Unscrew the two silver nuts using a flathead screwdriver.

    • Remove each silver nut and silver washer using a pair of tweezers.

  6. Nintendo NES Advantage B Button Replacement: étape 6, image 1 de 2 Nintendo NES Advantage B Button Replacement: étape 6, image 2 de 2
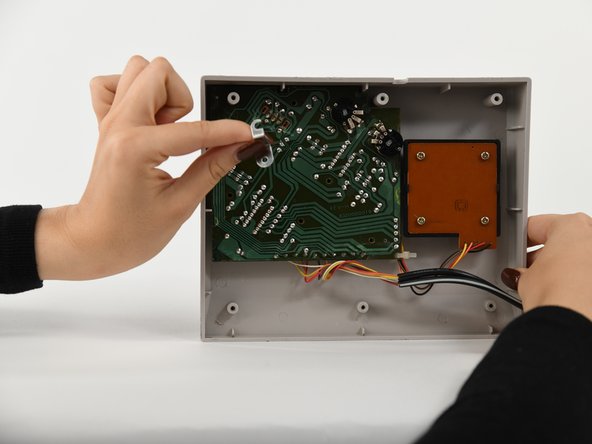
    • Remove the remaining three 8 mm screws on the circuit board with a Phillips #0 screwdriver.

    • Remove the silver bracket from the top of the circuit board.

  7. Nintendo NES Advantage B Button Replacement: étape 7, image 1 de 1
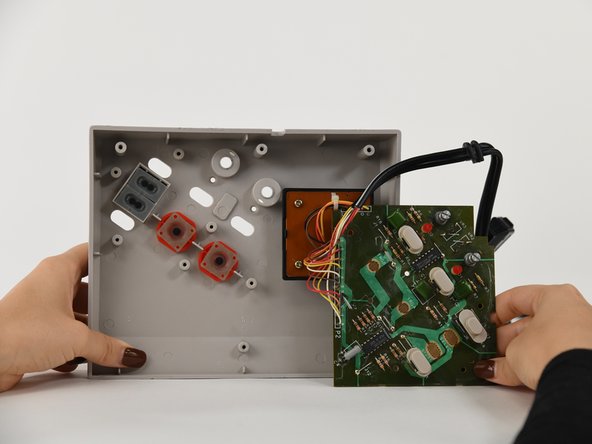
    • Remove the circuit board from the controller.

  8. Nintendo NES Advantage B Button Replacement, B Button: étape 8, image 1 de 1
    • Remove the B button from the case (or the circuit board if it got stuck).

Conclusion

To reassemble your device, follow these instructions in reverse order.

Aksel Andreassen

Membre depuis le 09/06/22

288 Réputation

3 tutoriels rédigés

Équipe

0 commentaires

Ajouter un commentaire

Nombre de vues :

Dernières 24 heures : 0

7 derniers jours : 2

30 derniers jours : 3

Total : 144