Introduction
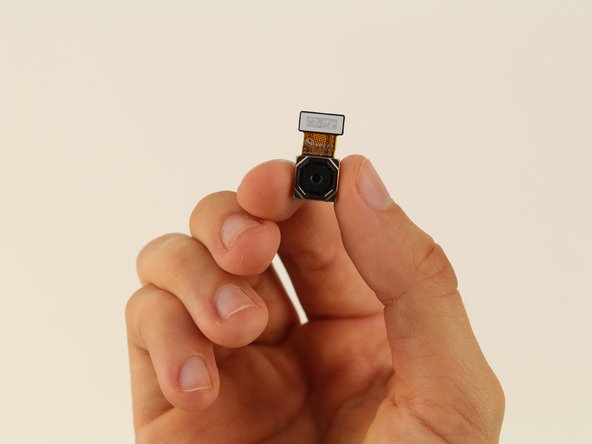
This guide will help you replace the rear facing camera for the Nokia 6.
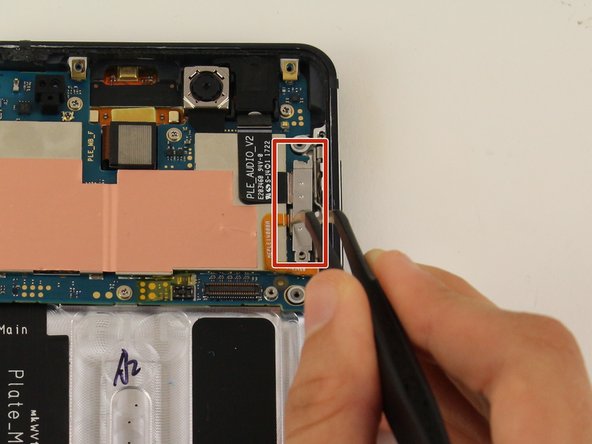
Be sure to take extra caution when removing anything from the motherboard.
Ce dont vous avez besoin
-
-
Insert the SIM card ejection tool into the hole on the left side of the phone.
-
Remove the SIM card and microSD card.
-
-
-
-
Remove 18 screws.
-
There is one 1 mm x 1.4 mm screw that needs to be removed by a Phillips #000 screwdriver.
-
One of the screws is 1.2 mm x 4.2 mm and will be removed by a Phillips #00.
-
The remaining 16 screws can be removed by the Phillips #00 screwdriver and are 1.2 mm x 2.2 mm.
-


To reassemble your device, follow these instructions in reverse order.
To reassemble your device, follow these instructions in reverse order.
Annulation : je n'ai pas terminé ce tutoriel.
2 autres ont terminé cette réparation.

Équipe

Cal Poly, Team S9-G15, Maness Spring 2019 Membre de l'équipe Cal Poly, Team S9-G15, Maness Spring 2019
CPSU-MANESS-S19S9G15
4 membres
14 tutoriels rédigés