Cette version peut contenir des modifications incorrectes. Passez au dernier aperçu vérifié.
Ce dont vous avez besoin
-
Cette étape n’est pas traduite. Aidez à la traduire
-
Remove the back cover of your cell phone by applying slight pressure with your thumb and pushing up towards the top of the phone.
-
Lift off back cover.
-
-
Cette étape n’est pas traduite. Aidez à la traduire
-
Use your index finger to first push down and then lift up the battery as shown.
-
Remove battery from cell phone.
-
-
Cette étape n’est pas traduite. Aidez à la traduire
-
Unscrew two T5 torx screws easily visible on the back side of the cell phone
-
Screws: 7.8mm
-
Once screw are removed, the phone will separate easily into two pieces connected by a flexible wire strip.
-
-
-
Cette étape n’est pas traduite. Aidez à la traduire
-
Use an iPod opening tool to gently pry open the back case as indicated in the picture.
-
Work your way down the side of the phone starting from the top down to the bottom. (Use multiple prying tools if necessary)
-
REPEAT on both sides, and be careful not to stab the circuitry with the tools.
-
-
Cette étape n’est pas traduite. Aidez à la traduire
-
Gently pull the phone apart and the flexible wire should detach from its connection as shown.
-
If not, lift up on the black tab within the left box in the picture.
-
With the front half of the phone, push the keypad towards the removed portion of the phone.
-
To clean, use a damp cloth with water.
-
-
Cette étape n’est pas traduite. Aidez à la traduire
-
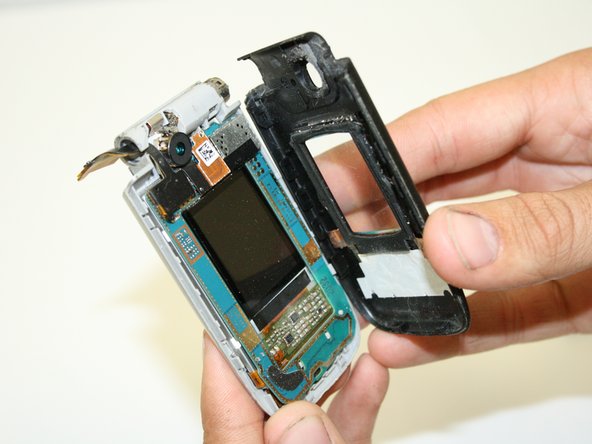
Using an iPod opening tool, pry open the case that houses the LCD screens by inserting it at the bottom as shown.
-
Run the tool all along the edge between the darker front case and silver back.
-
-
Cette étape n’est pas traduite. Aidez à la traduire
-
Remove the first flex-wire connection by inserting your thumbnail directly underneath the connection as shown. Will pry off easily.
-
Remove the two other flex-wire connections at the top and bottom of the LCD logic board. Pry up on the respective connections as shown.
-
Square LCD logic board will detach now.
-
-
Cette étape n’est pas traduite. Aidez à la traduire
-
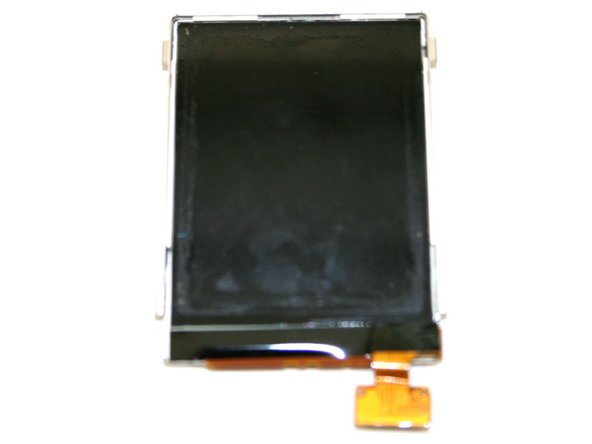
LCD can now be removed easily.
-
To clean use any multipurpose lens cleaner and a soft cloth. DO NOT get lens cleaner on any electronic component!
-
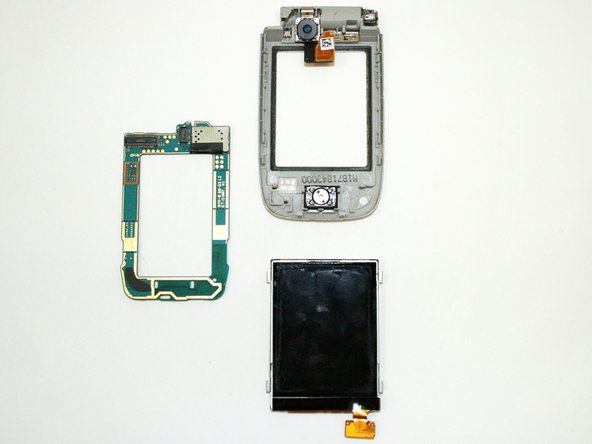
Shown:
-
LCD (Main display side)
-
LCD logic board
-
Case that holds above components and camera.
-
Annulation : je n'ai pas terminé ce tutoriel.
Une autre personne a terminé cette réparation.


