Cette version peut contenir des modifications incorrectes. Passez au dernier aperçu vérifié.
Ce dont vous avez besoin
-
Cette étape n’est pas traduite. Aidez à la traduire
-
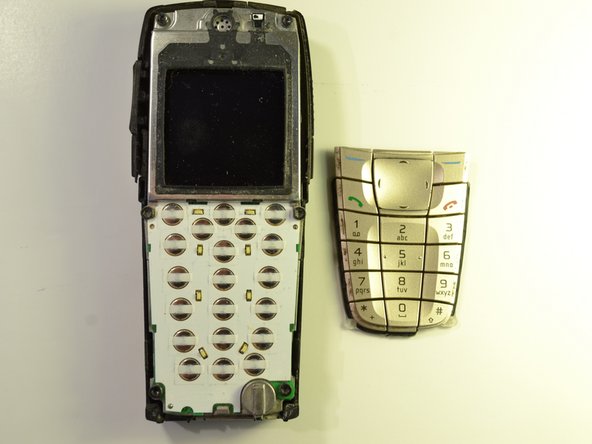
Pull up on both of the clips near the bottom of the phone as shown.
-
Lift off the front plate.
-
-
-
Cette étape n’est pas traduite. Aidez à la traduire
-
Separate the keypad from the phone and place aside.
-
Wipe off any excess dust from where the keypad was attached to the phone.
-
-
Cette étape n’est pas traduite. Aidez à la traduire
-
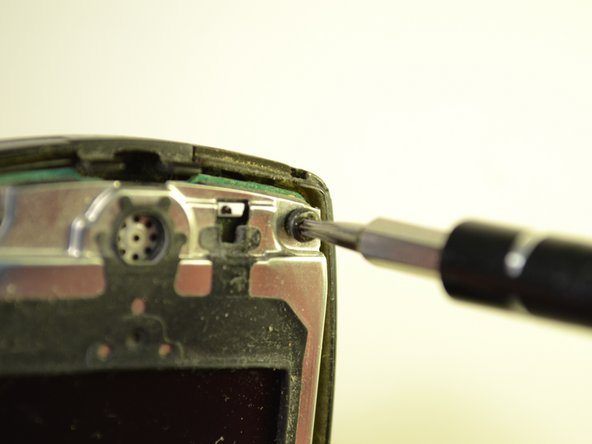
Remove the 6 - 7.9 mm screws highlighted by the markers using the T-6 head on the screwdriver.
-
-
Cette étape n’est pas traduite. Aidez à la traduire
-
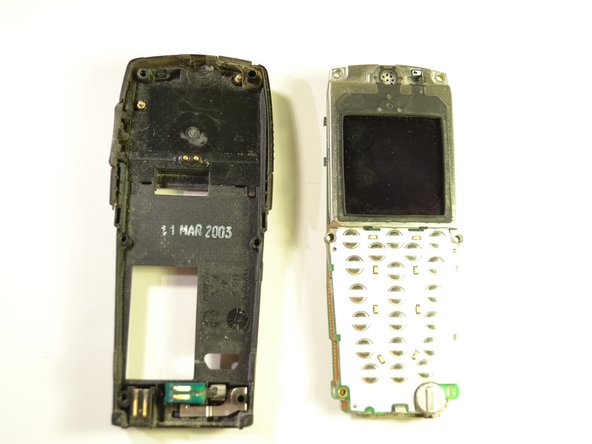
Separate the inside of the phone from the back of the phone.
-
-
Cette étape n’est pas traduite. Aidez à la traduire
-
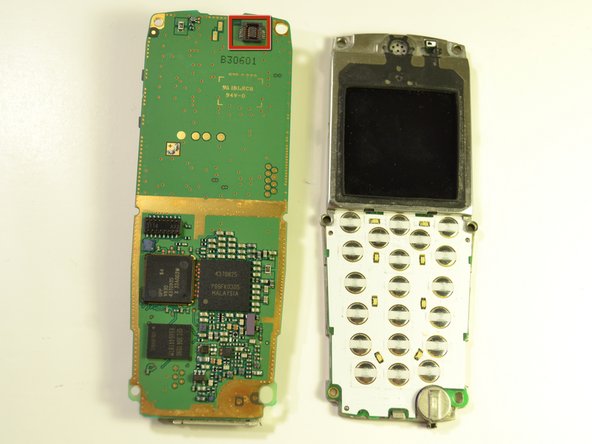
Gently pull apart the circuit board from the rest of the phone.
-


Équipe

Clemson, Team 15-5, Benson Fall 2012 Membre de l'équipe Clemson, Team 15-5, Benson Fall 2012
CLEM-BENSON-F12S15G5
3 membres
7 tutoriels rédigés