Cette version peut contenir des modifications incorrectes. Passez au dernier aperçu vérifié.
Ce dont vous avez besoin
-
Cette étape n’est pas traduite. Aidez à la traduire
-
Turn the phone so it is face down (keypad side is down).
-
-
Cette étape n’est pas traduite. Aidez à la traduire
-
Press and hold the button located at the bottom of the phone.
-
Slide the back of the phone downwards and away from the main body.
-
Remove the backing and place it to the side.
-
-
-
Cette étape n’est pas traduite. Aidez à la traduire
-
Locate indentation from which battery can be removed.
-
Place finger in indentation and lift battery up from phone's body.
-
Remove battery from phone's body.
-
-
Cette étape n’est pas traduite. Aidez à la traduire
-
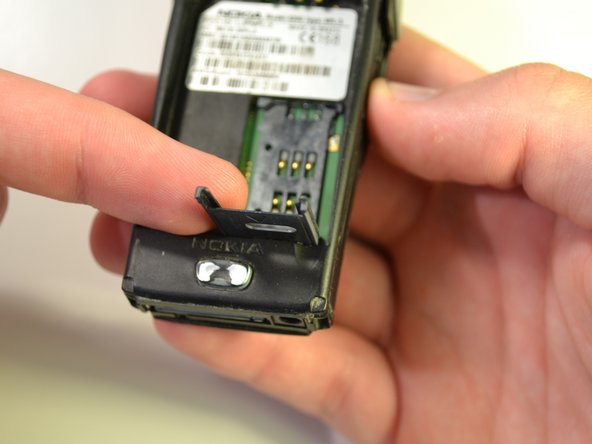
Push the SimCard towards the bottom of the phone.
-
-
Cette étape n’est pas traduite. Aidez à la traduire
-
Slide finger underneath top of SimCard.
-
Lift up the SimCard and rotate the top of the SimCard so it moves toward the bottom of the phone.
-
-
Cette étape n’est pas traduite. Aidez à la traduire
-
Pull up on the SimCard and remove it from the back of the phone.
-
Place the SimCard to the side.
-


Équipe

Clemson, Team 15-5, Benson Fall 2012 Membre de l'équipe Clemson, Team 15-5, Benson Fall 2012
CLEM-BENSON-F12S15G5
3 membres
7 tutoriels rédigés