Aller au contenu principal

Nortel Networks i2004 IP Back Cover Replacement

Ce dont vous avez besoin

  1. Nortel Networks i2004 IP Back Cover Replacement, Back Cover: étape 1, image 1 de 3 Nortel Networks i2004 IP Back Cover Replacement, Back Cover: étape 1, image 2 de 3 Nortel Networks i2004 IP Back Cover Replacement, Back Cover: étape 1, image 3 de 3
    • Flip the phone over to view the back.

    • Remove the power and phone cords.

  2. Nortel Networks i2004 IP Back Cover Replacement: étape 2, image 1 de 1
    • Remove the seven 8mm Phillips #2 screws.

  3. Nortel Networks i2004 IP Back Cover Replacement: étape 3, image 1 de 2 Nortel Networks i2004 IP Back Cover Replacement: étape 3, image 2 de 2
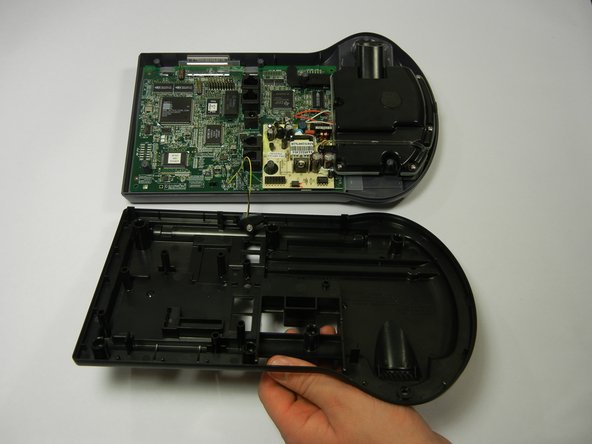
    • Lift up the back cover slowly because there are still wires attached to the circuit board.

    • Lifting the back cover should not require a lot of force; simply lift with your fingertips.

  4. Nortel Networks i2004 IP Back Cover Replacement: étape 4, image 1 de 1
    • Disconnect the rubber piece by pulling it out of the slot, freeing the back cover completely.

  5. Nortel Networks i2004 IP Back Cover Replacement: étape 5, image 1 de 2 Nortel Networks i2004 IP Back Cover Replacement: étape 5, image 2 de 2
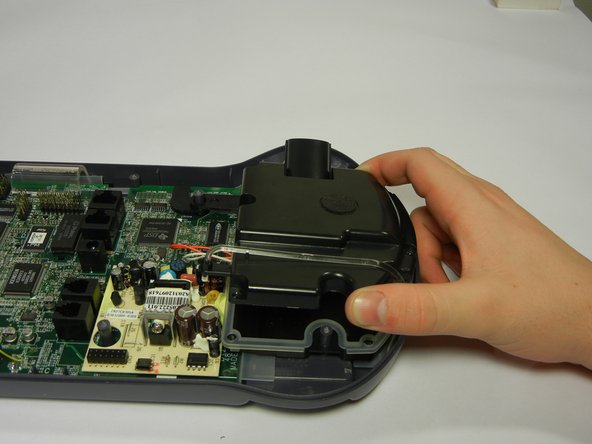
    • Remove the six 8mm Phillips #2 screws.

    • Pull the speaker phone cover straight up.

Conclusion

To reassemble your device, follow these instructions in reverse order.

Une autre personne a terminé cette réparation.

Elizabeth

Membre depuis le 01/21/12

160 Réputation

3 tutoriels rédigés

Équipe

Cal Poly, Team 10-35, Amido Winter 2012 Membre de l'équipe Cal Poly, Team 10-35, Amido Winter 2012

CPSU-AMIDO-W12S10G35

4 membres

10 tutoriels rédigés

0 commentaires

Ajouter un commentaire

Nombre de vues :

Dernières 24 heures : 0

7 derniers jours : 1

30 derniers jours : 3

Total : 1,202