Aller au contenu principal

Nvidia Shield Pro Android TV Controller Rumble Motor Replacement

Ce dont vous avez besoin

  1. Nvidia Shield Pro Android TV Controller Rumble Motor Replacement, Bluetooth Controller Thumbsticks: étape 1, image 1 de 3 Nvidia Shield Pro Android TV Controller Rumble Motor Replacement, Bluetooth Controller Thumbsticks: étape 1, image 2 de 3 Nvidia Shield Pro Android TV Controller Rumble Motor Replacement, Bluetooth Controller Thumbsticks: étape 1, image 3 de 3
    • Remove the six T6 Torx screws from the back of the controller.

  2. Nvidia Shield Pro Android TV Controller Rumble Motor Replacement: étape 2, image 1 de 1
    • Gently pry open the top frame of the cover with a plastic opening tool.

  3. Nvidia Shield Pro Android TV Controller Rumble Motor Replacement: étape 3, image 1 de 2 Nvidia Shield Pro Android TV Controller Rumble Motor Replacement: étape 3, image 2 de 2
    • Gently pull the wire connector directly out of its socket, separating the two halves of the controller.

  4. Nvidia Shield Pro Android TV Controller Rumble Motor Replacement: étape 4, image 1 de 2 Nvidia Shield Pro Android TV Controller Rumble Motor Replacement: étape 4, image 2 de 2
    • Remove the two T6 Torx screws.

  5. Nvidia Shield Pro Android TV Controller Rumble Motor Replacement: étape 5, image 1 de 2 Nvidia Shield Pro Android TV Controller Rumble Motor Replacement: étape 5, image 2 de 2
    • Remove the guard piece that secures the thumb-sticks to the controller.

    • Apply vertical pressure with two fingers to carefully pop off the thumb-stick(s) in need of repair.

    • Replace it by sliding a new thumb-stick onto the plastic post that secured the old one.

  6. Nvidia Shield Pro Android TV Controller Rumble Motor Replacement, Controller Rumble Motor: étape 6, image 1 de 3 Nvidia Shield Pro Android TV Controller Rumble Motor Replacement, Controller Rumble Motor: étape 6, image 2 de 3 Nvidia Shield Pro Android TV Controller Rumble Motor Replacement, Controller Rumble Motor: étape 6, image 3 de 3
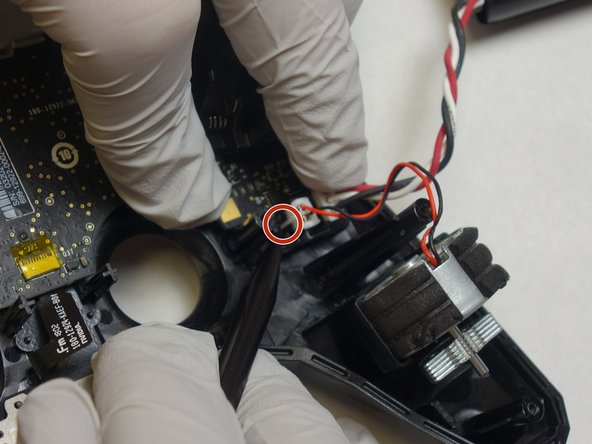
    • Grip the plugs as close to their ports as possible and pull them directly up and out.

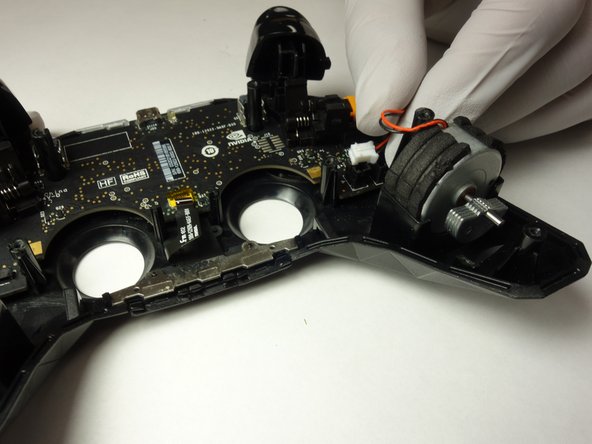
    • Lift the rumble motors up and out of the chassis.

Conclusion

To reassemble your device, follow these instructions in reverse order.

0 commentaires

Ajouter un commentaire

Nombre de vues :

Dernières 24 heures : 0

7 derniers jours : 1

30 derniers jours : 2

Total : 143