Aller au contenu principal

OWC Thunderbolt 3 Pro Dock fan replacement

Ce dont vous avez besoin

  1. OWC Thunderbolt 3 Pro Dock fan replacement, Prerequisites: étape 1, image 1 de 1
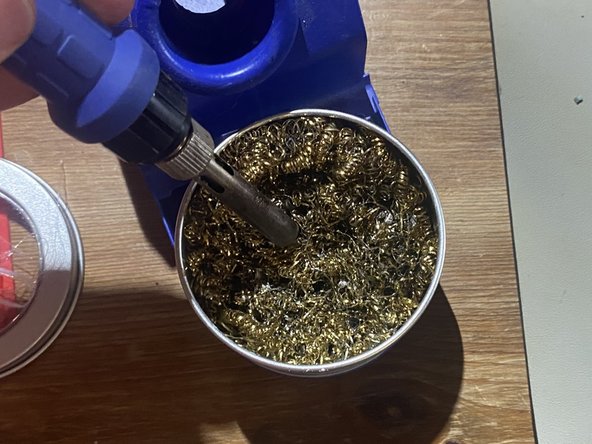
    • Here are all the tools I used for this replacement, I listed them all in the description of the guide

    • Ignore the caliper I was using that to measure parts inside.

  2. OWC Thunderbolt 3 Pro Dock fan replacement, Removing bottom cover: étape 2, image 1 de 3 OWC Thunderbolt 3 Pro Dock fan replacement, Removing bottom cover: étape 2, image 2 de 3 OWC Thunderbolt 3 Pro Dock fan replacement, Removing bottom cover: étape 2, image 3 de 3
    • Remove the 4 rubber feet

    • Using a TORX TR8 remove the bottom 4 screws

    • Using a spudger be very gentle when prying as the mainboard is right under it.

  3. OWC Thunderbolt 3 Pro Dock fan replacement, Removing the mainboard: étape 3, image 1 de 3 OWC Thunderbolt 3 Pro Dock fan replacement, Removing the mainboard: étape 3, image 2 de 3 OWC Thunderbolt 3 Pro Dock fan replacement, Removing the mainboard: étape 3, image 3 de 3
    • Using a TORX TR8 remove the three screws holding in the mainboard

    • Using a plastic spudger gently shift the mainboard out of the chassis, make sure that all the front I/O is clear and isnt caught as it sits flush to the back.

    • Make sure to disconnect the fan from the back so the mainboard can be removed.

  4. OWC Thunderbolt 3 Pro Dock fan replacement, Removing the top cover: étape 4, image 1 de 3 OWC Thunderbolt 3 Pro Dock fan replacement, Removing the top cover: étape 4, image 2 de 3 OWC Thunderbolt 3 Pro Dock fan replacement, Removing the top cover: étape 4, image 3 de 3
    • Using a TORX TR8 remove the four screws holding in the top cover

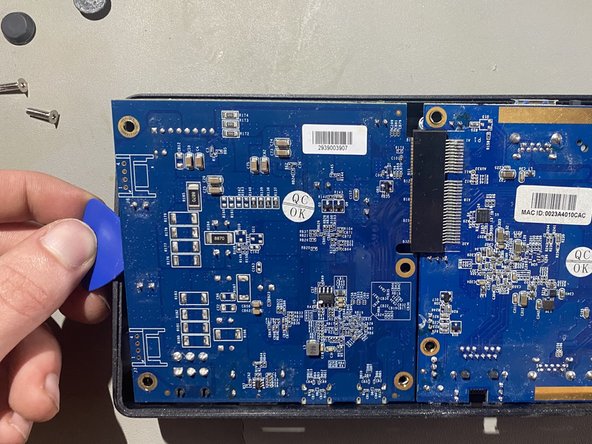
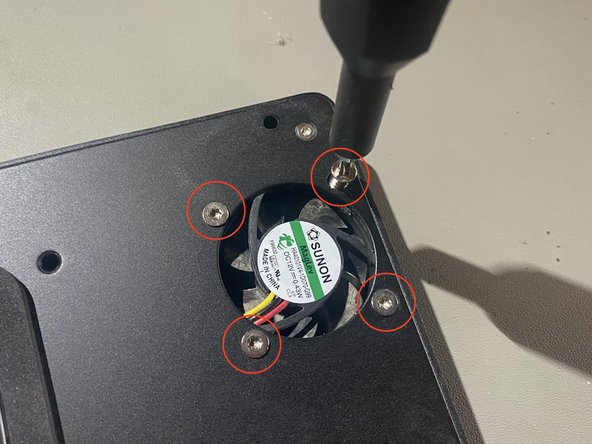
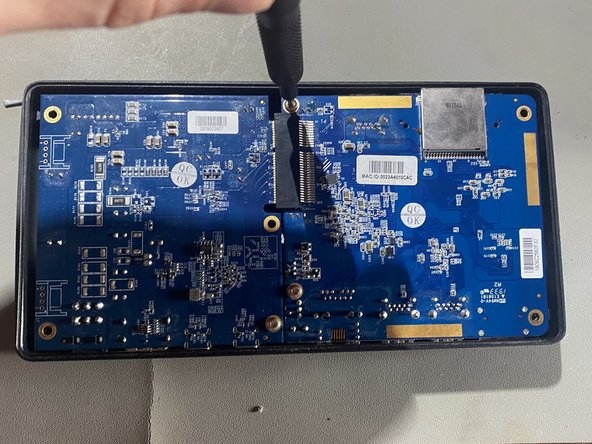
    • Using your fingers or a plastic spudger pry away the top cover from the main chassis, it might resist a bit as it is glued on to the top LED.

  5. OWC Thunderbolt 3 Pro Dock fan replacement, Removing the fan: étape 5, image 1 de 3 OWC Thunderbolt 3 Pro Dock fan replacement, Removing the fan: étape 5, image 2 de 3 OWC Thunderbolt 3 Pro Dock fan replacement, Removing the fan: étape 5, image 3 de 3
    • Using a TORX TR10 bit remove the four screws holding in the fan

    • the fan should fall out when all the screws are out

  6. OWC Thunderbolt 3 Pro Dock fan replacement, New fan: étape 6, image 1 de 3 OWC Thunderbolt 3 Pro Dock fan replacement, New fan: étape 6, image 2 de 3 OWC Thunderbolt 3 Pro Dock fan replacement, New fan: étape 6, image 3 de 3
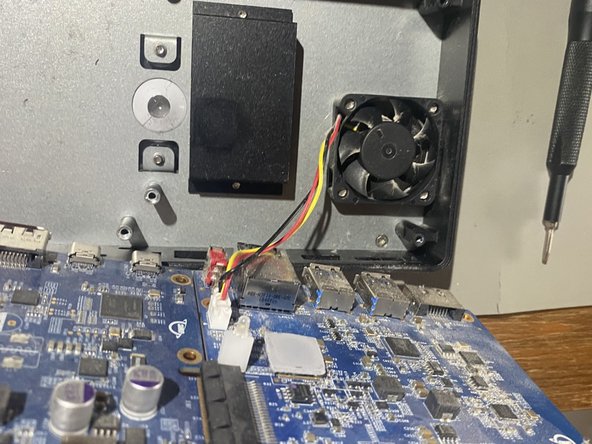
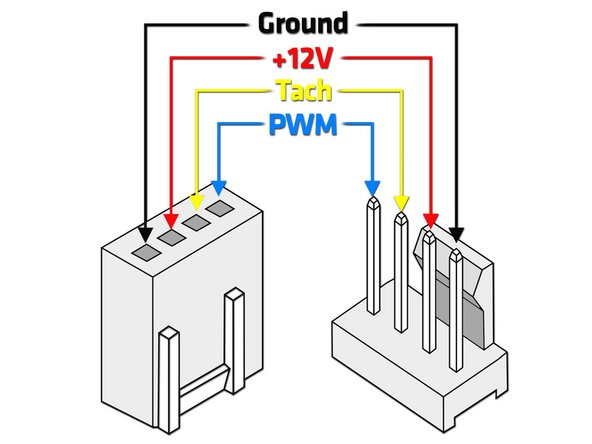
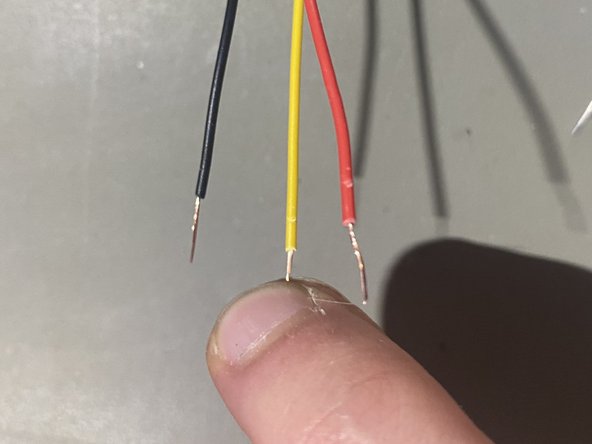
    • Take your fan out of its packaging and take note of the polarity of the wires, check the second photo for a diagram.

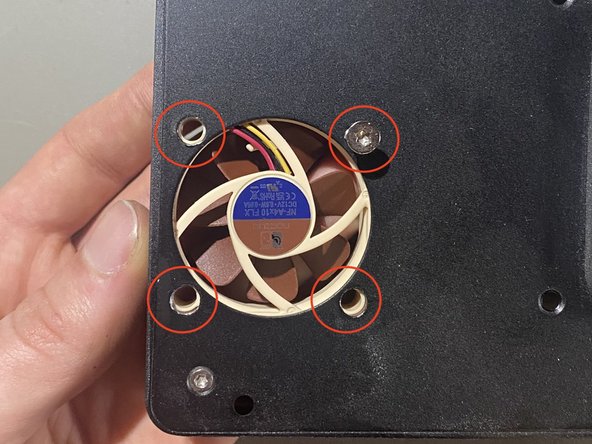
    • Using a TORX TR10 bit and the scews you just took out screw the fan back in. Make sure of its orientation, id recommend having it as exhaust (like in the photo) so it sucks air in through the heatsink. Putting it as intake might not work as well, i would just follow how the manufacturer did it.

  7. OWC Thunderbolt 3 Pro Dock fan replacement, Sacrificing old fan: étape 7, image 1 de 3 OWC Thunderbolt 3 Pro Dock fan replacement, Sacrificing old fan: étape 7, image 2 de 3 OWC Thunderbolt 3 Pro Dock fan replacement, Sacrificing old fan: étape 7, image 3 de 3
    • First check the polarity for the wiring of the original fan. In this case: Red = 12V, Yellow = Ground, Black = Tachometer

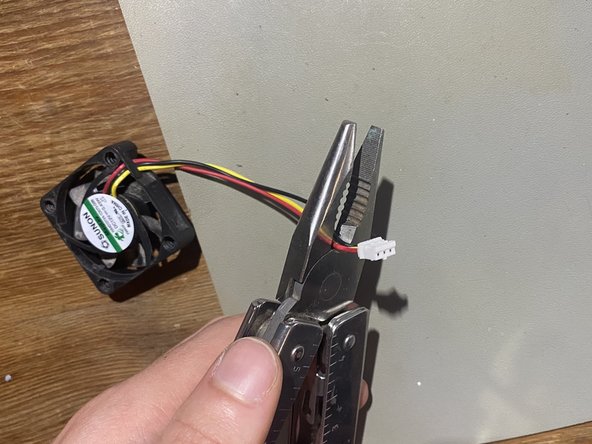
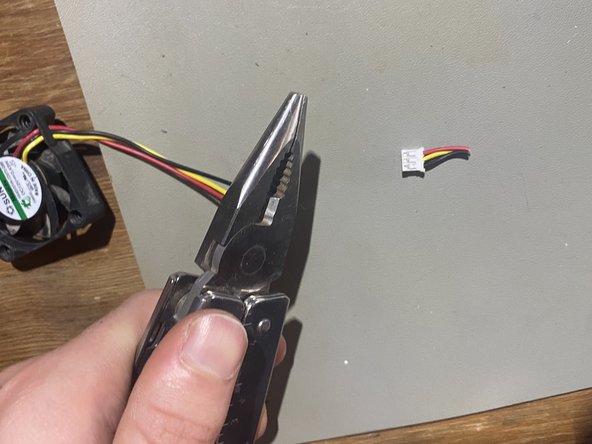
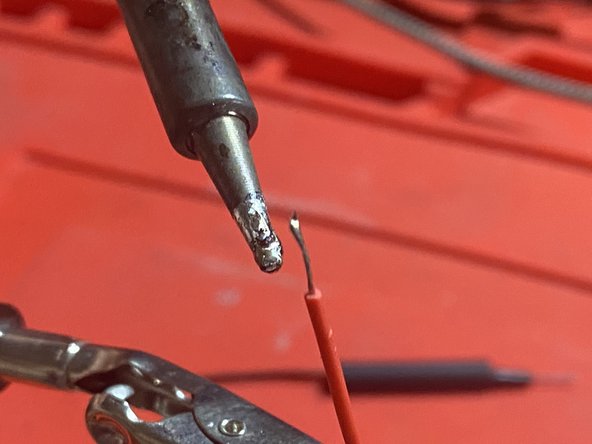
    • Then cut off the end of the old fan, im doing this because I want to preserve the new fan in its current state and be able to use it in the future

  8. OWC Thunderbolt 3 Pro Dock fan replacement, Creating new wires: étape 8, image 1 de 3 OWC Thunderbolt 3 Pro Dock fan replacement, Creating new wires: étape 8, image 2 de 3 OWC Thunderbolt 3 Pro Dock fan replacement, Creating new wires: étape 8, image 3 de 3
    • I used some breadboard wires as the fit snugly into the new fans headers

    • Cut off and strip the ends of the wires

    • Pro tip - twist the end of the wires so they dont become a mess

  9. OWC Thunderbolt 3 Pro Dock fan replacement, Prepping for soldering: étape 9, image 1 de 3 OWC Thunderbolt 3 Pro Dock fan replacement, Prepping for soldering: étape 9, image 2 de 3 OWC Thunderbolt 3 Pro Dock fan replacement, Prepping for soldering: étape 9, image 3 de 3
    • Warm up your soldering iron to a suitable temperature (im using unleaded solder so go a bit lower if youre using leaded, or better use unleaded)

    • Clean your tip before soldering so you have a nice tip

    • Put a bit of solder and tin the all the ends of the wires

  10. OWC Thunderbolt 3 Pro Dock fan replacement, Joining the wires: étape 10, image 1 de 3 OWC Thunderbolt 3 Pro Dock fan replacement, Joining the wires: étape 10, image 2 de 3 OWC Thunderbolt 3 Pro Dock fan replacement, Joining the wires: étape 10, image 3 de 3
    • Line up all the wires and put on the heatshrink beforehand - a lot of people forget this

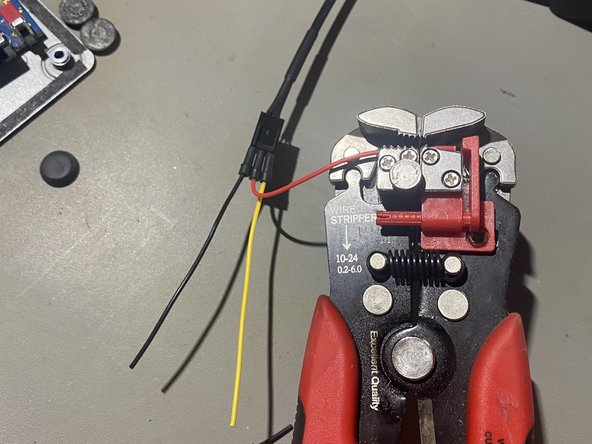
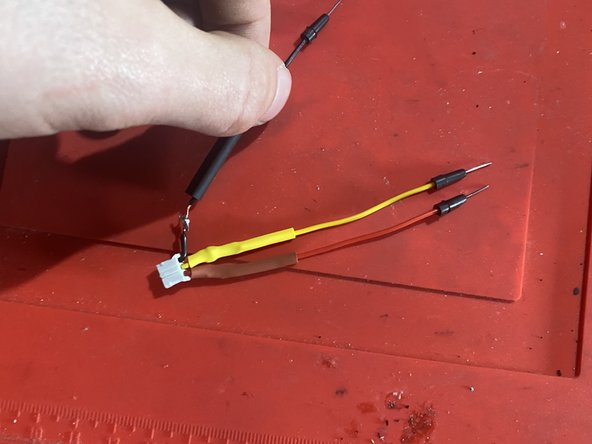
    • Solder everything together, you shoudnt need to add much solder as you already tinned both sides

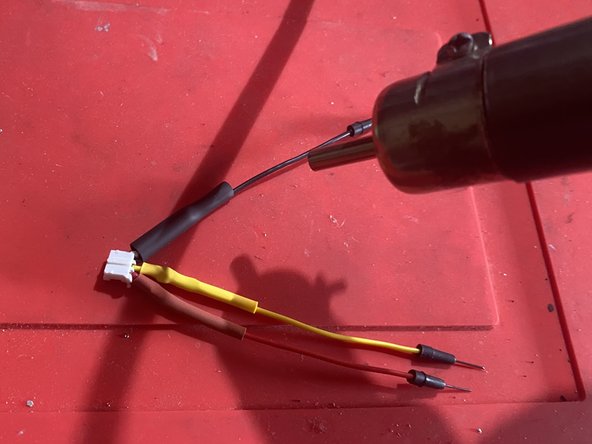
    • Use a heatgun / source of heat to shrink the heatshrink and seal your work.

  11. OWC Thunderbolt 3 Pro Dock fan replacement, Throw away clippings!: étape 11, image 1 de 1
    • Make sure to properly dispose of the clippings from the wires, unfortunately most of it is plastic and there is some metal (prob aluminum)

  12. OWC Thunderbolt 3 Pro Dock fan replacement, Test the fan before ressembly: étape 12, image 1 de 1
    • Plug your fan into a power source (check polarity before switching on) and make sure it fans.

  13. OWC Thunderbolt 3 Pro Dock fan replacement, Replacing thermal pad (optional): étape 13, image 1 de 3 OWC Thunderbolt 3 Pro Dock fan replacement, Replacing thermal pad (optional): étape 13, image 2 de 3 OWC Thunderbolt 3 Pro Dock fan replacement, Replacing thermal pad (optional): étape 13, image 3 de 3
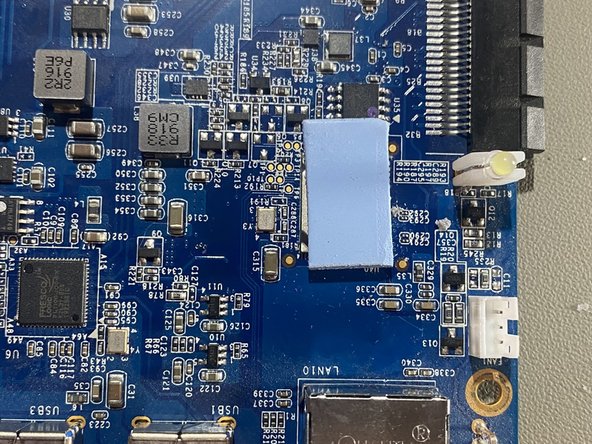
    • Get some 2mm thick thermal pads to swap out the old ones. The old ones measured in at 1.75mm so the closest is 2mm (round up to guarantee contact as 1.5mm would have no contact)

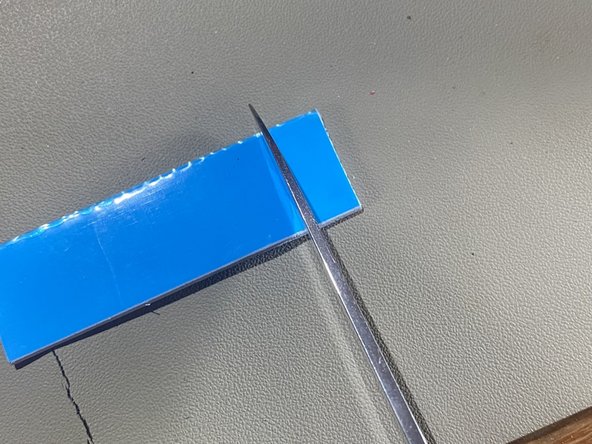
    • Cut the thermal pad to size and send it

  14. OWC Thunderbolt 3 Pro Dock fan replacement, Re-installing top case: étape 14, image 1 de 2 OWC Thunderbolt 3 Pro Dock fan replacement, Re-installing top case: étape 14, image 2 de 2
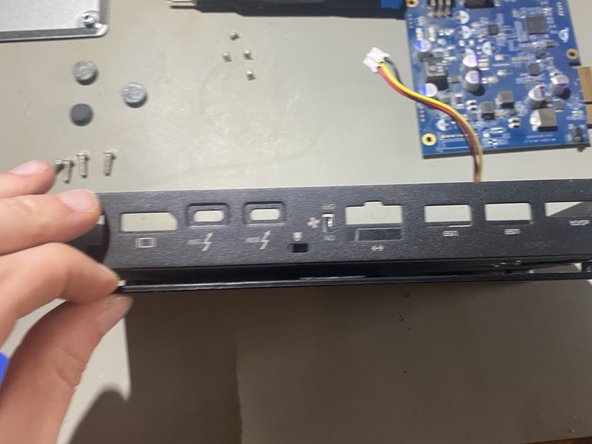
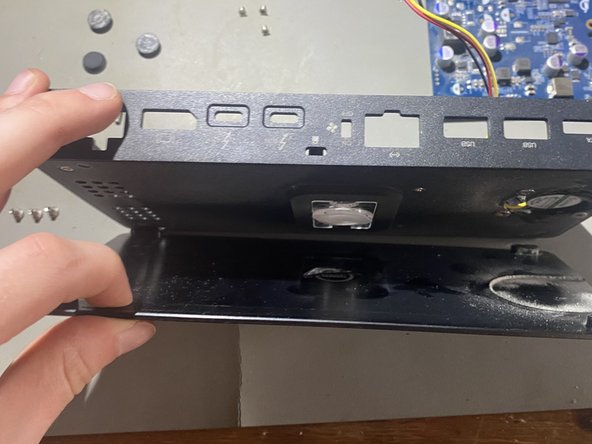
    • Line up the top case as in the photo making sure the fan is on the correct side so it can breathe

    • Using a TORX TR8 bit screw down the top cover

  15. OWC Thunderbolt 3 Pro Dock fan replacement, Re-installing mainboard: étape 15, image 1 de 3 OWC Thunderbolt 3 Pro Dock fan replacement, Re-installing mainboard: étape 15, image 2 de 3 OWC Thunderbolt 3 Pro Dock fan replacement, Re-installing mainboard: étape 15, image 3 de 3
    • Slowly put the mainboard back into the chassis, be sure that you arent damaging the front I/O as it sits flush to the chassis. You kind of have to shuffle the back side in first and then the front.

    • Secure the mainboard with the three TORX TR8 screws (you arent missing any, they come later)

    • Also remember to plug back in the fan, otherwise this whole thing is pointless.

  16. OWC Thunderbolt 3 Pro Dock fan replacement, Re-installing the bottom cover: étape 16, image 1 de 3 OWC Thunderbolt 3 Pro Dock fan replacement, Re-installing the bottom cover: étape 16, image 2 de 3 OWC Thunderbolt 3 Pro Dock fan replacement, Re-installing the bottom cover: étape 16, image 3 de 3
    • Line up the bottom cover as I have done in the photo, if you dont it will not line up.

    • Using a TORX TR8 screw down the bottom cover with the 4 remaining screws.

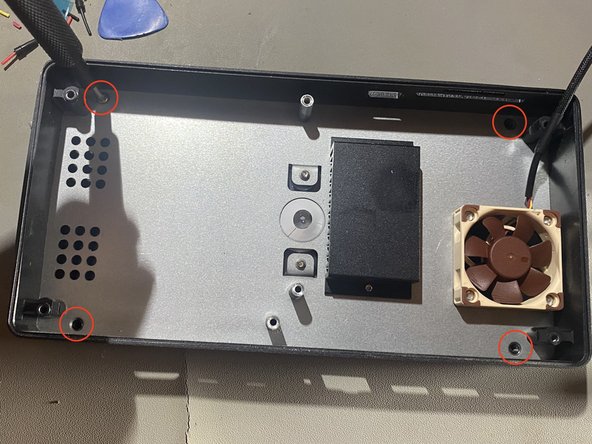
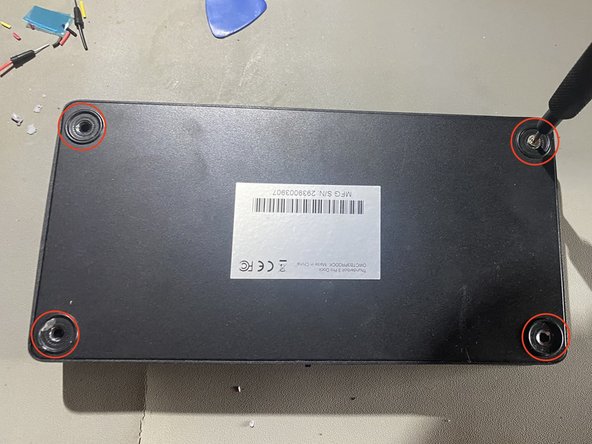
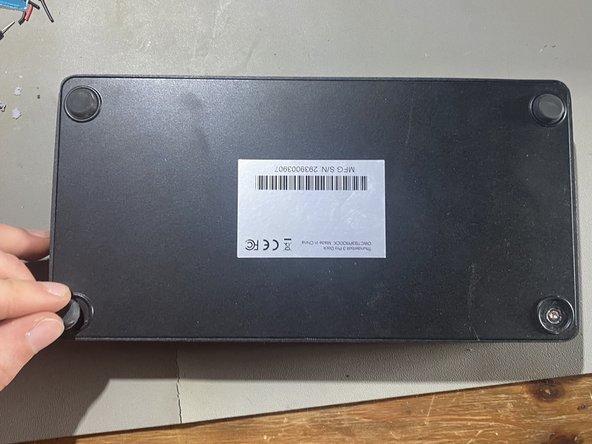
    • Put back on the four rubber feet, you might wanna glue them back in so they dont fall out.

  17. OWC Thunderbolt 3 Pro Dock fan replacement, FAN SWITCH!!: étape 17, image 1 de 1
    • The whole point of this was to make sure your dock shuts up and lasts longer so you wanna make sure the fan is on.

    • Also you might wanna plug it back in and use it. just saying.

Conclusion

To reassemble your device, follow these instructions in reverse order - or dont... i aint judging.

Une autre personne a terminé cette réparation.

Robust

Membre depuis le 04/26/21

688 Réputation

3 tutoriels rédigés

Équipe

CV22 Membre de l'équipe CV22

Community

1 membre

3 tutoriels rédigés

0 commentaires

Ajouter un commentaire

Nombre de vues :

Dernières 24 heures : 4

7 derniers jours : 7

30 derniers jours : 17

Total : 43