Ce tutoriel a des changements plus récents. Passer à la dernière version non vérifiée.
Introduction
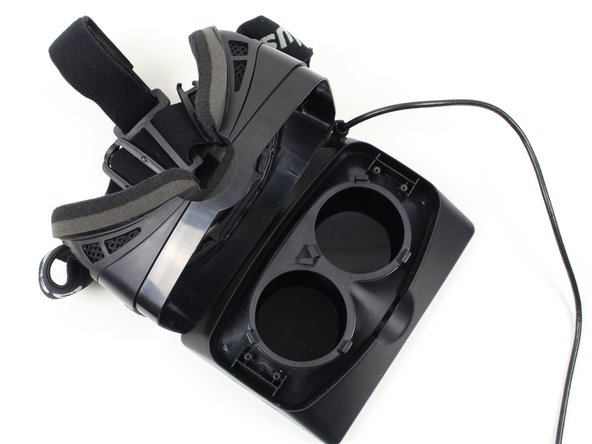
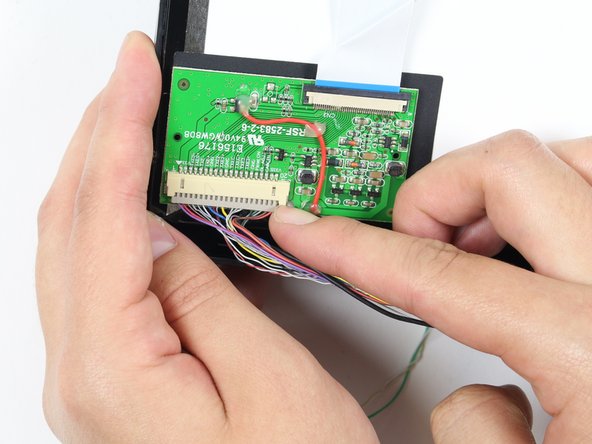
The following steps will guide you through the process of taking apart the Oculus Rift headset to replace the LCD (Liquid Crystal Display) screen. You may need to replace the display because it has cracks, dents, or warping. Cracks, dents, or warping can be caused by dropping the display, applying high amounts of pressure to the display, or putting the display in extreme temperatures.
Ce dont vous avez besoin
-
-
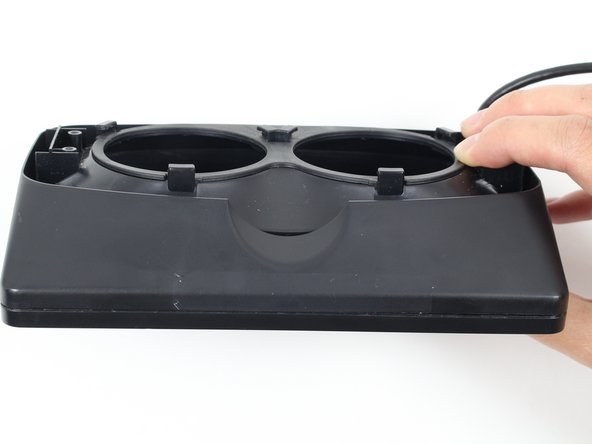
To remove the lenses, turn the right lens clockwise a quarter turn and the left lens counter-clockwise a quarter turn.
-
-
-
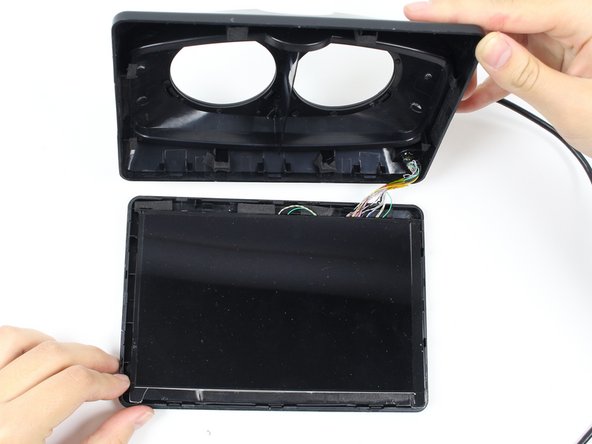
Use a Phillips #01 screwdriver to unscrew the four 9 mm Phillips #01 screws. (Two screws are shown in the picture, and two more screws are on the left side across from the right screws.)
-
-


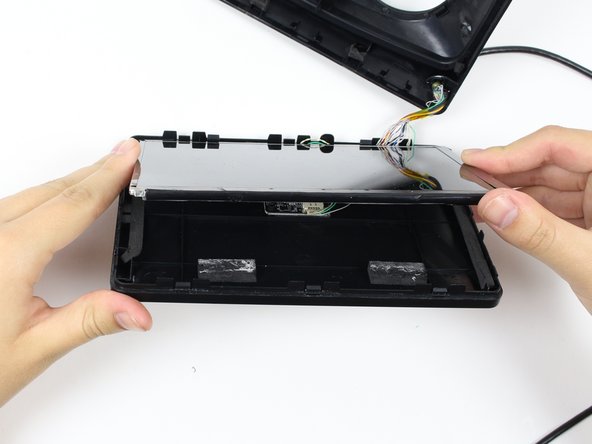


To reassemble your device, follow these instructions in reverse order.
To reassemble your device, follow these instructions in reverse order.
Annulation : je n'ai pas terminé ce tutoriel.
5 autres ont terminé cette réparation.
Équipe

Cal Poly, Team 70-5, Forte Winter 2015 Membre de l'équipe Cal Poly, Team 70-5, Forte Winter 2015
CPSU-FORTE-W15S70G5
4 membres
6 tutoriels rédigés