Cette version peut contenir des modifications incorrectes. Passez au dernier aperçu vérifié.
Ce dont vous avez besoin
-
Cette étape n’est pas traduite. Aidez à la traduire
-
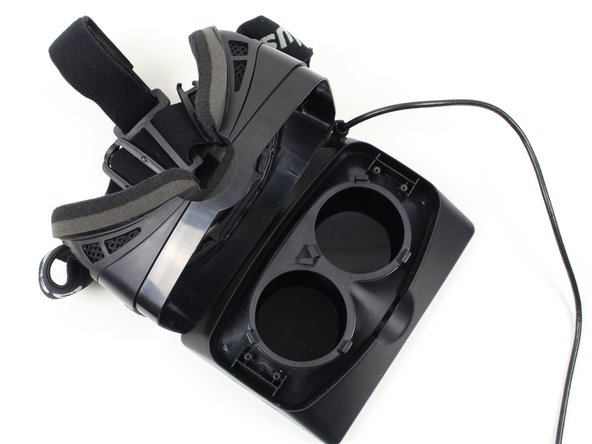
To remove the lenses, turn the right lens clockwise a quarter turn and the left lens counter-clockwise a quarter turn.
-
-
Cette étape n’est pas traduite. Aidez à la traduire
-
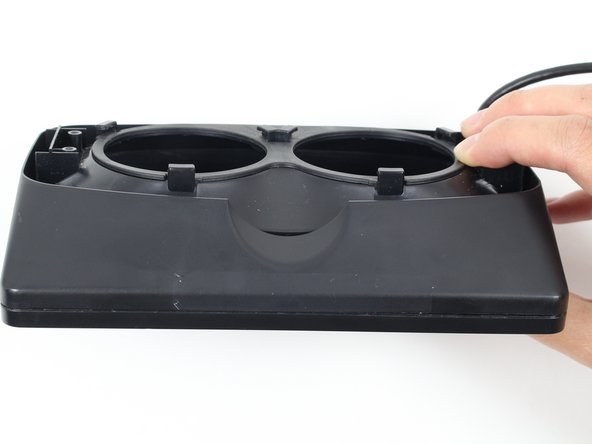
Use a Phillips #01 screwdriver to unscrew the four 9 mm Phillips #01 screws. (Two screws are shown in the picture, and two more screws are on the left side across from the right screws.)
-
-
-
Cette étape n’est pas traduite. Aidez à la traduire
-
Carefully lift the headstrap from the display. The two parts should separate easily enough with some force.
-
-
Cette étape n’est pas traduite. Aidez à la traduire
-
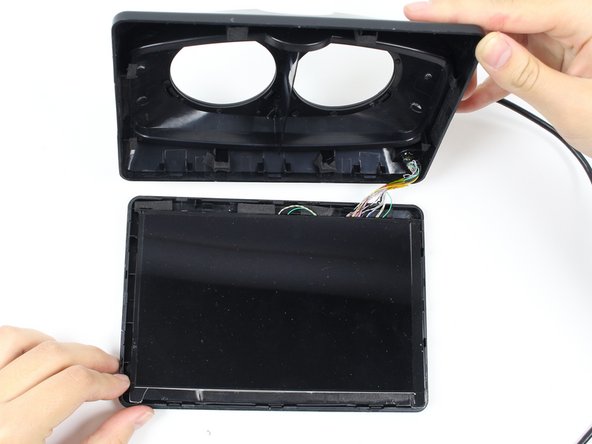
Using the plastic opening tool, pry open the display box to reveal the LCD (Liquid Crystal Display) screen. Run the plastic opening tool around all four edges. Prying open the box may take a good amount of force.
-
-
Cette étape n’est pas traduite. Aidez à la traduire
-
Run the plastic opening tool along the bottom edge under the LCD screen to separate the adhesive holding the LCD to the display box.
-
Lift the screen up to reveal the wires and circuit board.
-
-
Cette étape n’est pas traduite. Aidez à la traduire
-
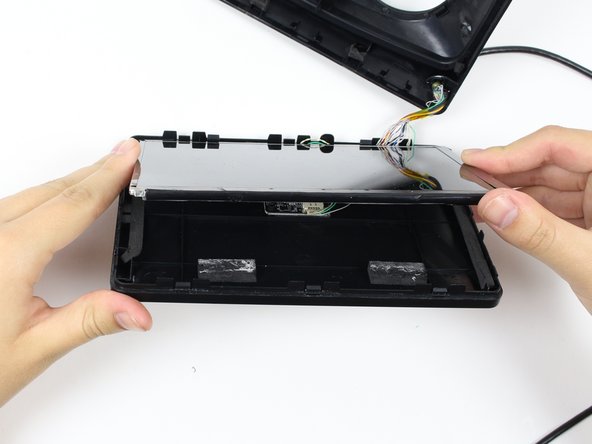
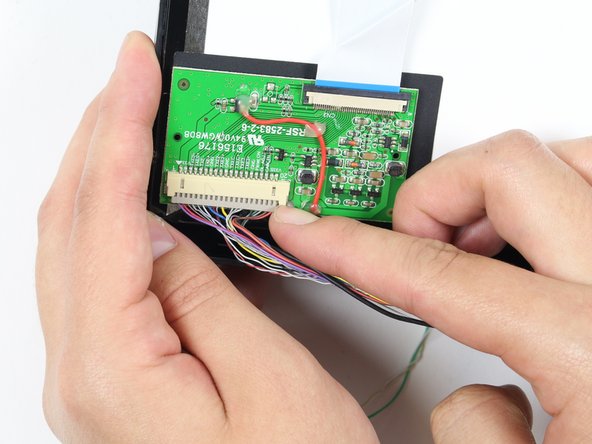
Remove the wires from the circuit board on the LCD display using your fingernail or a plastic opening tool. This may take some pushing and pulling of the plastic piece.
-
You can now completely separate the LCD screen from the rest of the device!
-


Annulation : je n'ai pas terminé ce tutoriel.
5 autres ont terminé cette réparation.
Équipe

Cal Poly, Team 70-5, Forte Winter 2015 Membre de l'équipe Cal Poly, Team 70-5, Forte Winter 2015
CPSU-FORTE-W15S70G5
4 membres
6 tutoriels rédigés