Introduction
This guide will help you replace the motherboard.
If the camera's battery is charged and functional, and the camera or the camera's LCD is still unresponsive, your motherboard may need to be replaced.
You will need a screwdriver and a soldering iron to complete this guide. You should also discharge the capacitor of the camera before proceeding.
Ce dont vous avez besoin
-
-
Slide and push the battery casing to open it.
-
Push the battery to eject it.
-
-
-
Turn the camera so that you are facing the bottom of the camera.
-
Using a Phillips 00 screwdriver, unscrew the three 3.9mm screws on the bottom of the camera.
-
Using a spudger, pry off the plating on the bottom of the camera.
-
-
-
Turn the camera so that you are facing the top of the camera.
-
Using a Phillips 00 screwdriver, unscrew the three 3.9mm screws located on the top of the camera.
-
Using a spudger, pry off the plating on the top of the camera.
-
-
-
Turn the camera so the LCD is facing upwards.
-
Using a Phillips 00 screwdriver, unscrew the two 3.9mm screws located on the left side of the device.
-
-
-
Using a Phillips 00 screwdriver, unscrew the 3.9mm screw located next to the black "Olympus" face plate.
-
Using a T6 Torx screwdriver, unscrew the two 3.5mm screws located on the black "Olympus" face plate.
-
Using a spudger, gently pry off the black "Olympus" face plate.
-
-
-
-
Using a Phillips 00 screwdriver, unscrew the two 3.9mm screws to the right of the cursor pad on the U-shaped frame.
-
Turn the device over so the front of the camera is facing you.
-
Using a Phillips 00 screwdriver, unscrew the two 3.9mm screws on the end casing.
-
Using a spudger, pry off the end casing.
-
-
-
Turn the camera so the blue face plate is visible.
-
Using a Phillips 00 screwdriver, unscrew the two 3mm screws on the blue plate.
-
Using a Phillips 00 screwdriver, unscrew the 3.9mm screw located at the bottom of the camera straight down from the flash.
-
Using a spudger, gently pry off the blue face plate.
-
-
-
Using a Phillips 00 screwdriver, unscrew the 9mm screws on the top of the camera to the right of the flash.
-
-
-
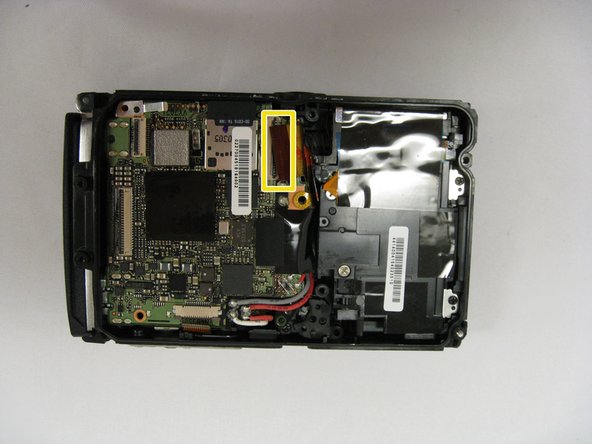
Using tweezers, disconnect the white ribbon cable from the motherboard.
-
Using tweezers, disconnect the brown ribbon cable from the motherboard.
-
-
-
Using a screwdriver, unscrew the four screws off of the center metal panel.
-
Using tweezers, disconnect the ribbon cable from the motherboard.
-
Using tweezers, remove the metal panel.
-
-
-
Using a screwdriver, unscrew the black screw on the top left of the motherboard.
-
Using a screwdriver, unscrew the screw on the bottom left of the motherboard.
-
Using tweezers, disconnect the ribbon cable on the top right of the motherboard.
-
Using tweezers, disconnect the ribbon cable on the bottom right of the motherboard.
-
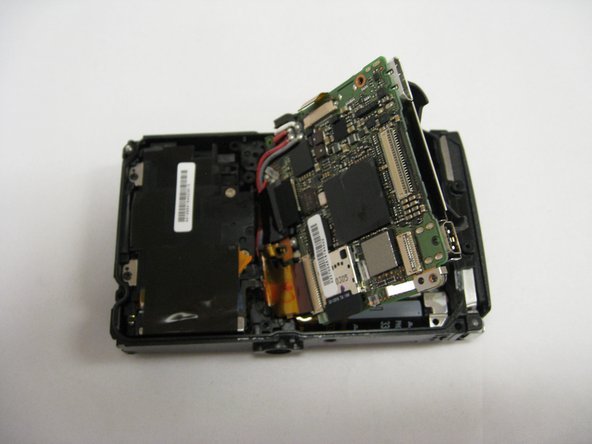
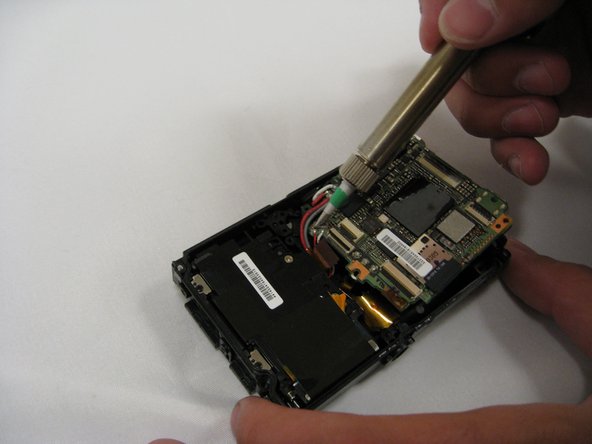
Using a spudger, pry the motherboard up.
-


To reassemble your device, follow these instructions in reverse order.
To reassemble your device, follow these instructions in reverse order.
Annulation : je n'ai pas terminé ce tutoriel.
Une autre personne a terminé cette réparation.

Équipe

Eastern Washington University, Team 2-6, Matresse Spring 2015 Membre de l'équipe Eastern Washington University, Team 2-6, Matresse Spring 2015
EWU-MATRESSE-S15S2G6
4 membres
12 tutoriels rédigés