Aller au contenu principal

Olympus Stylus Tough TG-2 iHS Front Case Replacement

Conditions préalables uniquement
Ce tutoriel est uniquement destiné à être utilisé comme prérequis d'autres tutoriels. Il ne se suffit pas à lui-même.

Ce dont vous avez besoin

  1. Olympus Stylus Tough TG-2 iHS Front Case Replacement, Front Case: étape 1, image 1 de 2 Olympus Stylus Tough TG-2 iHS Front Case Replacement, Front Case: étape 1, image 2 de 2
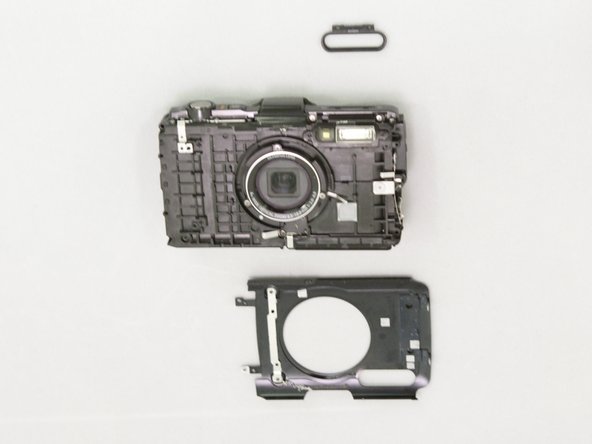
    • Remove the red ring surrounding the lens by twisting it counter-clockwise

  2. Olympus Stylus Tough TG-2 iHS Front Case Replacement: étape 2, image 1 de 2 Olympus Stylus Tough TG-2 iHS Front Case Replacement: étape 2, image 2 de 2
    • Remove the 2 Phillips #00 3.4mm screws that secure the faceplate just reveled by the grip.

    • On the bottom of the camera, remove the single Phillips #00 3.4mm screw by the tripod socket securing the face plate.

  3. Olympus Stylus Tough TG-2 iHS Front Case Replacement: étape 3, image 1 de 3 Olympus Stylus Tough TG-2 iHS Front Case Replacement: étape 3, image 2 de 3 Olympus Stylus Tough TG-2 iHS Front Case Replacement: étape 3, image 3 de 3
    • Use a plastic prying tool to lift and remove the faceplate .

    • There will be some resistance from a sticker just under the GPS logo.

    • The black plastic ring around the flash may fall as it is no longer secure.

Conclusion

To reassemble your device, follow these instructions in reverse order.

Amanda

Membre depuis le 07/20/15

933 Réputation

8 tutoriels rédigés

Équipe

0 commentaires

Ajouter un commentaire

Nombre de vues :

Dernières 24 heures : 0

7 derniers jours : 0

30 derniers jours : 0

Total : 64