Cette version peut contenir des modifications incorrectes. Passez au dernier aperçu vérifié.
Ce dont vous avez besoin
-
Cette étape n’est pas traduite. Aidez à la traduire
-
Flip the device over so the front of the speaker is facing down. Make sure to place the speaker on a flat surface
-
-
Cette étape n’est pas traduite. Aidez à la traduire
-
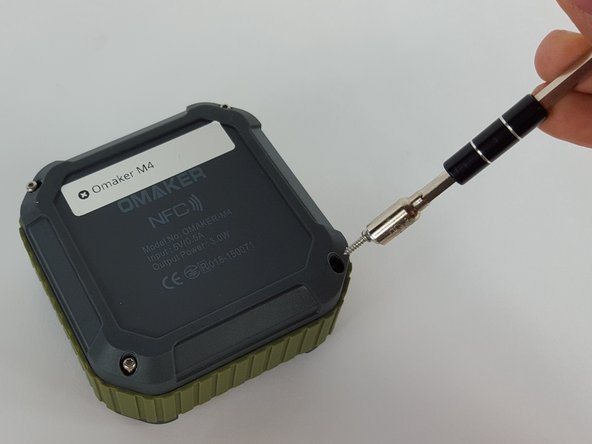
Use a T6 Torx screwdriver to remove the four 9mm screws from the back of the device.
-
-
Cette étape n’est pas traduite. Aidez à la traduire
-
Use a magnet to remove the screws after unscrewing them and place them aside.
-
-
Cette étape n’est pas traduite. Aidez à la traduire
-
Carefully remove the back cover without breaking the battery wire.
-
-
-
Cette étape n’est pas traduite. Aidez à la traduire
-
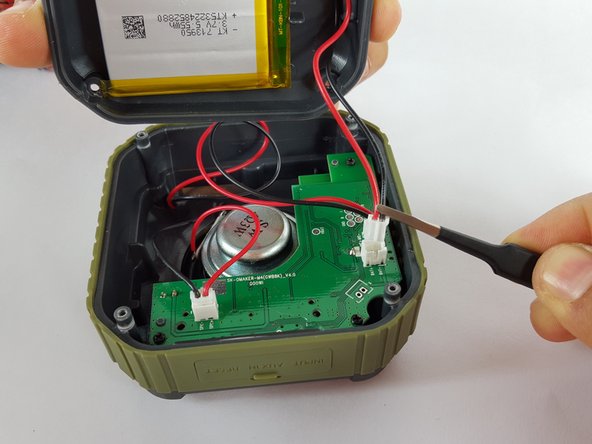
Remove the end of the battery connection from the motherboard by holding the end of the wire and carefully pulling it out of the socket using tweezers.
-
-
Cette étape n’est pas traduite. Aidez à la traduire
-
Remove the mic wire by carefully pulling the plug out of the socket.
-
-
Cette étape n’est pas traduite. Aidez à la traduire
-
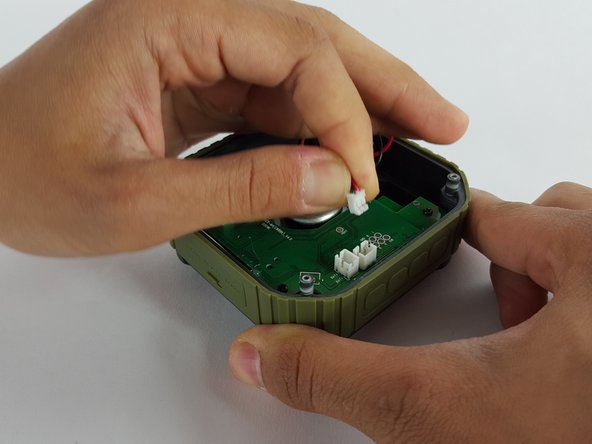
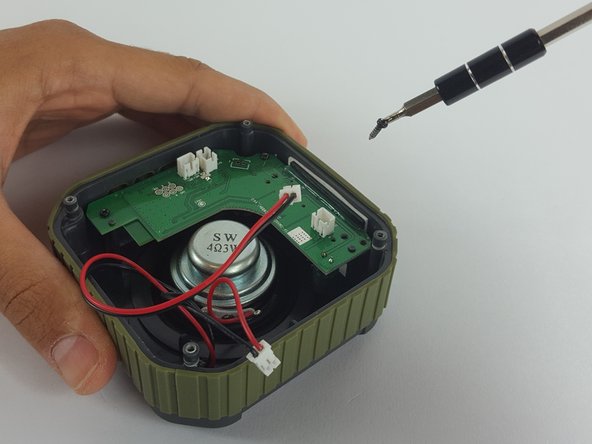
Remove the speaker wire by carefully pulling the plug out of the socket on the motherboard.
-
-
Cette étape n’est pas traduite. Aidez à la traduire
-
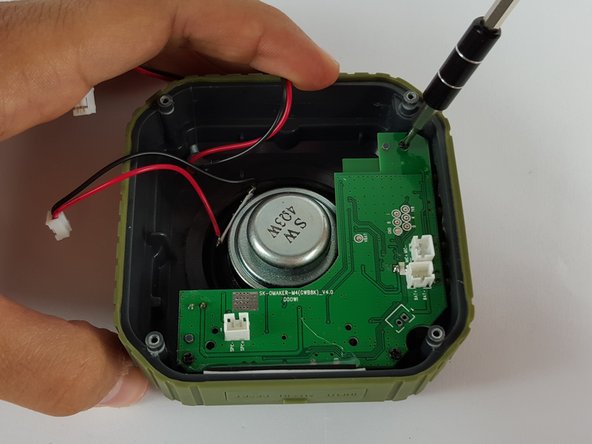
Use Phillips PH00 screwdriver to remove the three screws holding the motherboard in place.
-
-
Cette étape n’est pas traduite. Aidez à la traduire
-
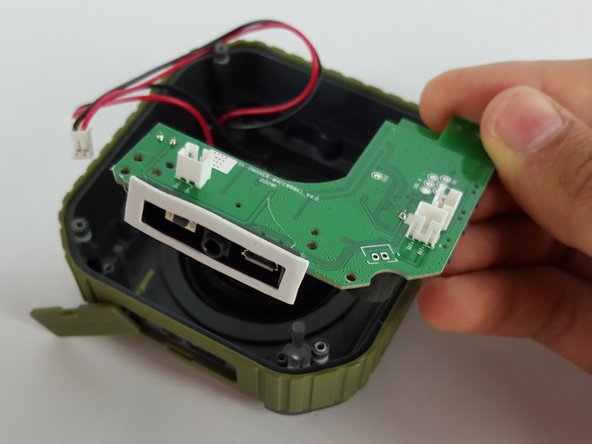
Carefully remove the motherboard with your hand by lifting it from the device.
-


Annulation : je n'ai pas terminé ce tutoriel.
2 autres ont terminé cette réparation.