Aller au contenu principal

OnePlus Nord N20 5G Screen Replacement

Ce dont vous avez besoin

  1. OnePlus Nord N20 5G Screen Replacement, Back Cover: étape 1, image 1 de 1
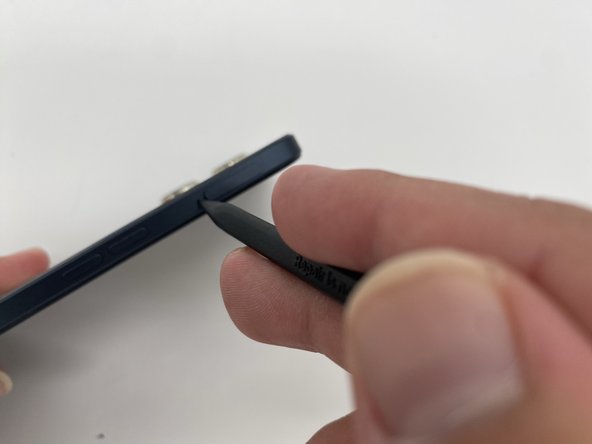
    • Insert the SIM ejection tool or a spudger in the small hole next to the SIM tray.

    • Push it gently until the tray pops out.

    • Remove the SIM card tray by sliding it outwards.

  2. OnePlus Nord N20 5G Screen Replacement: étape 2, image 1 de 2 OnePlus Nord N20 5G Screen Replacement: étape 2, image 2 de 2
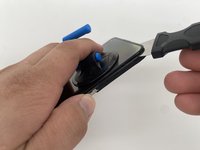
    • Heat the iOpener in a microwave for about 30 seconds. If the iOpener isn’t hot enough, reheat it for another 10-30 seconds.

    • Apply the heated iOpener on the backside of the phone for a minute to loosen the adhesive.

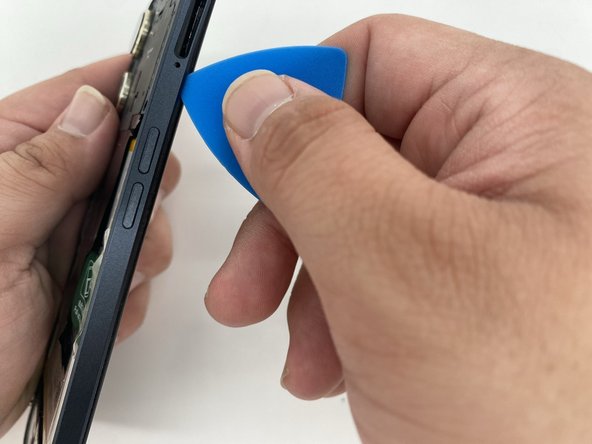
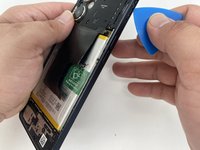
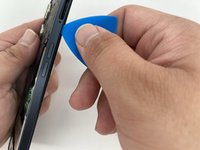
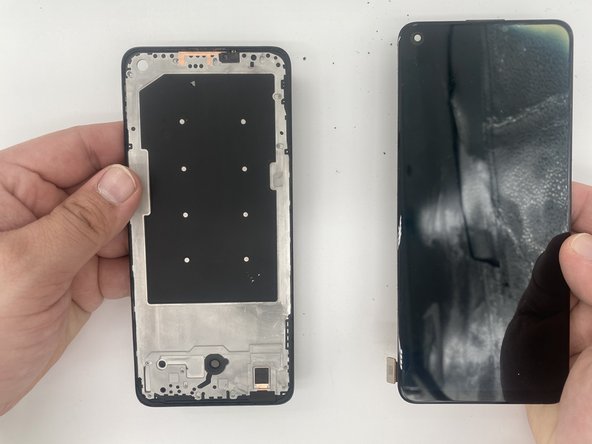
    • Use the iFixit opening tool and slide it along the edges of the phone to pry the back panel off.

  3. OnePlus Nord N20 5G Screen Replacement, Screen: étape 3, image 1 de 1
    • Remove the 18 3.9 mm screws using a Phillips #0 screwdriver.

  4. OnePlus Nord N20 5G Screen Replacement: étape 4, image 1 de 2 OnePlus Nord N20 5G Screen Replacement: étape 4, image 2 de 2
    • Take the iFixit opening tool and run it along the edges.

    • Separate the back housing from the frame of the screen.

  5. OnePlus Nord N20 5G Screen Replacement: étape 5, image 1 de 2 OnePlus Nord N20 5G Screen Replacement: étape 5, image 2 de 2
    • Disconnect the brackets attached to the motherboard using a spudger.

  6. OnePlus Nord N20 5G Screen Replacement: étape 6, image 1 de 1
    • Disconnect the bracket attached to the daughterboard using a spudger.

  7. OnePlus Nord N20 5G Screen Replacement: étape 7, image 1 de 1
    • Remove the battery.

    • This step is to ensure the heat from the iOpener does not damage the phone's battery.

  8. OnePlus Nord N20 5G Screen Replacement: étape 8, image 1 de 1
    • Heat up an iOpener for 30 seconds.

    • Place it on the front of the screen until you are able to slide a Jimmy in between the screen and the phone.

    • Make sure you do not overheat the screen or camera as it might damage the camera lens.

  9. OnePlus Nord N20 5G Screen Replacement: étape 9, image 1 de 1
    • Attach a suction handle to the screen.

    • Avoid being too rough to prevent more damage.

  10. OnePlus Nord N20 5G Screen Replacement: étape 10, image 1 de 2 OnePlus Nord N20 5G Screen Replacement: étape 10, image 2 de 2
    • Use a suction tool to pull the screen while prying the screen with a Jimmy.

    • The glue around the edges may need to be warmed up multiple times.

Conclusion

To reassemble your device, follow these instructions in reverse order.

Une autre personne a terminé cette réparation.

Mayson Solis

Membre depuis le 06/21/21

169 Réputation

1 tutoriel rédigé

Équipe

0 commentaires

Ajouter un commentaire

Nombre de vues :

Dernières 24 heures : 3

7 derniers jours : 19

30 derniers jours : 74

Total : 201