Aller au contenu principal

Oster Expressbake CKSTBRTW20 Top Panel Buttons Replacement

Ce dont vous avez besoin

  1. Oster Expressbake CKSTBRTW20 Top Panel Buttons Replacement, Top Panel Removal: étape 1, image 1 de 1
    • Remove the bread pan.

  2. Oster Expressbake CKSTBRTW20 Top Panel Buttons Replacement: étape 2, image 1 de 3 Oster Expressbake CKSTBRTW20 Top Panel Buttons Replacement: étape 2, image 2 de 3 Oster Expressbake CKSTBRTW20 Top Panel Buttons Replacement: étape 2, image 3 de 3
    • Remove the eight 22mm Phillips #1 screws from the grey lining.

    • Remove the grey liner.

  3. Oster Expressbake CKSTBRTW20 Top Panel Buttons Replacement: étape 3, image 1 de 2 Oster Expressbake CKSTBRTW20 Top Panel Buttons Replacement: étape 3, image 2 de 2
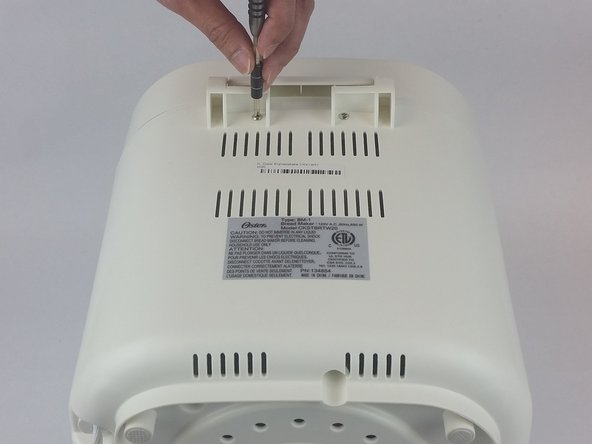
    • Remove the two 11mm Phillips #1 screws from the back of the device.

  4. Oster Expressbake CKSTBRTW20 Top Panel Buttons Replacement: étape 4, image 1 de 2 Oster Expressbake CKSTBRTW20 Top Panel Buttons Replacement: étape 4, image 2 de 2
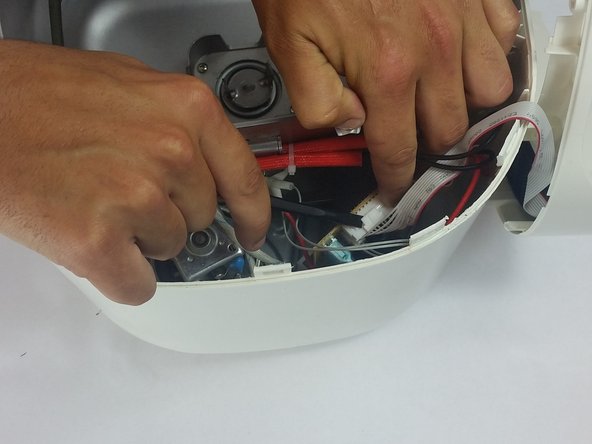
    • Pop off the top case using a spudger.

    • Keep the spudger away from the control panel.

    • Be aware of wires connecting the microcontroller to the panel when removing the top lining.

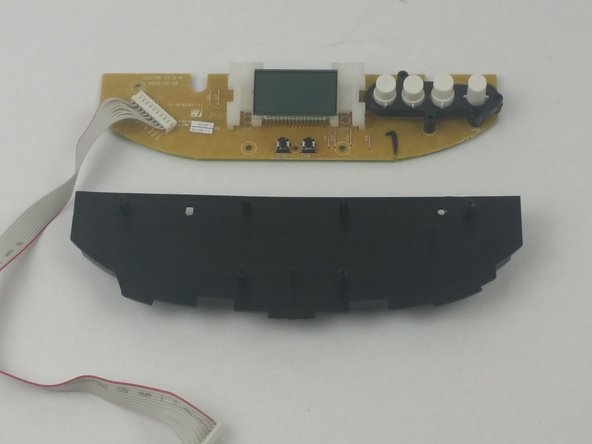
  5. Oster Expressbake CKSTBRTW20 Top Panel Buttons Replacement, Top Panel Buttons: étape 5, image 1 de 3 Oster Expressbake CKSTBRTW20 Top Panel Buttons Replacement, Top Panel Buttons: étape 5, image 2 de 3 Oster Expressbake CKSTBRTW20 Top Panel Buttons Replacement, Top Panel Buttons: étape 5, image 3 de 3
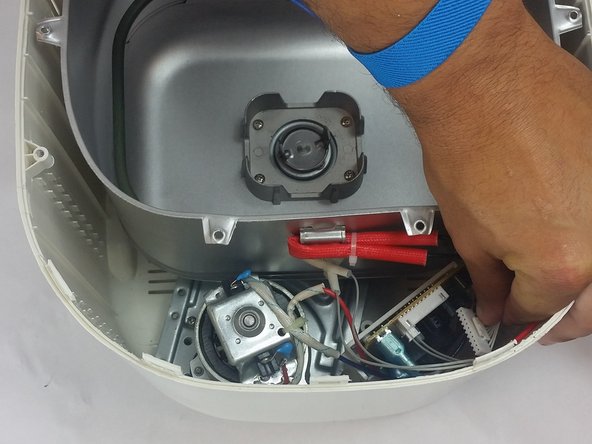
    • Disconnect microcontroller and top lining.

    • Ground yourself prior to disconnecting in order to avoid harming the inner electronics.

  6. Oster Expressbake CKSTBRTW20 Top Panel Buttons Replacement: étape 6, image 1 de 2 Oster Expressbake CKSTBRTW20 Top Panel Buttons Replacement: étape 6, image 2 de 2
    • Remove the two 11mm Phillips #1 screws from the top cover.

  7. Oster Expressbake CKSTBRTW20 Top Panel Buttons Replacement: étape 7, image 1 de 1
    • Use spudger to pop the control panel out.

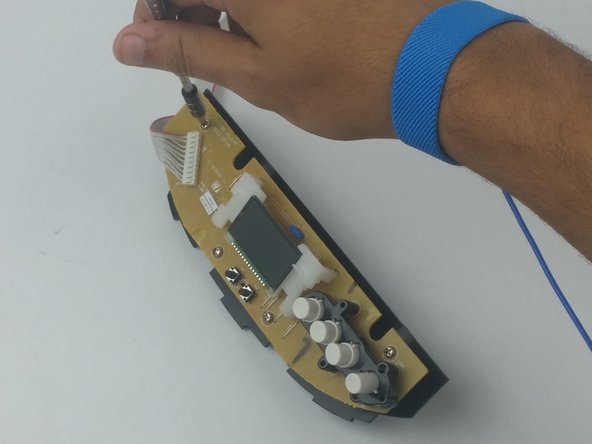
  8. Oster Expressbake CKSTBRTW20 Top Panel Buttons Replacement: étape 8, image 1 de 3 Oster Expressbake CKSTBRTW20 Top Panel Buttons Replacement: étape 8, image 2 de 3 Oster Expressbake CKSTBRTW20 Top Panel Buttons Replacement: étape 8, image 3 de 3
    • Remove the four 11mm Phillips #1 screws from the control panel.

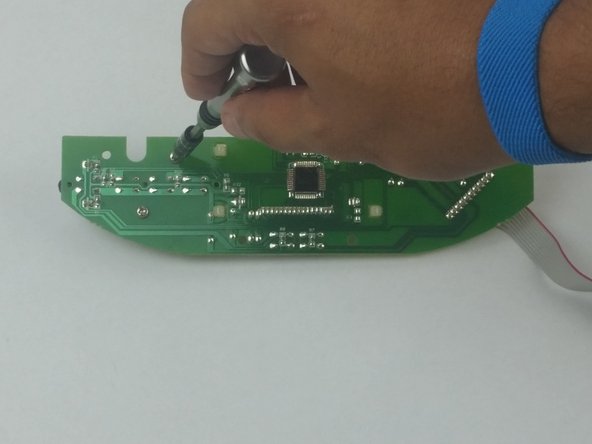
  9. Oster Expressbake CKSTBRTW20 Top Panel Buttons Replacement: étape 9, image 1 de 3 Oster Expressbake CKSTBRTW20 Top Panel Buttons Replacement: étape 9, image 2 de 3 Oster Expressbake CKSTBRTW20 Top Panel Buttons Replacement: étape 9, image 3 de 3
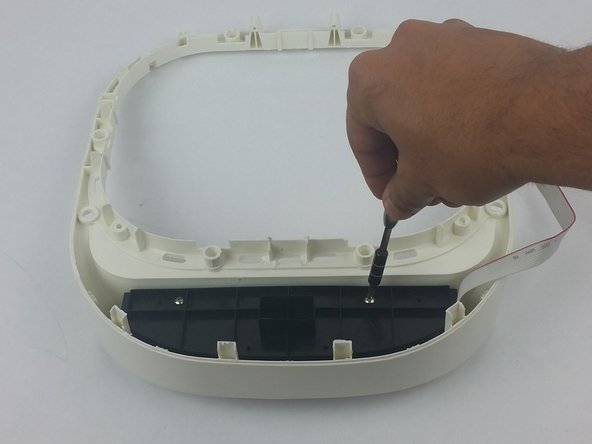
    • Remove the two 11mm Phillips #1 screws from the button panel.

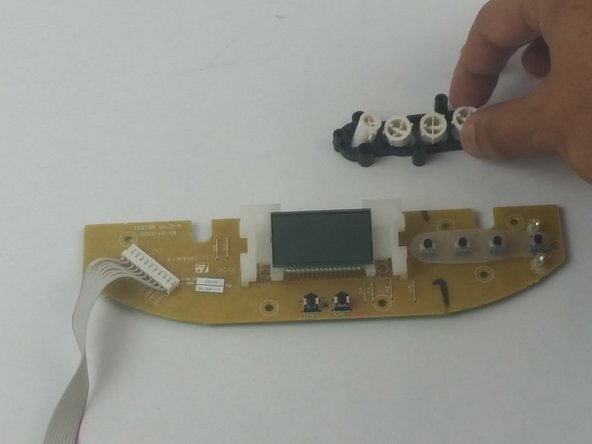
    • Flip the screen assembly over and remove the button panel.

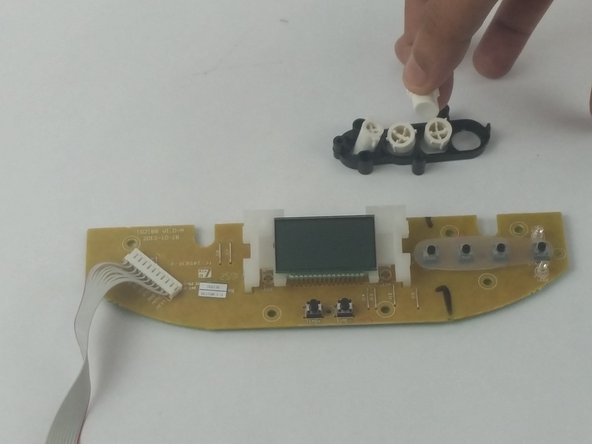
  10. Oster Expressbake CKSTBRTW20 Top Panel Buttons Replacement: étape 10, image 1 de 2 Oster Expressbake CKSTBRTW20 Top Panel Buttons Replacement: étape 10, image 2 de 2
    • Remove and replace buttons as necessary.

Conclusion

To reassemble your device, follow these instructions in reverse order.

Megan Saunders

Membre depuis le 01/25/18

701 Réputation

5 tutoriels rédigés

Équipe

USF Tampa, Team S7-G5, Passmore Spring 2018 Membre de l'équipe USF Tampa, Team S7-G5, Passmore Spring 2018

USFT-PASSMORE-S18S7G5

4 membres

5 tutoriels rédigés

0 commentaires

Ajouter un commentaire

Nombre de vues :

Dernières 24 heures : 0

7 derniers jours : 0

30 derniers jours : 0

Total : 226