Introduction
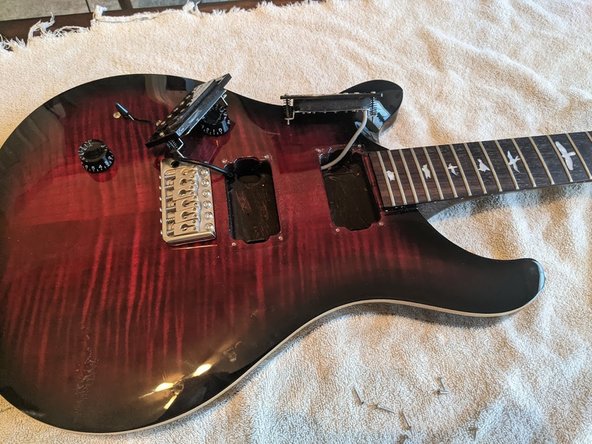
In this guide, we will show you how to replace pickups in a Paul Reed Smith, also known as a PRS electric guitar. This guide covers basic steps on removing strings, taking out old pickups, and installing new ones. It is geared towards any guitar player who is experiencing problems with their pickups and needs replacements.
Before you begin, make sure you have the required tools listed for this guide. It may be good to know how to work a soldering iron before replacing your pickups as well. Make sure you have extra strings tucked away because you will need to remove and replace the old ones. Lastly, make sure that you have a nice space with a towel to put the guitar on to avoid any scratches while performing this replacement.
Ce dont vous avez besoin
-
-
Loosen all of the strings until they can be pulled out of the tuners.
-
Pull the strings through the bridge and out of the back side of the guitar.
-
-


Équipe

University of North Texas, Team S1-G13, Raign Spring 2021 Membre de l'équipe University of North Texas, Team S1-G13, Raign Spring 2021
UNT-RAIGN-S21S1G13
2 membres
1 tutoriel rédigé