Cette version peut contenir des modifications incorrectes. Passez au dernier aperçu vérifié.
Ce dont vous avez besoin
-
Cette étape n’est pas traduite. Aidez à la traduire
-
Begin with the Palm m105 facing you on a flat surface.
-
-
Cette étape n’est pas traduite. Aidez à la traduire
-
Remove the protective screen cover by flipping it up and pulling it directly away from the top of the device.
-
The two clips located on the protective screen should pop out.
-
-
Cette étape n’est pas traduite. Aidez à la traduire
-
To remove the faceplate, lift the tab located at the top of the device.
-
The faceplate should easily lift off.
-
-
Cette étape n’est pas traduite. Aidez à la traduire
-
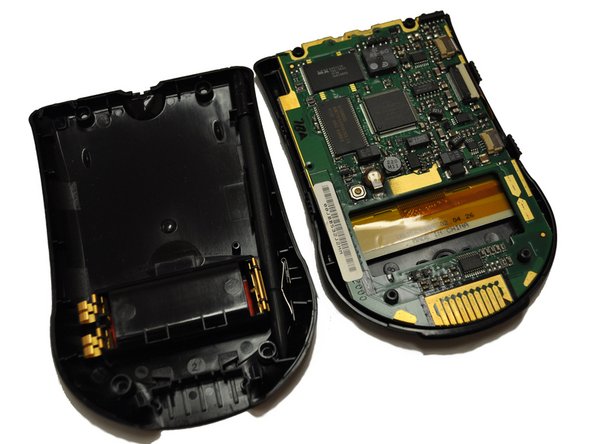
Using a T-5 Torx screwdriver, remove all four screws located on the back of the device. Turn counterclockwise to remove screws. The link to purchase this screwdriver is located at the top of this page.
-
Once you have removed all four screws, the device will be in three separate pieces (the back, the computer, and the button board).
-
-
Cette étape n’est pas traduite. Aidez à la traduire
-
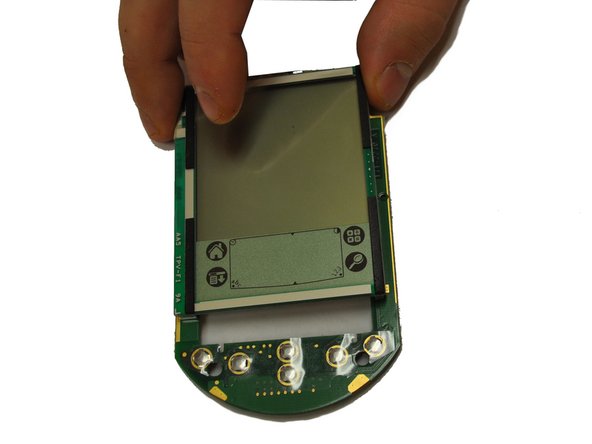
After step four, locate the button board. The button board should have a frame attached to it. Remove this frame.
-
To remove the buttons from the frame, apply even pressure on two buttons at a time. This should make them pop out easily. Once you have removed the buttons, you can now wash or replace them.
-
To insert a new set of buttons, push it back into the opening on the faceplate, and you should feel it click into place.
-


Annulation : je n'ai pas terminé ce tutoriel.
Une autre personne a terminé cette réparation.
Équipe

UW Stout, Team 1-3, Zhou Fall 2011 Membre de l'équipe UW Stout, Team 1-3, Zhou Fall 2011
UWSTOUT-ZHOU-F11S1G3
4 membres
7 tutoriels rédigés