Cette version peut contenir des modifications incorrectes. Passez au dernier aperçu vérifié.
Ce dont vous avez besoin
-
Cette étape n’est pas traduite. Aidez à la traduire
-
Remove the stylus from the side of the PDA by sliding it upwards.
-
-
Cette étape n’est pas traduite. Aidez à la traduire
-
Remove the 4 screws from the corners of the back panel of the device using a size T6 Torx screwdriver.
-
-
-
Cette étape n’est pas traduite. Aidez à la traduire
-
Insert the edge of the plastic opening tool between the back panel and the black stylus holder.
-
Carefully and forcefully pry the panels apart.
-
-
Cette étape n’est pas traduite. Aidez à la traduire
-
Use tweezers to unplug the battery cable from the motherboard socket.
-
Gently remove the battery from the motherboard using your thumb and forefinger to pull upwards.
-
-
Cette étape n’est pas traduite. Aidez à la traduire
-
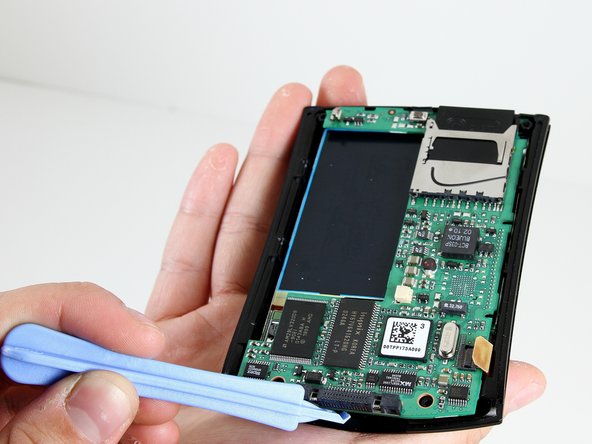
Use the plastic opening tool to pry the orange clamp away from the motherboard.
-
Use the plastic opening tool at the bottom of the device to pry the motherboard away from the front plate.
-
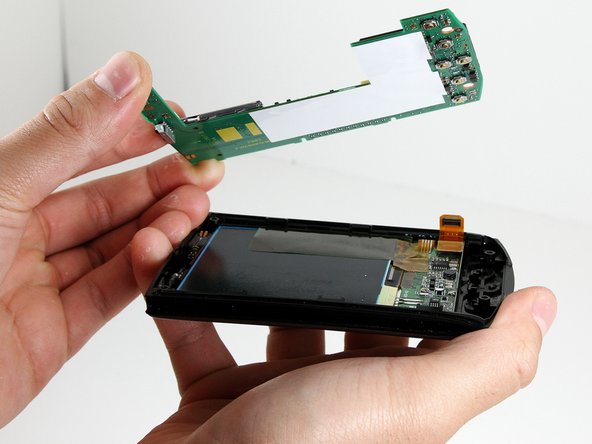
Gently and forcefully lift the motherboard away from the front plate by using your thumb and forefinger.
-
-
Cette étape n’est pas traduite. Aidez à la traduire
-
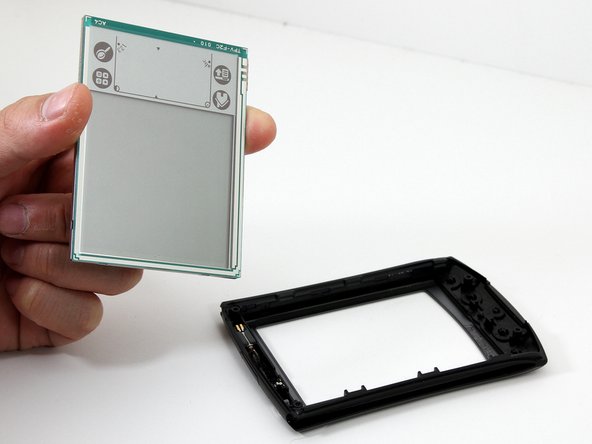
Pull the LCD screen up from the bottom of the device using your forefinger.
-
The LCD screen will easily come away from the front panel.
-


Annulation : je n'ai pas terminé ce tutoriel.
Une autre personne a terminé cette réparation.
Équipe

Cal Poly, Team 14-9, Forte Winter 2011 Membre de l'équipe Cal Poly, Team 14-9, Forte Winter 2011
CPSU-FORTE-W11S14G9
6 membres
6 tutoriels rédigés