Ce tutoriel a des changements plus récents. Passer à la dernière version non vérifiée.
Introduction
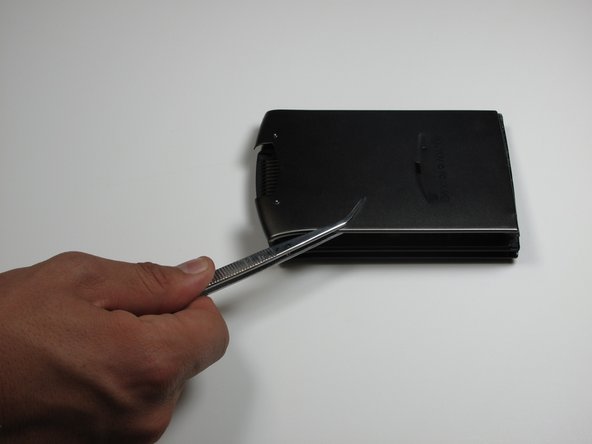
A brief guide on how to replace the battery for your Palm V
Ce dont vous avez besoin
-
-
-
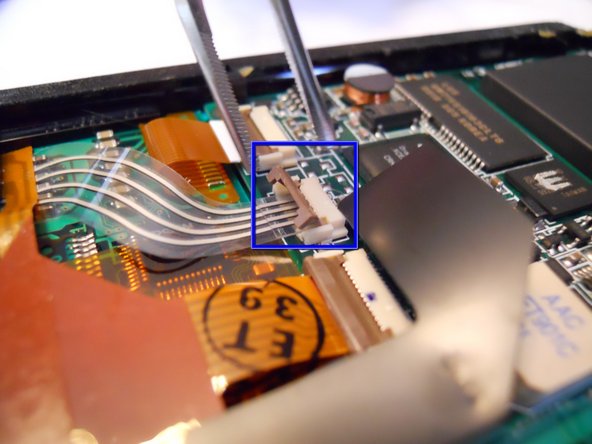
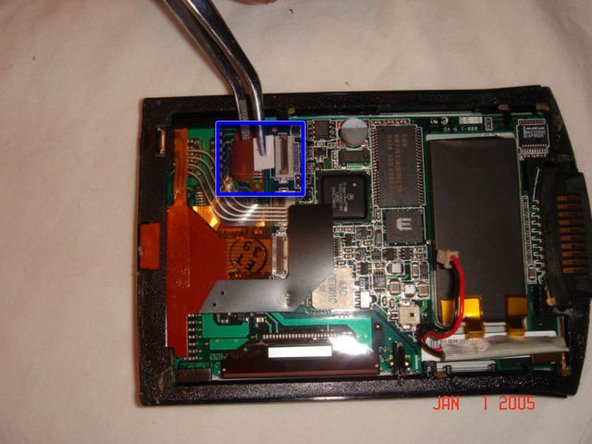
In order to seperate the screen from the motherboard you must disconnect the ribbon attached to the screen.
-
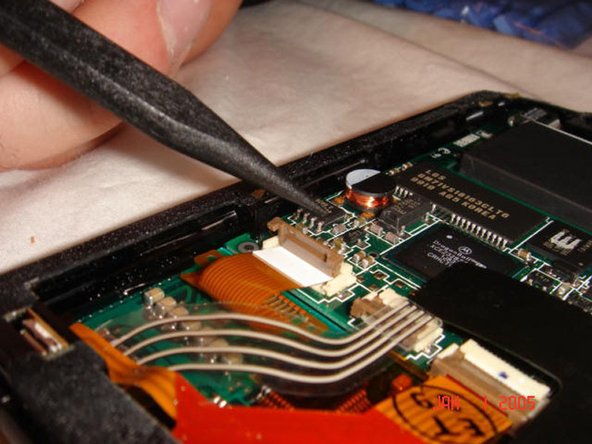
To do this, using tweezers, flip up the cable clamp that is connecting the ribbon to the screen.
-
Once the clamp is up you can use the tweezers to gently detach the ribbon.
-
-
-
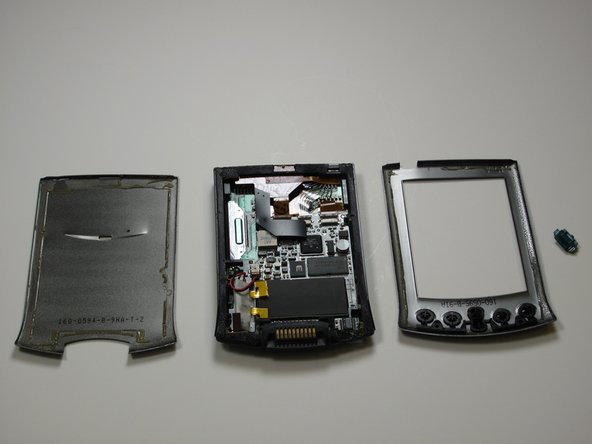
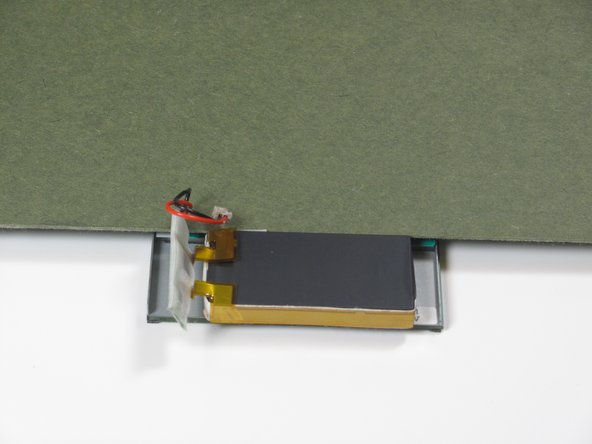
Lay screen face down so the battery is facing upwards.
-
Cover the upper back portion of the device so the battery is the only exposed part.
-


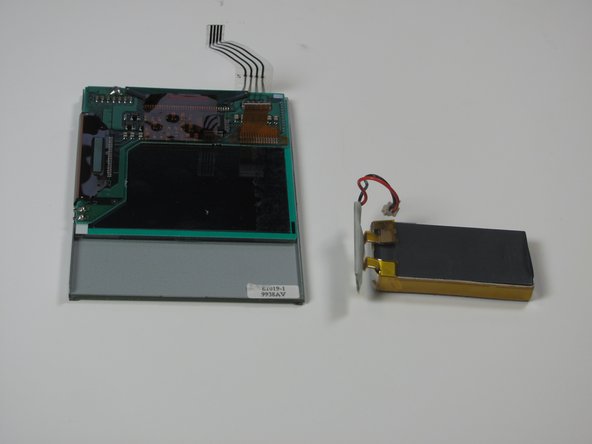
To reassemble your device, follow these instructions in reverse order.
To reassemble your device, follow these instructions in reverse order.
Annulation : je n'ai pas terminé ce tutoriel.
3 autres ont terminé cette réparation.
Équipe

Cal Poly, Team 13-25, Maness Winter 2010 Membre de l'équipe Cal Poly, Team 13-25, Maness Winter 2010
CPSU-MANESS-W10S13G25
4 membres
4 tutoriels rédigés