Introduction
Utilisez ce guide pour remplacer l'écran LCD qui se trouve dans le couvercle arrière de l'appareil photo.
Ce dont vous avez besoin
-
-
Retirez les onze vis suivantes fixant les couvercles au ZS3
-
Onze vis Phillips de 3 mm
-
-
-
-
Retirez les deux câbles plats de la carte LCD de leurs prises.
There are two ribbon cables: a wide one for the lcd display itself, and a thin one for the backlight. When reassembling, it is easy to reverse the polarity on the backlight cable, in which case the backlight will not work. Make a note of the polarity as you disassemble.
when I pried the small band's socket, the socket came off the board. What do I do now ? can I resolder it and where to ????
-
-
-
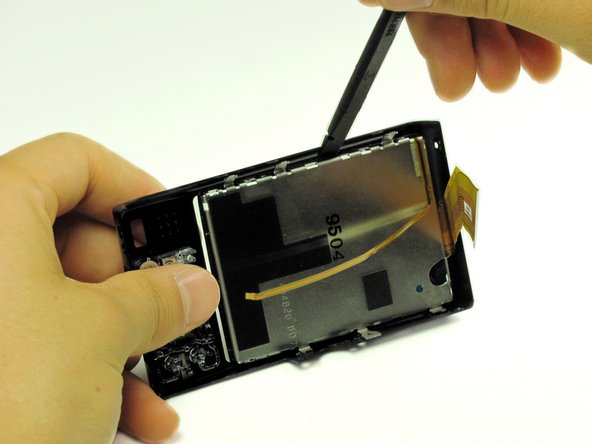
Prenez le panneau arrière et utilisez l'extrémité plate du spudger pour soulever l'écran LCD du capot arrière.
-


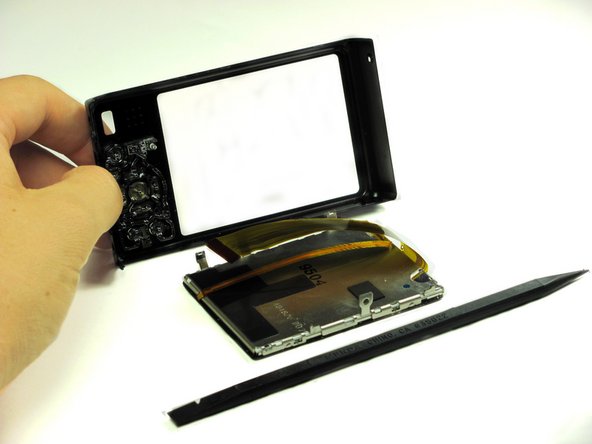
Pour remonter votre appareil, suivez ces instructions dans l'ordre inverse.
Pour remonter votre appareil, suivez ces instructions dans l'ordre inverse.
Annulation : je n'ai pas terminé ce tutoriel.
3 autres ont terminé cette réparation.
Merci à ces traducteurs :
100%
[deleted] nous aide à réparer le monde ! Vous voulez contribuer ?
Commencez à traduire ›
Équipe

Cal Poly, Team 13-60, Johann Spring 2013 Membre de l'équipe Cal Poly, Team 13-60, Johann Spring 2013
CPSU-JOHANN-S13S13G60
3 membres
10 tutoriels rédigés
2 commentaires
It would be helpful if images of an inoperating screen were included. My screen shows many multi-colored lines - is it a broken screen or a bad board. The camera still shoots pictures.
Really useful guide. However, it's not quite complete: you do have to take the screen assembly apart once you've removed it from the back cover. It's not that difficult to do with the spudger, as all the metal bits around the screen just prise apart, but the 10-15 minutes quoted turned into an hour or so for me once I'd got it all back together again.
On some versions of this model, removing the back cover will suffice for this repair. The back cover is secured by only six screws.
Alex Levine - Réponse