Aller au contenu principal

Panasonic Lumix DMC-ZS6 SD Card Reader Replacement

Ce dont vous avez besoin
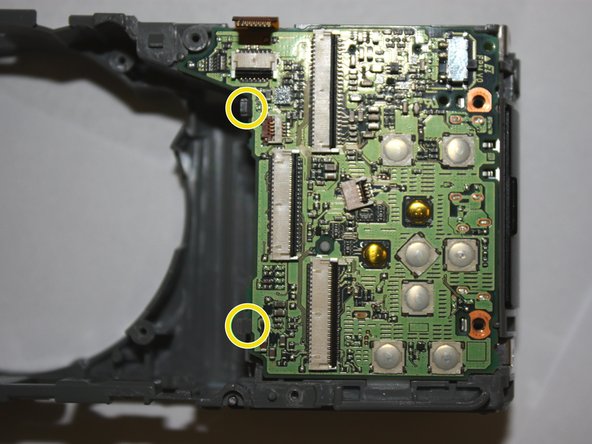
  1. Panasonic Lumix DMC-ZS6 SD Card Reader Replacement, SD Card Reader: étape 1, image 1 de 1
    • Remove the battery and the SD card.

  2. Panasonic Lumix DMC-ZS6 SD Card Reader Replacement: étape 2, image 1 de 3 Panasonic Lumix DMC-ZS6 SD Card Reader Replacement: étape 2, image 2 de 3 Panasonic Lumix DMC-ZS6 SD Card Reader Replacement: étape 2, image 3 de 3
    • Unscrew the bottom two 1.0 mm screws with a Phillips #000 screwdriver.

    • Unscrew the two 1.0 mm screws on the right with a Phillips #000 screwdriver.

    • Unscrew the two 1.0 mm screws on the left with a Phillips #000 screwdriver.

  3. Panasonic Lumix DMC-ZS6 SD Card Reader Replacement: étape 3, image 1 de 1
    • Carefully separate the back of the camera from the main body.

    • Do not apply excessive force. The LCD is connected by ribbon cables that can be easily damaged.

  4. Panasonic Lumix DMC-ZS6 SD Card Reader Replacement: étape 4, image 1 de 2 Panasonic Lumix DMC-ZS6 SD Card Reader Replacement: étape 4, image 2 de 2
    • Use the tip of the spudger to flip up the black tabs on the ribbon cables.

    • Pull gently on the ribbon cables to unseat them.

  5. Panasonic Lumix DMC-ZS6 SD Card Reader Replacement: étape 5, image 1 de 3 Panasonic Lumix DMC-ZS6 SD Card Reader Replacement: étape 5, image 2 de 3 Panasonic Lumix DMC-ZS6 SD Card Reader Replacement: étape 5, image 3 de 3
    • Unscrew the two 1.0 mm screws on the right with a Phillips #000 screwdriver.

    • Unscrew the two 1.0 mm screws on the left with a Phillips #000 screwdriver.

    • Unscrew the bottom 1.0 mm screw with a Phillips #000 screwdriver.

  6. Panasonic Lumix DMC-ZS6 SD Card Reader Replacement: étape 6, image 1 de 1
    • Separate the front of the camera from the main body.

  7. Panasonic Lumix DMC-ZS6 SD Card Reader Replacement: étape 7, image 1 de 2 Panasonic Lumix DMC-ZS6 SD Card Reader Replacement: étape 7, image 2 de 2
    • Use the tip of the spudger to disengage the plastic tab.

    • Carefully lift the selector switch away from the motherboard.

  8. Panasonic Lumix DMC-ZS6 SD Card Reader Replacement: étape 8, image 1 de 2 Panasonic Lumix DMC-ZS6 SD Card Reader Replacement: étape 8, image 2 de 2
    • Unscrew the three silver 1.0 mm screws with a Phillips #000 screwdriver.

    • Use the tip of the spudger to disengage the metal tab.

    • Carefully lift the shield away from the motherboard.

  9. Panasonic Lumix DMC-ZS6 SD Card Reader Replacement: étape 9, image 1 de 1
    • Insert the tip of the spudger into the center hole of the tripod mount.

    • Apply force in the direction facing away from the button.

    • Carefully lift the tripod mount out of the camera body.

  10. Panasonic Lumix DMC-ZS6 SD Card Reader Replacement: étape 10, image 1 de 2 Panasonic Lumix DMC-ZS6 SD Card Reader Replacement: étape 10, image 2 de 2
    • Use the spudger to flip up the brown tab on the motherboard and carefully unseat the ribbon cable.

    • Insert the tip of the spudger into the hole on the daughterboard.

    • Apply upward force to remove the daughterboard from the main case.

  11. Panasonic Lumix DMC-ZS6 SD Card Reader Replacement: étape 11, image 1 de 3 Panasonic Lumix DMC-ZS6 SD Card Reader Replacement: étape 11, image 2 de 3 Panasonic Lumix DMC-ZS6 SD Card Reader Replacement: étape 11, image 3 de 3
    • Use the spudger to flip up the two tabs on the motherboard and carefully unseat the ribbon cables.

    • Use the Phillips #000 screwdriver to remove the three 1.0 mm silver screws.

    • Carefully lift the lens assembly out of the camera.

  12. Panasonic Lumix DMC-ZS6 SD Card Reader Replacement: étape 12, image 1 de 3 Panasonic Lumix DMC-ZS6 SD Card Reader Replacement: étape 12, image 2 de 3 Panasonic Lumix DMC-ZS6 SD Card Reader Replacement: étape 12, image 3 de 3
    • Use the tip of the spudger to disengage the tab on the back of the camera.

    • Use the tip of the spudger to disengage the two tabs on the front of the camera.

    • Carefully lift the top assembly out of place.

  13. Panasonic Lumix DMC-ZS6 SD Card Reader Replacement: étape 13, image 1 de 2 Panasonic Lumix DMC-ZS6 SD Card Reader Replacement: étape 13, image 2 de 2
    • Use the spudger to disengage the two tabs.

    • Carefully lift the flash assembly out of place.

  14. Panasonic Lumix DMC-ZS6 SD Card Reader Replacement: étape 14, image 1 de 3 Panasonic Lumix DMC-ZS6 SD Card Reader Replacement: étape 14, image 2 de 3 Panasonic Lumix DMC-ZS6 SD Card Reader Replacement: étape 14, image 3 de 3
    • Use the tip of the spudger to flip up the tab to unseat the ribbon cable.

    • Unscrew the two silver 1.0 mm screws with a Phillips #000.

    • Use the tip of the spudger to disengage the two plastic tabs, and carefully lift the motherboard out of place.

  15. Panasonic Lumix DMC-ZS6 SD Card Reader Replacement: étape 15, image 1 de 2 Panasonic Lumix DMC-ZS6 SD Card Reader Replacement: étape 15, image 2 de 2
    • Unscrew the one silver 1.0 mm screw with a Phillips #000 screwdriver.

    • Use to tip of the spudger to disengage the plastic tab, then carefully lift the plastic shield out of place.

  16. Panasonic Lumix DMC-ZS6 SD Card Reader Replacement: étape 16, image 1 de 1
    • Carefully lift the SD card reader assembly out of place.

Conclusion

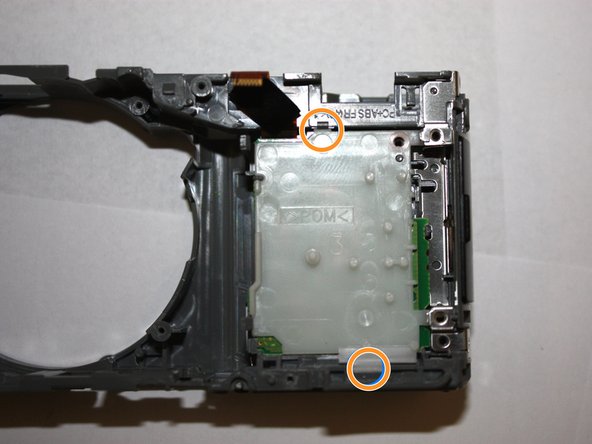
To reassemble your device, follow these instructions in reverse order.

Derrick Thompson

Membre depuis le 01/30/18

1 035 Réputation

5 tutoriels rédigés

Équipe

Baylor, Team S2-G5, Johnson Spring 2018 Membre de l'équipe Baylor, Team S2-G5, Johnson Spring 2018

BU-JOHNSON-S18S2G5

3 membres

10 tutoriels rédigés

0 commentaires

Ajouter un commentaire

Nombre de vues :

Dernières 24 heures : 0

7 derniers jours : 3

30 derniers jours : 8

Total : 1,251