Introduction
If the keyboard on your Panasonic Toughbook CF-53 has ceased working, none of the keys work or respond, and no other troubleshooting tactics have resolved the issue, or the keyboard has been broken, try to replace the keyboard itself. Follow this replacement guide to quickly and effectively install a new keyboard for your laptop.
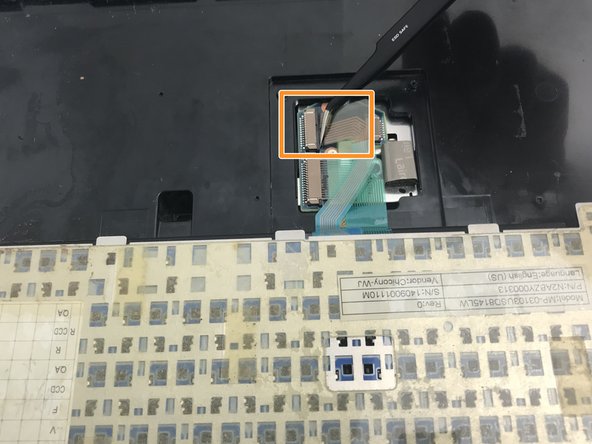
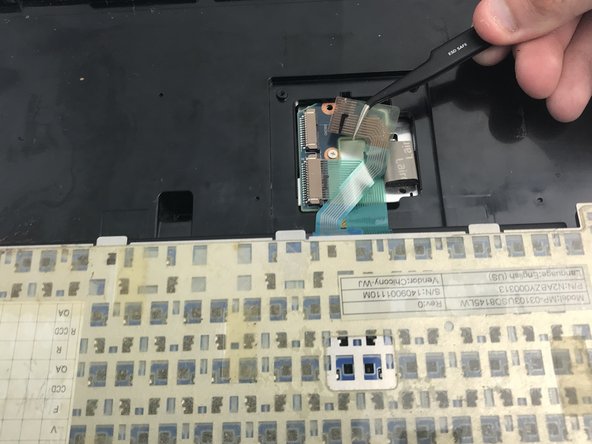
Be careful not to break the ribbon connections when installing the new keyboard and not to break the plastic hinge cover when snapping it back into place.
Ce dont vous avez besoin
-
-
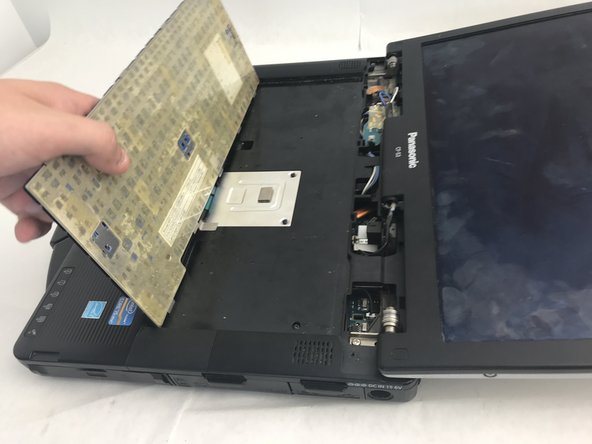
Open the laptop and face it towards you.
-
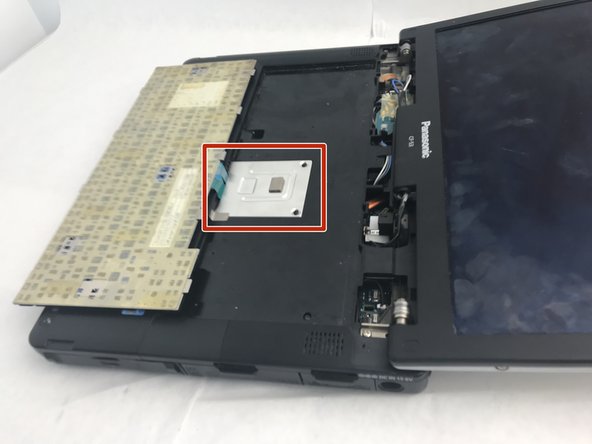
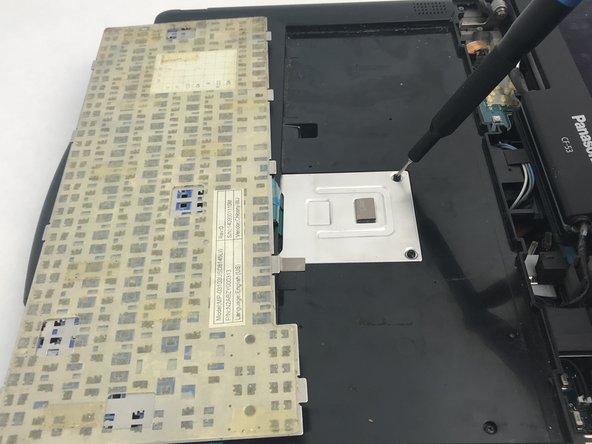
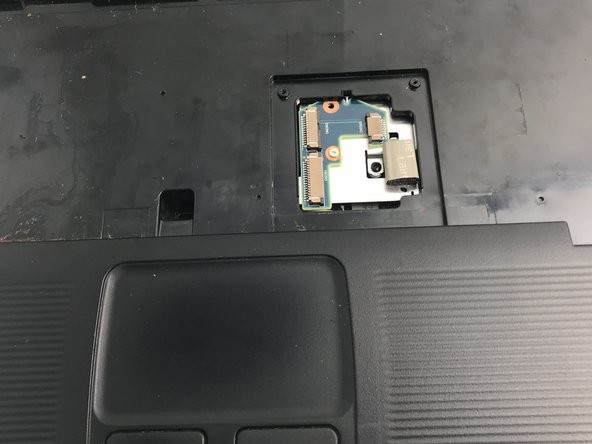
Remove the three 3 mm Phillips #00 screws at the top of the base.
-
-


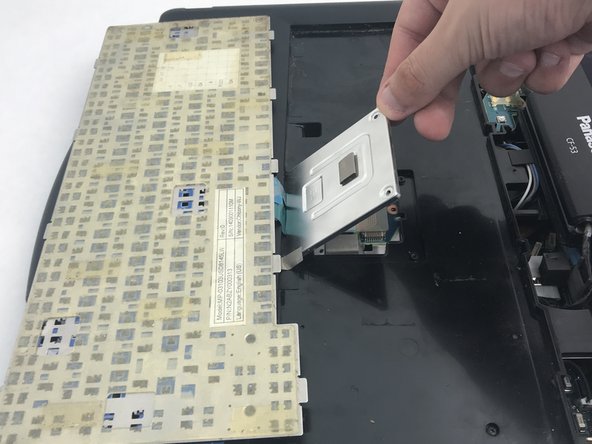


To reassemble your device, follow these instructions in reverse order.
To reassemble your device, follow these instructions in reverse order.
Annulation : je n'ai pas terminé ce tutoriel.
Une autre personne a terminé cette réparation.

Équipe

Embry-Riddle Aeronautical University, Team S6-G4, Salas Fall 2019 Membre de l'équipe Embry-Riddle Aeronautical University, Team S6-G4, Salas Fall 2019
ERAU-SALAS-F19S6G4
3 membres
7 tutoriels rédigés