Aller au contenu principal

Pearl Marching Bottom Snare Head Replacement

Ce dont vous avez besoin

  1. Pearl Marching Bottom Snare Head Replacement, Bottom Snare Head: étape 1, image 1 de 3 Pearl Marching Bottom Snare Head Replacement, Bottom Snare Head: étape 1, image 2 de 3 Pearl Marching Bottom Snare Head Replacement, Bottom Snare Head: étape 1, image 3 de 3
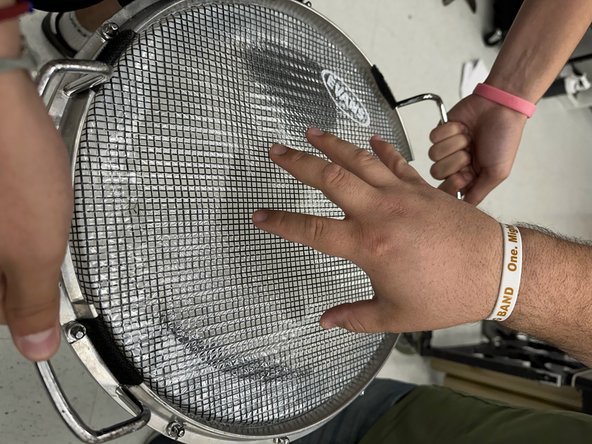
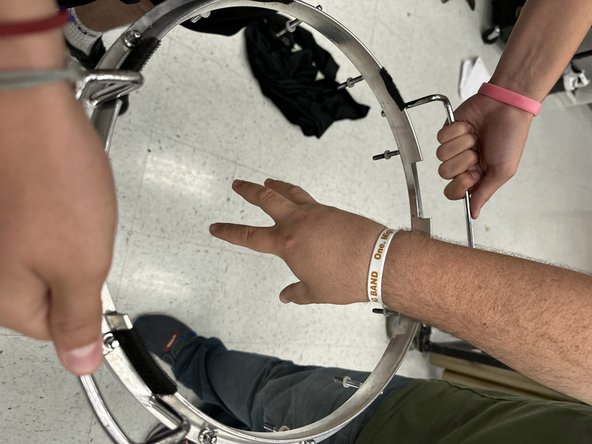
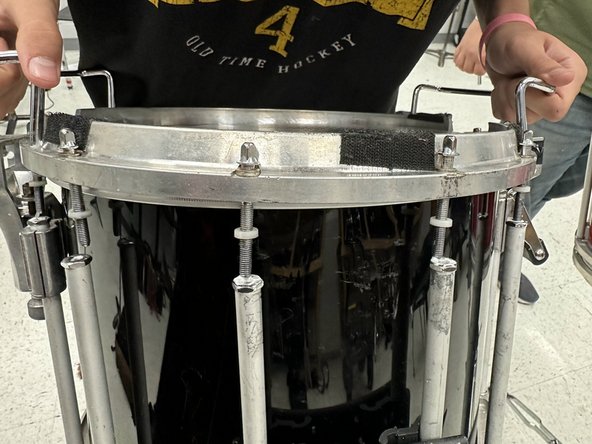
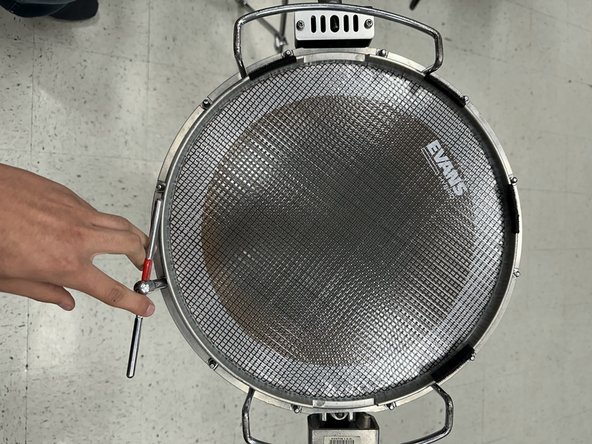
    • Station the drum upside down on a flat stable surface where you can work comfortably.

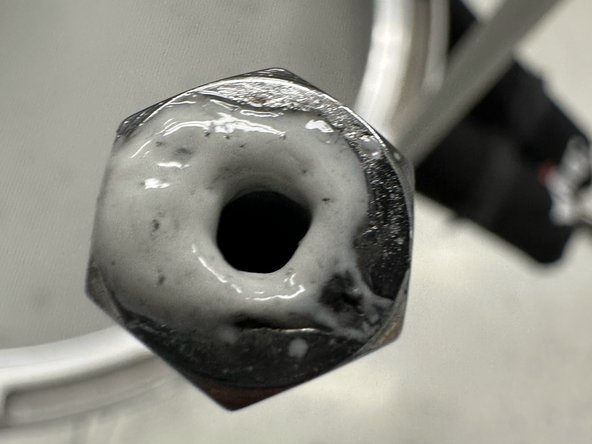
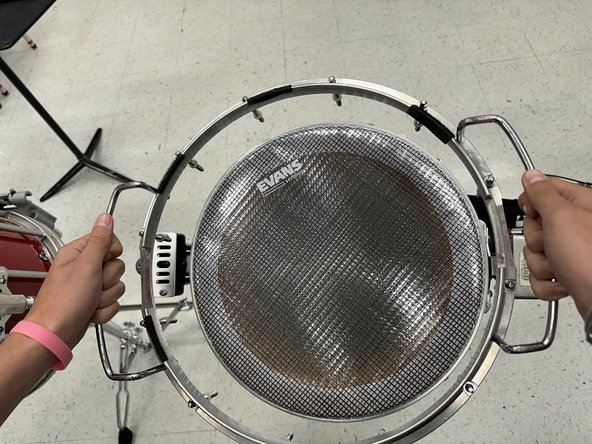
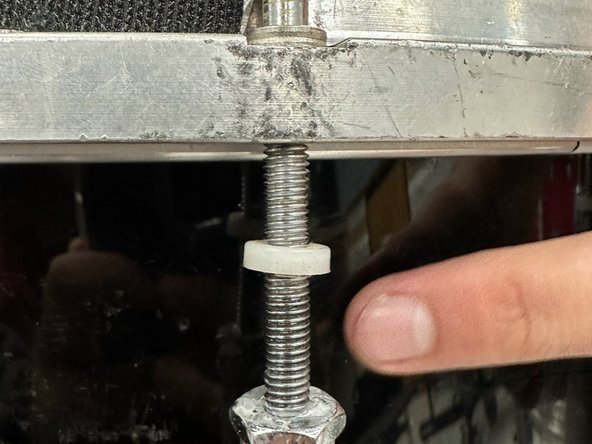
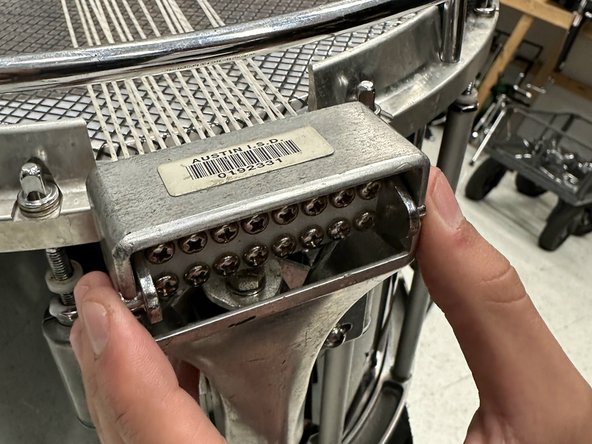
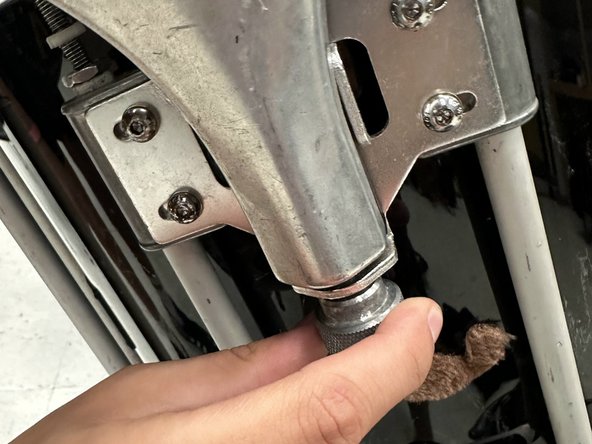
    • Using the high tension drum key, loosen the lugs around the bottom rim one by one slowly in a star pattern until all of the lugs are completely removed.

    • You will need to go around the whole drum multiple times as you cannot loosen them completely in one go.

  2. Pearl Marching Bottom Snare Head Replacement: étape 2, image 1 de 3 Pearl Marching Bottom Snare Head Replacement: étape 2, image 2 de 3 Pearl Marching Bottom Snare Head Replacement: étape 2, image 3 de 3
    • Loosen the knob on the side of the snare guts (the strips across the bottom of the drum) in order to remove the tension from the guts.

    • Carefully pull the snare guts out the side once they are removed.

    • Save them on the side for later.

  3. Pearl Marching Bottom Snare Head Replacement: étape 3, image 1 de 3 Pearl Marching Bottom Snare Head Replacement: étape 3, image 2 de 3 Pearl Marching Bottom Snare Head Replacement: étape 3, image 3 de 3
    • Once everything is removed from the bottom of the drum, remove the entire rim from the casing making sure to grab it by the edges.

    • Pop the broken drum head off of the rim.

  4. Pearl Marching Bottom Snare Head Replacement: étape 4, image 1 de 3 Pearl Marching Bottom Snare Head Replacement: étape 4, image 2 de 3 Pearl Marching Bottom Snare Head Replacement: étape 4, image 3 de 3
    • Use your microfibre cloth or paper towels to clean any debris from the removed rim of the drum.

  5. Pearl Marching Bottom Snare Head Replacement: étape 5, image 1 de 3 Pearl Marching Bottom Snare Head Replacement: étape 5, image 2 de 3 Pearl Marching Bottom Snare Head Replacement: étape 5, image 3 de 3
    • Remove the shell of the drum from the top head by pulling it off with your hands.

    • Use a paper towel or cloth to clean the interior of the shell.

  6. Pearl Marching Bottom Snare Head Replacement: étape 6, image 1 de 3 Pearl Marching Bottom Snare Head Replacement: étape 6, image 2 de 3 Pearl Marching Bottom Snare Head Replacement: étape 6, image 3 de 3
    • Look for any debris under the top head and use compressed air to blow the debris off.

  7. Pearl Marching Bottom Snare Head Replacement: étape 7, image 1 de 2 Pearl Marching Bottom Snare Head Replacement: étape 7, image 2 de 2
    • Carefully apply a small amount of white lithium grease making sure to only lightly coat the inside of the screw hole.

  8. Pearl Marching Bottom Snare Head Replacement: étape 8, image 1 de 2 Pearl Marching Bottom Snare Head Replacement: étape 8, image 2 de 2
    • Put the shell back into place with the logo and serial number aligned as shown.

  9. Pearl Marching Bottom Snare Head Replacement: étape 9, image 1 de 3 Pearl Marching Bottom Snare Head Replacement: étape 9, image 2 de 3 Pearl Marching Bottom Snare Head Replacement: étape 9, image 3 de 3
    • Place the new head on the shell as shown, and then place the rim back over it aligning the lugs over the screw holes.

  10. Pearl Marching Bottom Snare Head Replacement: étape 10, image 1 de 2 Pearl Marching Bottom Snare Head Replacement: étape 10, image 2 de 2
    • Hand tighten each of the lugs while pushing down in order to get them to bite into the threads so that you can begin to tighten with the T key.

  11. Pearl Marching Bottom Snare Head Replacement: étape 11, image 1 de 2 Pearl Marching Bottom Snare Head Replacement: étape 11, image 2 de 2
    • Retighten each of the lugs slowly in a star pattern once again until they are completely tightened again.

    • Check the tuning by flicking the head around each of the lugs to ensure they all produce the same pitch.

  12. Pearl Marching Bottom Snare Head Replacement: étape 12, image 1 de 3 Pearl Marching Bottom Snare Head Replacement: étape 12, image 2 de 3 Pearl Marching Bottom Snare Head Replacement: étape 12, image 3 de 3
    • Place the snare guts back into their original place by sliding them back into the slot as shown and screwing them in at the end with the knob.

  13. Pearl Marching Bottom Snare Head Replacement: étape 13, image 1 de 3 Pearl Marching Bottom Snare Head Replacement: étape 13, image 2 de 3 Pearl Marching Bottom Snare Head Replacement: étape 13, image 3 de 3
    • Ensure that the snare guts are tight enough by making sure that they completely hug the edges of the head as shown by tightening the knob underneath the guts.

    • You will know they are tight enough when no sound is produced upon flicking the edge of the head where the guts meet.

  14. Pearl Marching Bottom Snare Head Replacement: étape 14, image 1 de 1
    • You have finished! Enjoy

Ligne d'arrivée

Edgar Garza

Membre depuis le 09/21/23

229 Réputation

1 tutoriel rédigé

Équipe

Austin Community College, Team 1-7, Meigs Fall 2023 Membre de l'équipe Austin Community College, Team 1-7, Meigs Fall 2023

AUSTINCC-MEIGS-F23S1G7

1 membre

1 tutoriel rédigé

0 commentaires

Ajouter un commentaire

Nombre de vues :

Dernières 24 heures : 0

7 derniers jours : 3

30 derniers jours : 11

Total : 63