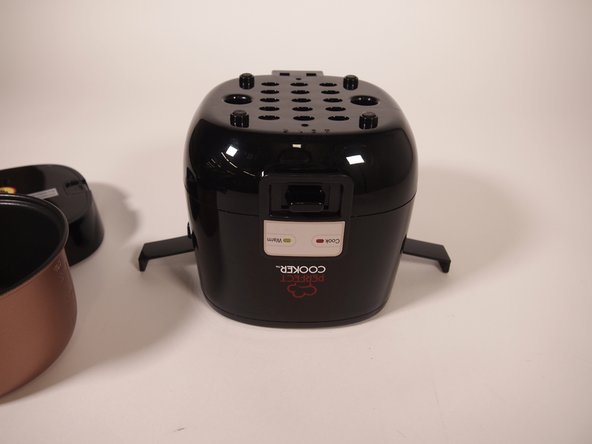
Aller au contenu principal

Perfect Cooker RC301M Disassembly

Ce dont vous avez besoin

Document vedette

  1. Perfect Cooker RC301M Disassembly, Perfect Cooker RC301M Disassembly: étape 1, image 1 de 2 Perfect Cooker RC301M Disassembly, Perfect Cooker RC301M Disassembly: étape 1, image 2 de 2
    • Remove the power cord and find a clean flat surface to work at.
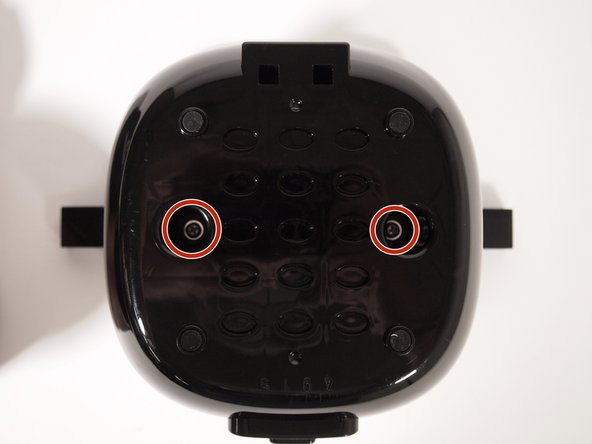
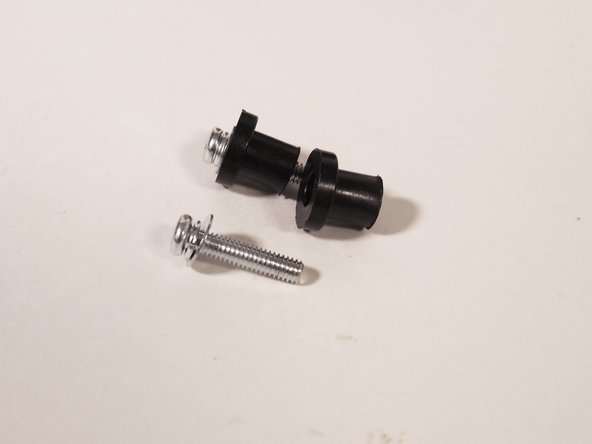
  2. Perfect Cooker RC301M Disassembly: étape 2, image 1 de 3 Perfect Cooker RC301M Disassembly: étape 2, image 2 de 3 Perfect Cooker RC301M Disassembly: étape 2, image 3 de 3
    • Remove the lid by unhinging the side tabs.

    • Remove the inner pot and any other contents.

  3. Perfect Cooker RC301M Disassembly: étape 3, image 1 de 3 Perfect Cooker RC301M Disassembly: étape 3, image 2 de 3 Perfect Cooker RC301M Disassembly: étape 3, image 3 de 3
    • Flip the device over and look for the two screws recessed underneath the device.

  4. Perfect Cooker RC301M Disassembly: étape 4, image 1 de 3 Perfect Cooker RC301M Disassembly: étape 4, image 2 de 3 Perfect Cooker RC301M Disassembly: étape 4, image 3 de 3
    • Using a Phillips #2 screwdriver, remove the two 32.8 mm screws.

  5. Perfect Cooker RC301M Disassembly: étape 5, image 1 de 1
    • Carefully lift up the bottom to reveal the wires and mechanism.

    • Make sure not to pull it up too much as it is still connected to the device body with the center metal mechanism.

  6. Perfect Cooker RC301M Disassembly: étape 6, image 1 de 1
    • The center mechanism is directly in the center of the device and connects the switch to the middle

    • This part of the device raises and lowers the burner to change from the cook to warm function.

    • The two parts of the mechanism are connected by a simple metal “T-shaped” tab.

  7. Perfect Cooker RC301M Disassembly: étape 7, image 1 de 3 Perfect Cooker RC301M Disassembly: étape 7, image 2 de 3 Perfect Cooker RC301M Disassembly: étape 7, image 3 de 3
    • Disconnect the two metal arms.

    • It can be seen that the metal tab must be bent into a “U-shape” in order to fit through the other arm of the mechanism.

    • Take the small chain nose pliers and bend each side of the “T-shaped” tab inwards.

    • Use trial and error to bend the tabs until they are able to fit through the “U-shape” cut out in the other arm.

  8. Perfect Cooker RC301M Disassembly: étape 8, image 1 de 2 Perfect Cooker RC301M Disassembly: étape 8, image 2 de 2
    • Separate the two parts of the devices.

    • The "U-shape" cut out can now be clearly seen.

    • The T-tab remains in the "U-shape" after slipping through the slot.

Conclusion

To reassemble your device, follow these instructions in reverse order.

Pièces jointes

Emma Gonzalez

Membre depuis le 09/16/21

207 Réputation

1 tutoriel rédigé

0 commentaires

Ajouter un commentaire

Nombre de vues :

Dernières 24 heures : 1

7 derniers jours : 2

30 derniers jours : 5

Total : 294