Introduction
This guide is to show you how to replace the motherboard in the Philips TAS7505 speaker. The only tool you'll need is Screwdriver #1.
The tools used in this are mainly used for other parts as seen in other guides to get access to the motherboard.
Ce dont vous avez besoin
-
-
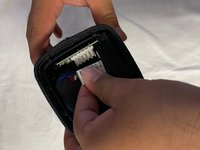
Turn the speaker upside down. You will see a rubber base. Use an opening tool to lift up the sides to expose the screws.
-
-
-
There will be 4 exposed screws. Make sure to use the Phillips #0 Screwdriver.
-
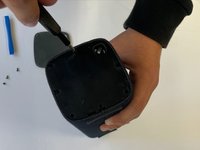
When the screws are removed, you can use an opening tool to take off the plastic cover.
add a picture where you are unscrewing the device.
Make sure that bullet points correspond to the color marks on the image.
Be sure to include screw measurements.
-
-
-
Now that you have removed this cover, there is another cover. This cover has a total of 9 screws that can be removed with a Philips #0 screwdriver.
-
Once all these screws are removed, you can take off the cover
add picture of device unscrewing.
Make sure that bullet points correspond to the color marks on the image.
Include screw measurements.
-
-
-
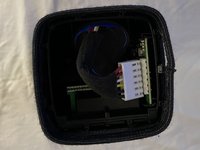
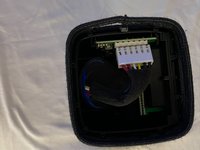
You can now see the inside of the speaker but you aren't done yet.
-
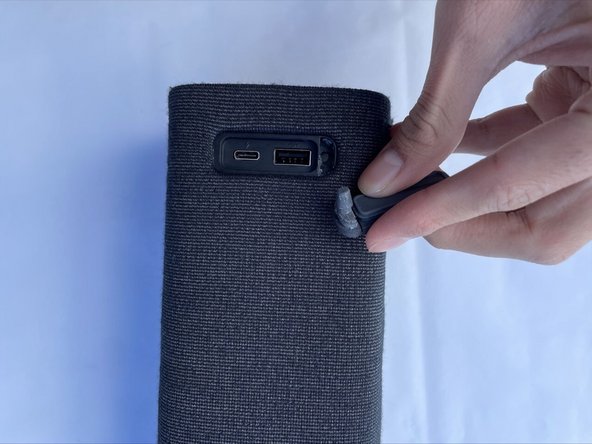
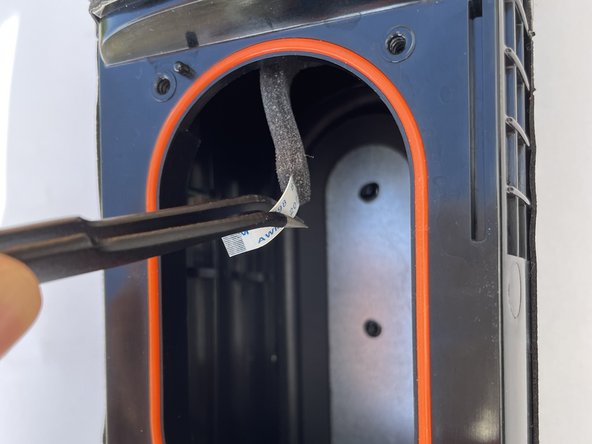
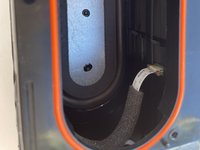
Remove both rubber stands that hold up the device horizontally (one of these stands is a cover for the USB ports).
missing last parentheses at the end.
how did you remove the stands?
-
-
-
-
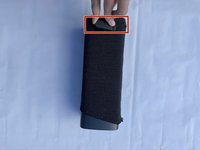
Once you pull these out, you can pull the whole sleeve to expose the infrastructure of the device.
-
-
-
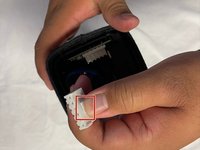
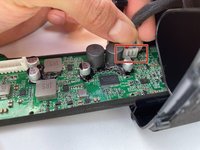
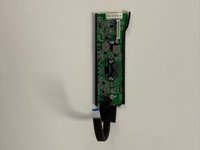
Disconnect the battery from the motherboard by unclipping it from the side not visible to you
-
If you are having difficulties disconnecting the battery you can pull the battery out whole in order to get a better angle to disconnect it
-
-
-
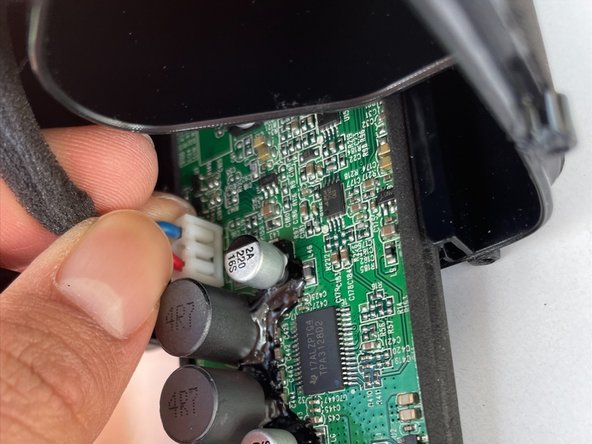
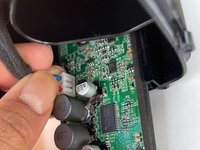
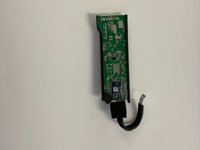
Next is to disconnect the speaker
-
pull the motherboard out as much as you can and then wiggle the white box back and forth to get it out
-


To reassemble your device, follow these instructions in reverse order.
To reassemble your device, follow these instructions in reverse order.

Équipe

CSU Los Angeles, Team 5-2, Adachi Fall 2022 Membre de l'équipe CSU Los Angeles, Team 5-2, Adachi Fall 2022
CSULA-ADACHI-F22S5G2
5 membres
5 tutoriels rédigés
Un commentaire
The guides are very detailed with many steps and are easy to follow. It looks professional and well-made. Thank you for your contribution to Ifixit!