Vidéo d'introduction
Apprenez à réparer votre PlayStation 3 Super Slim avec cette présentation vidéo.
Cette vue éclatée n'est pas un tutoriel de réparation. Pour réparer votre PlayStation 3 Super Slim, utilisez notre manuel de réparation .
Remove the three rubber feet, warranty sticker and four screws.
Gently pull up on the bottom cover to remove it.
Slide the HDD cover toward the rear of the device to remove it.
Remove the blue screw shown to remove the HDD caddy with a #1 Phillips.
Remove the 3 chassis screws with a TR8 Bit.
Remove the two TR8 screws indicated in the disk reader.
Remove the five Phillips #1 screws shown around the edge of the top cover.
Lift the top cover up to remove it.
Move the optical disk reader assembly to the left to expose one of the screws holding the power supply in.
Remove the two Phillip #1 screws indicated and carefully disconnect the cable on the right side of the power supply.
Lift the power supply straight up to remove it.
The left side has a board connector underneath, so there will be some resistance when lifting.
Carefully disconnect the ribbon cables indicated.
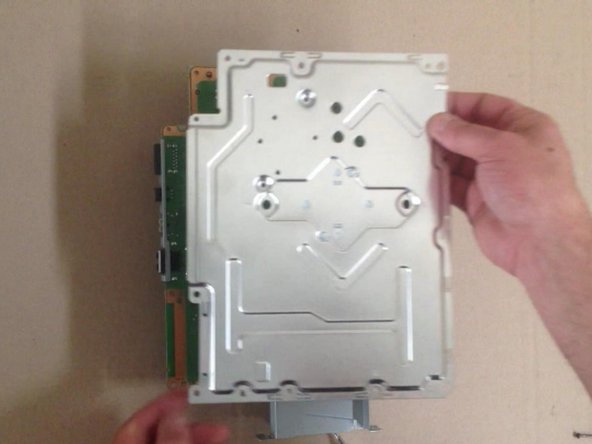
Lift the optical disk reader up to remove it.
Disconnect and remove the white cable and ribbon cable indicated.
Remove the seven Phillips #1 screws indicated.
Lift the motherboard assembly up out of the lower half of the case to remove it.
Carefully disconnect the Wi-Fi antenna cables and fan connector indicated by red arrows.
Intégrer ce tutoriel
Choisissez une taille et copiez le code ci-dessous pour intégrer ce tutoriel sous la forme d'un petit widget sur votre site / forum.
Étape unique
Tutoriel complet
Petit - 600 px
Moyen - 800 px
Grand - 1200 px
Aperçu