Introduction
Users will be removing the motherboard throughout this guide by removing three 2mm screws with a flat head screwdriver. Be sure to be cautious when handling small pieces.
Ce dont vous avez besoin
-
-
Use a metal spudger to remove the small panels to the immediate left and right side of the camera.
-
-
-
-
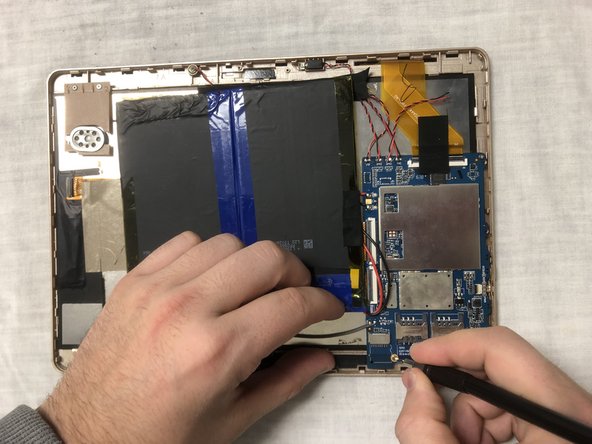
Use flathead screwdriver tool to remove the three 2.5 mm screws shown in the photo. Two screws are located at the base of the motherboard and there is one screw located at the top.
-


To reassemble your device, follow these instructions in reverse order.
To reassemble your device, follow these instructions in reverse order.
Annulation : je n'ai pas terminé ce tutoriel.
Une autre personne a terminé cette réparation.

Équipe

IUPUI, Team S1-G4, Hovde Fall 2018 Membre de l'équipe IUPUI, Team S1-G4, Hovde Fall 2018
IUPUI-HOVDE-F18S1G4
3 membres
6 tutoriels rédigés
Un commentaire
This document is incomplete. It does not detail removing the cables connected to the motherboard.
Before the motherboard can be removed from the case, the Digitizer, the LCD and the power and camera cables must also be removed. the speakers, vibrator and Mic can come out with the motherboard.