Aller au contenu principal

PowerA Enhanced 1516953-01 ABXY Buttons Replacement

Ce dont vous avez besoin

  1. PowerA Enhanced 1516953-01 ABXY Buttons Replacement, Rear Case: étape 1, image 1 de 3 PowerA Enhanced 1516953-01 ABXY Buttons Replacement, Rear Case: étape 1, image 2 de 3 PowerA Enhanced 1516953-01 ABXY Buttons Replacement, Rear Case: étape 1, image 3 de 3
    • Lay the controller face down.

    • Use a Phillips screwdriver to remove the eight 9.2 mm screws that secure the rear case.

    • Lift the rear case up and off of the chassis.

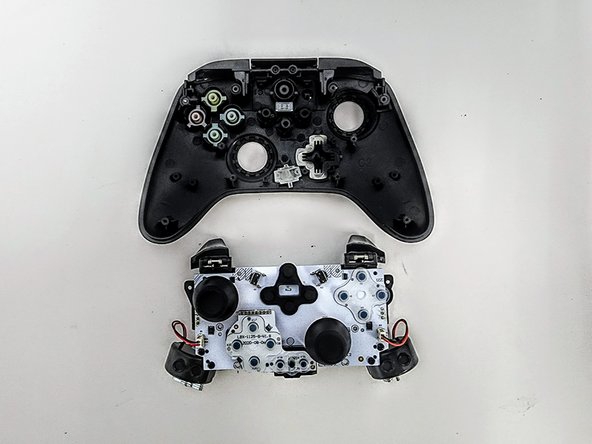
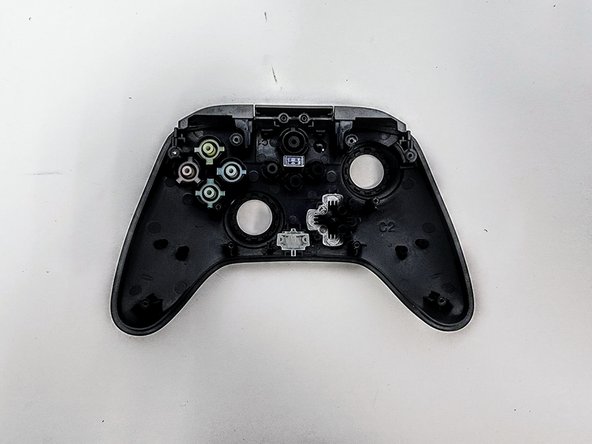
  2. PowerA Enhanced 1516953-01 ABXY Buttons Replacement, Motherboard: étape 2, image 1 de 3 PowerA Enhanced 1516953-01 ABXY Buttons Replacement, Motherboard: étape 2, image 2 de 3 PowerA Enhanced 1516953-01 ABXY Buttons Replacement, Motherboard: étape 2, image 3 de 3
    • Remove the two 3.3 mm Phillips screws that secure the motherboard to the front case.

    • Lift the motherboard up and out of the chassis.

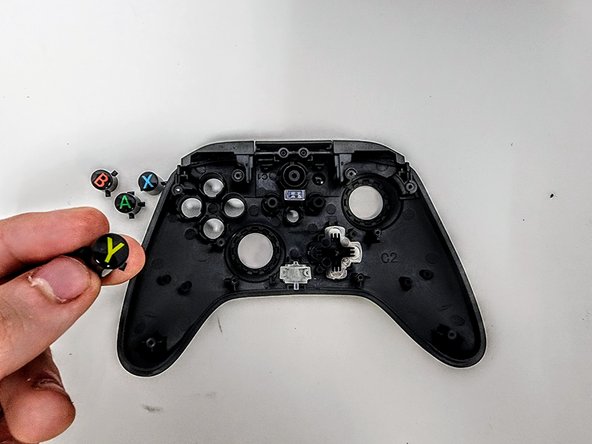
  3. PowerA Enhanced 1516953-01 ABXY Buttons Replacement, ABXY Buttons: étape 3, image 1 de 3 PowerA Enhanced 1516953-01 ABXY Buttons Replacement, ABXY Buttons: étape 3, image 2 de 3 PowerA Enhanced 1516953-01 ABXY Buttons Replacement, ABXY Buttons: étape 3, image 3 de 3
    • Grip and remove each button.

Conclusion

To reassemble your device, follow these instructions in reverse order.

Austin Fox

Membre depuis le 01/30/24

566 Réputation

5 tutoriels rédigés

Équipe

Austin Community College, Team 9-3, Watkins Spring 2024 Membre de l'équipe Austin Community College, Team 9-3, Watkins Spring 2024

AUSTINCC-WATKINS-S24S9G3

4 membres

5 tutoriels rédigés

0 commentaires

Ajouter un commentaire

Nombre de vues :

Dernières 24 heures : 2

7 derniers jours : 17

30 derniers jours : 56

Total : 62